Love this? Save it for later!
Share the inspiration with your friends
“You really have to try this cake,” my friend texted me out of the blue one late evening. Honestly, I wasn’t in baking mode—I was just wiping down the counters after a long day, wondering if I’d ever get around to dessert. But that message stuck with me, like the smell of roasted peanuts lingering in the air after a neighborhood festival. Fast forward a few days, I found myself mixing up a batch of what turned out to be the most unexpectedly moist creamy peanut butter cake with crunchy peanut topping I’d ever tasted.
What’s funny is that this recipe wasn’t planned. It came from a moment when I had a bit too much peanut butter on hand and a vague craving that could only be satisfied by something sweet but not too heavy. The cake somehow balanced rich creaminess and a satisfying crunch, which was a combo I didn’t know I needed until I took that first forkful. It’s the kind of treat that makes you pause, close your eyes, and just enjoy the simple joy of texture and flavor.
It quickly became a staple in my kitchen—baked several times in one week, each time with slight tweaks that made it my own. It’s honestly the kind of dessert that feels like a cozy hug, no matter the time of day. The crunchy peanut topping is the real star, adding that perfect bite contrast to the soft, creamy crumb.
So, if you’re curious about a peanut butter cake that’s not just moist but also has that irresistible crunch on top, you’re in the right place. This recipe stays true to the heart of peanut butter’s nutty goodness while bringing in a texture that surprises in the best way. It’s a quiet little secret I trust you’ll appreciate as much as I do.
Why You’ll Love This Moist Creamy Peanut Butter Cake Recipe with Crunchy Topping
After testing countless peanut butter cake recipes, I landed on this one because it nails the texture and flavor combination every time. This isn’t just another peanut butter cake—it’s a thoughtfully crafted recipe that balances moisture, creaminess, and crunch, making it a standout.
- Quick & Easy: Ready in under an hour, including baking and prep. Perfect for those evenings when you want something homemade but don’t want to spend all night in the kitchen.
- Simple Ingredients: No specialty ingredients needed—just pantry staples like creamy peanut butter, basic baking essentials, and a handful of peanuts for the topping.
- Perfect for Any Occasion: Whether you’re celebrating a birthday, need a comforting weekend treat, or want a sweet addition to a brunch spread, this cake fits right in.
- Crowd-Pleaser: This recipe has been family-approved and well-loved by friends. The crunchy peanut topping always sparks compliments and second helpings.
- Unbelievably Delicious: The creamy peanut butter flavor is rich but balanced, while the crunchy topping provides that textural contrast that makes every bite interesting.
What sets this peanut butter cake apart is the technique of blending the peanut butter into a smooth, creamy batter that stays moist without feeling dense or oily. Plus, the crunchy peanut topping isn’t just sprinkled on—it’s baked to a golden crisp, giving every slice a delightful finish. Honestly, it’s a texture game-changer.
This cake isn’t just a dessert; it’s that comforting, soul-soothing bite that feels like it was made just for you. It’s easy enough to whip up on a weeknight but special enough to impress guests without fuss. The way the peanut aroma fills your kitchen while it bakes? Let’s just say it’s a reason to make this cake again and again.
What Ingredients You Will Need for Moist Creamy Peanut Butter Cake with Crunchy Peanut Topping
This recipe uses simple, wholesome ingredients to deliver bold peanut flavor and a satisfying texture without the fuss. Most of these are pantry staples, and substitutions are easy if needed.
- For the Cake Batter:
- 1 cup creamy peanut butter (I like Skippy for smooth texture)
- 1 cup granulated sugar
- 1/2 cup unsalted butter, softened (adds richness and moisture)
- 2 large eggs, room temperature
- 1 teaspoon pure vanilla extract
- 1 cup all-purpose flour (use almond flour for gluten-free option)
- 1 teaspoon baking powder
- 1/2 teaspoon baking soda
- 1/4 teaspoon salt
- 1/2 cup buttermilk (or plain yogurt as a substitute for tanginess)
- For the Crunchy Peanut Topping:
- 1/2 cup chopped roasted peanuts (unsalted preferred for balance)
- 2 tablespoons brown sugar (helps caramelize for that crunch)
- 1 tablespoon unsalted butter, melted
- 1/2 teaspoon cinnamon (optional, adds warm spice)
For the best results, choose fresh peanut butter without added oils or sugars. If you want a more intense peanut flavor, natural peanut butter works but may change texture slightly. The buttermilk is key—it keeps the cake moist and tender, but plain yogurt or even milk with a splash of vinegar works if you’re in a pinch.
In summer, you can swap the crunchy peanut topping for chopped toasted almonds or pecans for a seasonal twist. For a dairy-free version, substitute the butter and buttermilk with plant-based alternatives.
Equipment Needed for This Peanut Butter Cake
- 9-inch (23 cm) round cake pan or an 8×8-inch (20×20 cm) square pan
- Mixing bowls (one large, one medium)
- Electric mixer or sturdy whisk (I often use a handheld mixer for ease)
- Measuring cups and spoons for accuracy
- Rubber spatula for folding ingredients
- Cooling rack to let the cake rest evenly
- Knife or food processor for chopping peanuts (a quick pulse is best for even chunks)
If you don’t have an electric mixer, no worries—a strong arm and a whisk work just fine, though mixing may take a bit longer. For the topping, if you don’t own a food processor, roughly chopping peanuts with a knife works perfectly and gives a rustic crunch.
Maintenance tip: Keep your mixing bowls dry and clean to help ingredients incorporate smoothly. I’ve learned the hard way that a bit of leftover water can mess with the batter’s consistency!
Preparation Method for Moist Creamy Peanut Butter Cake with Crunchy Peanut Topping
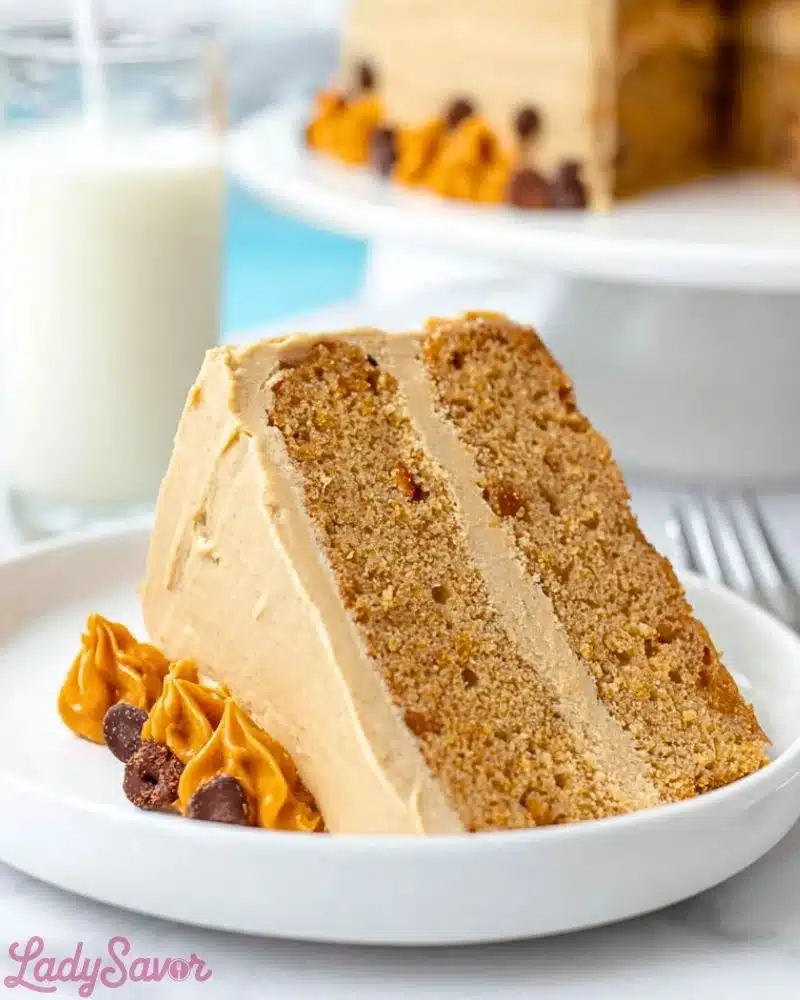
- Preheat and Prepare: Preheat your oven to 350°F (175°C). Grease and flour your 9-inch cake pan or line it with parchment paper. This helps the cake release easily after baking. (5 minutes)
- Mix the Wet Ingredients: In a large mixing bowl, beat together the creamy peanut butter, softened butter, and granulated sugar until smooth and fluffy—about 3 to 4 minutes. The mixture should look lighter in color and creamy. Add the eggs one at a time, beating well after each addition. Stir in the vanilla extract. (7 minutes)
- Combine Dry Ingredients: In a separate bowl, sift together the all-purpose flour, baking powder, baking soda, and salt. This ensures even distribution and avoids clumps. (3 minutes)
- Alternate Adding Dry and Buttermilk: Gradually add the dry ingredients to the wet mix, alternating with the buttermilk, beginning and ending with the flour mixture. Mix gently after each addition until just combined—avoid overmixing to keep the cake tender. The batter should be thick but smooth. (5 minutes)
- Pour Batter and Add Topping: Pour the cake batter into the prepared pan, smoothing the top with a spatula. In a small bowl, combine chopped peanuts, brown sugar, melted butter, and cinnamon. Sprinkle this evenly over the batter. The topping should lightly stick and create a textured layer. (5 minutes)
- Bake the Cake: Place the cake in the preheated oven and bake for 30-35 minutes. Start checking at 30 minutes by inserting a toothpick into the center; it should come out with a few moist crumbs but not wet batter. The topping should be golden and crunchy. (30-35 minutes)
- Cool and Serve: Remove the cake from the oven and let it cool in the pan for 10 minutes. Then transfer to a cooling rack to cool completely. This prevents sogginess and lets the topping stay crisp. (15-20 minutes)
Pro tip: If the topping starts browning too fast, loosely tent the cake with foil during the last 10 minutes of baking. Also, resist the urge to slice the cake while it’s hot; the peanut topping will firm up nicely once fully cooled.
Cooking Tips & Techniques for the Perfect Peanut Butter Cake
Getting this peanut butter cake just right is partly technique and partly patience. Here are some tips I’ve picked up to keep your cake moist and the topping crunchy:
- Room Temperature Ingredients: Make sure your eggs and butter are at room temperature. This helps them blend smoothly, creating a creamier batter.
- Measuring Flour Correctly: Spoon flour into your measuring cup and level it off rather than scooping directly from the bag. Too much flour can make the cake dry.
- Don’t Overmix: Once you add the dry ingredients, mix just until combined. Overmixing develops gluten, which will toughen the crumb.
- Even Topping Distribution: Spread the peanut topping evenly but gently press it into the batter. This helps it stick during baking and prevents it from sliding off.
- Watch the Oven: Oven temperatures vary, so check your cake a few minutes before the minimum bake time. A toothpick test is your best friend here.
- Cooling Time is Crucial: Let the cake cool completely before slicing to maintain the topping’s crunch and avoid a crumbly mess.
I once rushed serving this cake while it was still warm and ended up with a topping that crumbled everywhere. Lesson learned: patience pays off.
Timing multitasking? While the cake bakes, it’s a great moment to prep a quick coffee or tea—trust me, the pairing is heavenly.
Variations & Adaptations to Suit Your Taste and Needs
This peanut butter cake recipe is a flexible base that invites creativity. Here are some ways you can make it your own:
- Chocolate-Peanut Butter: Add 1/4 cup unsweetened cocoa powder to the dry ingredients for a chocolate twist. You can also drizzle melted chocolate on top of the crunchy peanut layer after baking.
- Gluten-Free Version: Swap the all-purpose flour for a 1:1 gluten-free baking flour blend. The texture remains moist, but watch baking time closely as it may vary slightly.
- Crunchy Topping Swap: Use chopped pecans, almonds, or even crushed pretzels for a salty-sweet contrast. For extra flair, toss the nuts with a pinch of sea salt before sprinkling.
- Dairy-Free Option: Replace butter with coconut oil and buttermilk with almond milk mixed with a teaspoon of lemon juice. The cake keeps its moist texture with a subtle coconut hint.
- Personal Touch: I once added a tiny pinch of cayenne pepper to the batter for a surprising warmth that paired beautifully with the peanut flavor. Not for everyone, but worth a try if you like a little kick.
Different cooking methods? If you want to make cupcakes instead, bake at 350°F (175°C) for 18-22 minutes. The crunchy topping works just as well on mini cakes.
Serving & Storage Suggestions for Your Peanut Butter Cake
This cake is fabulous served at room temperature when the flavors are most pronounced and the crunchy peanut topping stays crisp. For an extra indulgence, a dollop of whipped cream or a scoop of vanilla ice cream pairs beautifully.
It also shines alongside a cup of black coffee or a creamy latte—perfect for a cozy brunch or afternoon treat.
To store, wrap the cooled cake tightly in plastic wrap or place it in an airtight container. It keeps well in the refrigerator for up to 4 days. The topping may soften slightly in the fridge, so if you want to refresh the crunch, pop slices under the broiler for 1-2 minutes (watch carefully!).
For longer storage, freeze individual slices wrapped in parchment and foil. Thaw at room temperature and reheat gently.
Flavors actually deepen after a day, making leftovers even better. Honestly, I often bake this cake a day ahead for celebrations because the texture and taste improve overnight.
Nutritional Information & Benefits of Moist Creamy Peanut Butter Cake
Estimated per slice (based on 12 slices):
| Calories | 280 |
|---|---|
| Protein | 6g |
| Fat | 18g |
| Carbohydrates | 22g |
| Fiber | 2g |
| Sugar | 14g |
Peanuts are a great source of plant-based protein, healthy fats, and essential nutrients like magnesium and vitamin E. This cake offers a satisfying balance of macronutrients, especially if you pair it with a side of fresh fruit or a light salad for dessert.
This recipe is naturally gluten-free if you swap the flour, and can be adapted for dairy-free diets as mentioned. Note that peanuts are a common allergen, so obviously, it’s not suitable for those with peanut allergies.
From a wellness perspective, I appreciate how this cake feels indulgent without being overly heavy or greasy. Using real peanut butter lends it a natural richness that processed peanut-flavored desserts often lack.
Conclusion
This moist creamy peanut butter cake with crunchy peanut topping quickly earned a permanent spot in my recipe rotation because it’s easy, satisfying, and just plain good. It’s the kind of cake that turns everyday moments into something a little more special, without requiring a ton of effort or fancy ingredients.
Feel free to experiment with the variations or keep it classic—the recipe easily adapts to your preferences and pantry. I love how the crunchy topping adds that unexpected texture that keeps everyone coming back for more.
If you try this recipe, I’d love to hear how it turned out for you or what personal twists you added. Baking is all about sharing joy, and this cake is a simple way to do just that. So go ahead—make a batch, share a slice, and enjoy a little peanut butter magic.
Frequently Asked Questions About Moist Creamy Peanut Butter Cake
Can I use crunchy peanut butter instead of creamy?
You can, but the batter might be a bit chunkier. For the smoothest texture, creamy peanut butter works best, while crunchy peanut butter can add extra texture inside the cake.
How do I keep the crunchy peanut topping from getting soggy?
Make sure to sprinkle the topping evenly and bake the cake fully. Letting the cake cool completely on a rack prevents moisture buildup that can soften the crunch.
Can I make this cake ahead of time?
Absolutely! The flavors actually improve after resting overnight. Store it covered at room temperature or in the fridge, then bring to room temperature before serving.
Is it possible to make this cake vegan?
It’s a bit tricky due to eggs and dairy, but you can try flax eggs and plant-based yogurt or buttermilk alternatives. The texture might differ, but it’s worth experimenting.
What is the best way to serve this peanut butter cake?
Serve at room temperature with a scoop of vanilla ice cream or whipped cream, and pair it with coffee or tea for a perfect treat.
By the way, if you enjoy peanut butter treats, you might also like the moist green velvet cupcakes with cream cheese frosting or the rich texture found in the ultimate fudgy double chocolate cupcakes. Both recipes share that same attention to moistness and balance that makes desserts truly memorable.
Pin This Recipe!
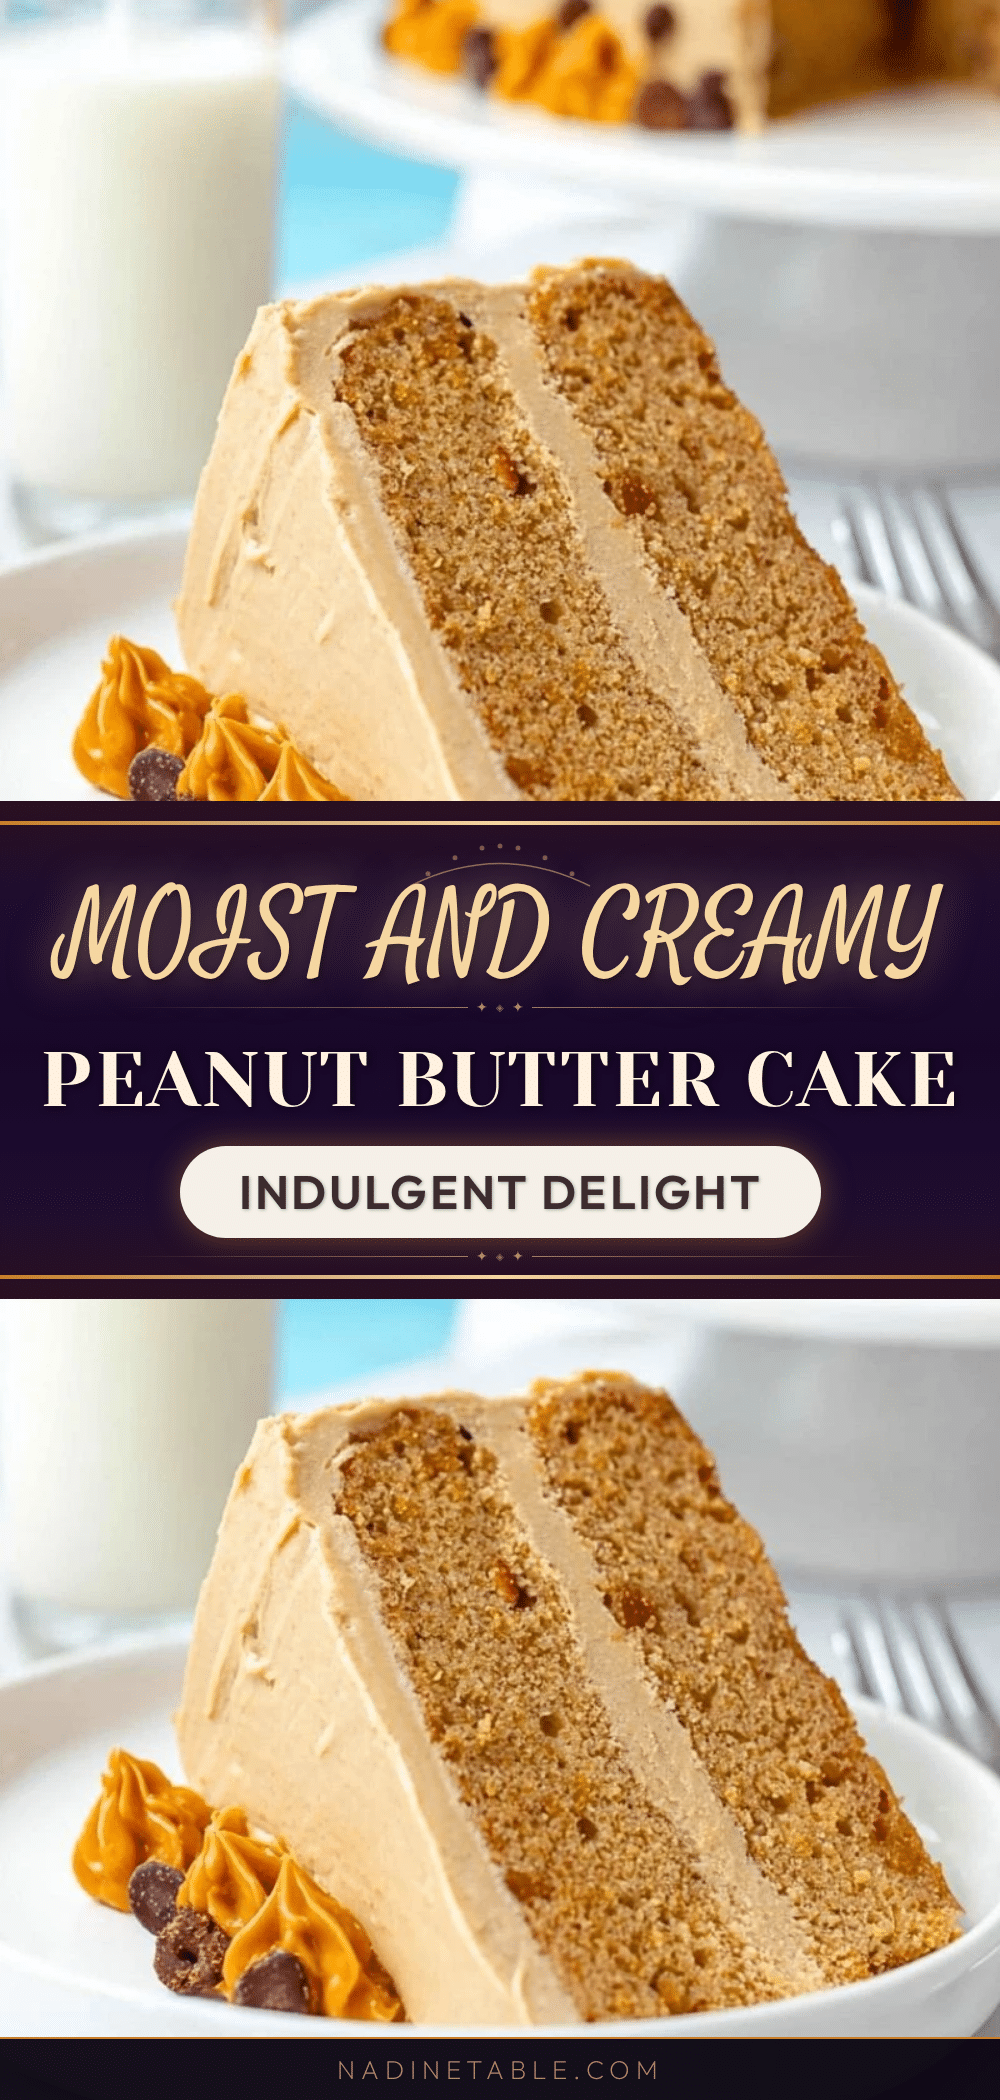
Moist Creamy Peanut Butter Cake Recipe with Crunchy Topping Easy and Perfect
A moist and creamy peanut butter cake topped with a crunchy peanut topping that balances rich flavor and satisfying texture. Perfect for any occasion and easy to make with simple pantry ingredients.
- Prep Time: 20 minutes
- Cook Time: 30-35 minutes
- Total Time: 50-55 minutes
- Yield: 12 servings 1x
- Category: Dessert
- Cuisine: American
Ingredients
- 1 cup creamy peanut butter
- 1 cup granulated sugar
- 1/2 cup unsalted butter, softened
- 2 large eggs, room temperature
- 1 teaspoon pure vanilla extract
- 1 cup all-purpose flour (or almond flour for gluten-free option)
- 1 teaspoon baking powder
- 1/2 teaspoon baking soda
- 1/4 teaspoon salt
- 1/2 cup buttermilk (or plain yogurt as a substitute)
- 1/2 cup chopped roasted peanuts (unsalted preferred)
- 2 tablespoons brown sugar
- 1 tablespoon unsalted butter, melted
- 1/2 teaspoon cinnamon (optional)
Instructions
- Preheat your oven to 350°F (175°C). Grease and flour a 9-inch round cake pan or line it with parchment paper.
- In a large mixing bowl, beat together the creamy peanut butter, softened butter, and granulated sugar until smooth and fluffy, about 3 to 4 minutes. Add the eggs one at a time, beating well after each addition. Stir in the vanilla extract.
- In a separate bowl, sift together the all-purpose flour, baking powder, baking soda, and salt.
- Gradually add the dry ingredients to the wet mixture, alternating with the buttermilk, beginning and ending with the flour mixture. Mix gently after each addition until just combined.
- Pour the batter into the prepared pan and smooth the top with a spatula.
- In a small bowl, combine chopped peanuts, brown sugar, melted butter, and cinnamon. Sprinkle evenly over the batter, pressing lightly to help it stick.
- Bake for 30-35 minutes, checking at 30 minutes with a toothpick; it should come out with a few moist crumbs but no wet batter. The topping should be golden and crunchy.
- Remove the cake from the oven and let it cool in the pan for 10 minutes, then transfer to a cooling rack to cool completely before slicing.
Notes
Use room temperature eggs and butter for a creamier batter. Do not overmix after adding dry ingredients to keep the cake tender. Let the cake cool completely before slicing to maintain the crunchy topping. If topping browns too fast, tent with foil during last 10 minutes of baking. For dairy-free, substitute butter with coconut oil and buttermilk with almond milk plus lemon juice. For gluten-free, use almond flour or gluten-free baking flour blend.
Nutrition
- Serving Size: 1 slice (1/12 of cak
- Calories: 280
- Sugar: 14
- Fat: 18
- Carbohydrates: 22
- Fiber: 2
- Protein: 6
Keywords: peanut butter cake, creamy peanut butter cake, crunchy peanut topping, easy peanut butter dessert, moist peanut butter cake, peanut butter dessert recipe