Love this? Save it for later!
Share the inspiration with your friends
“You’ve got to try these bars,” my friend said over a text, attaching a blurry photo of a pastel pink dessert with a lemon wedge garnish. I was skeptical—lemonade flavored bars? In my kitchen? Honestly, I wasn’t sure if tangy and creamy could really live in harmony in one bite. But curiosity got the better of me one lazy Saturday afternoon when the sun was too bright to ignore and the air smelled faintly of fresh berries from the farmers market. I decided to give these Tangy Creamy Raspberry Lemonade Bars a shot, thinking they’d be a nice change from my usual summer sweets.
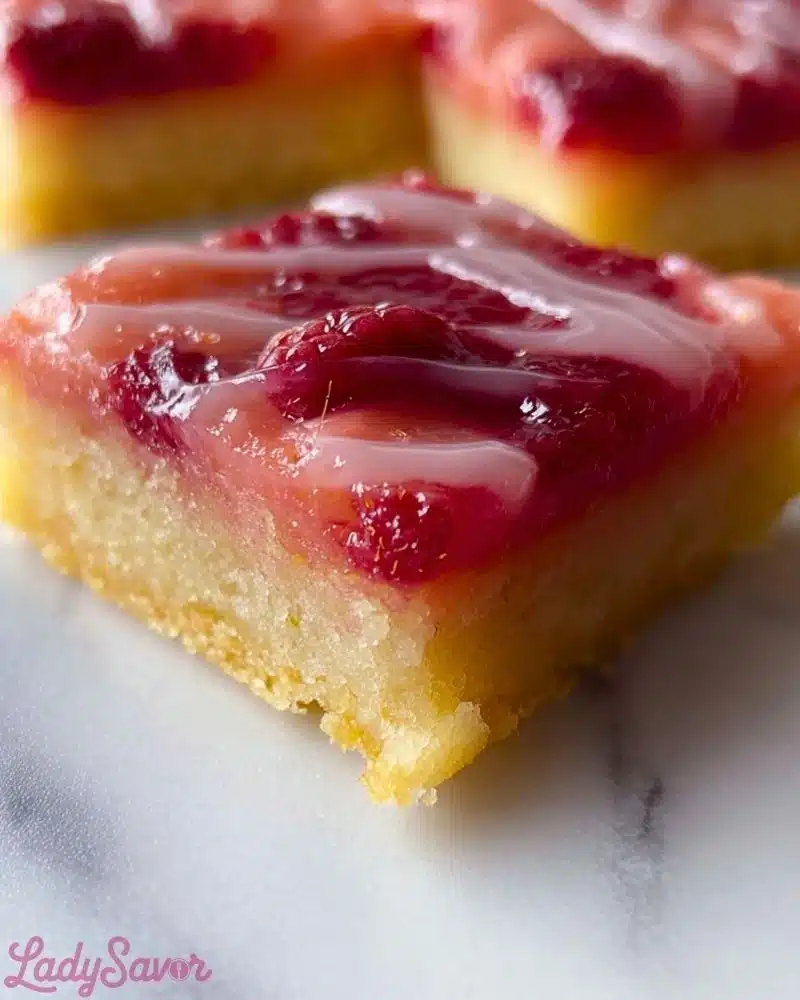
The first bite caught me off guard—the tart zing of lemon with bursts of raspberry, all wrapped in a smooth, creamy filling atop a buttery crust. It was like a summer picnic captured in dessert form, perfect for those sticky, warm days when you want something refreshing but still a little indulgent. I made them again the next day, then again the week after because, well, it’s honestly hard to stop once you’ve had one.
What stuck with me, beyond the bright flavors, was how these bars brought a quiet moment of joy to an otherwise hectic weekend. They’re not fussy, don’t require a dozen bowls, and come together with ingredients I usually have on hand. So, whether you’re looking for a simple summer dessert or a new sweet to impress your friends at your next potluck, this recipe feels like a small, delicious secret worth sharing.
Why You’ll Love This Recipe
After testing and tweaking this recipe through several batches (and sharing slices with anyone who would take them), I can say these raspberry lemonade bars have some serious perks. Here’s why they might soon become your favorite summer dessert, too:
- Quick & Easy: Ready in under an hour, they’re perfect for when you want a treat without the fuss—no need to babysit the oven for hours.
- Simple Ingredients: Uses everyday pantry staples plus fresh or frozen raspberries. No hunting for obscure items.
- Perfect for Summer Gatherings: Whether it’s a barbecue, picnic, or casual get-together, these bars bring a bright, refreshing twist everyone appreciates.
- Crowd-Pleaser: Kids and adults alike love the balance of tart and creamy. They’re a dessert that rarely sticks around long enough for leftovers.
- Unique Texture & Flavor: The secret lies in the creamy lemonade filling that’s silky yet tangy, combined with the slight crunch of a buttery shortbread crust. This combo sets it apart from typical lemon bars or fruit desserts.
What really makes these bars stand out is the way the raspberry swirls gently into the lemon cream, creating both a beautiful look and a flavor that surprises with every bite. I don’t usually go for overly sweet summer desserts, so this one’s just right—not too sugary, with a lovely fresh fruit brightness. Honestly, it’s the kind of recipe that makes you close your eyes after the first bite and smile quietly to yourself.
What Ingredients You Will Need
This recipe uses simple, wholesome ingredients to deliver bold flavor and a satisfying texture without too much fuss. Most are pantry staples, with the option to swap or tweak according to what you have on hand.
- For the Crust:
- All-purpose flour (1 ½ cups / 190g) – I prefer King Arthur for consistent texture
- Unsalted butter, softened (½ cup / 115g) – room temperature for easy mixing
- Granulated sugar (¼ cup / 50g) – adds just the right sweetness to balance the tartness
- Salt (¼ teaspoon) – enhances flavor
- For the Raspberry Lemonade Filling:
- Cream cheese, softened (8 oz / 225g) – key for that creamy texture
- Sour cream (½ cup / 120ml) – adds a subtle tang and smoothness
- Granulated sugar (¾ cup / 150g) – balances the tart lemon and raspberry
- Large eggs (2) – room temperature for better mixing and texture
- Fresh lemon juice (¼ cup / 60ml) – freshly squeezed for bright flavor
- Lemon zest (1 tablespoon) – adds an aromatic punch
- Vanilla extract (1 teaspoon) – rounds out the flavor
- Fresh or frozen raspberries (1 cup / 150g) – frozen works well if fresh aren’t in season
For substitutions: if you need gluten-free, almond flour works well for the crust but may slightly change the texture. For dairy-free options, swap cream cheese and sour cream with coconut-based alternatives, though it will alter the flavor profile somewhat. When using frozen raspberries, thaw and drain excess liquid for best results.
Equipment Needed
- 8×8 inch (20×20 cm) baking pan – a glass or metal pan works fine; glass tends to brown the crust a bit more
- Mixing bowls – medium and large
- Electric mixer or stand mixer – makes blending the filling smoother and easier, but a sturdy whisk works too
- Measuring cups and spoons – accuracy helps with consistent results
- Zester or microplane – for fresh lemon zest; you can use a fine grater if needed
- Spatula – for scraping down the bowl and folding in raspberries gently
- Fine mesh sieve (optional) – if you want to strain raspberry seeds for an extra smooth swirl
On a budget? You can get by with basic bowls and a hand whisk, but using a mixer definitely cuts down prep time. I’ve made these bars with both and can say the texture difference is noticeable but not game-changing. Keeping your cream cheese and eggs at room temp makes the mixing easier, so plan ahead a bit.
Preparation Method
- Preheat your oven to 350°F (175°C). Lightly grease your 8×8 inch pan or line it with parchment paper, leaving some overhang for easy removal later. This step saves you from a sticky mess and makes cleanup faster.
- Make the crust: In a medium bowl, combine the flour, sugar, and salt. Add the softened butter and mix with a fork or pastry blender until the mixture resembles coarse crumbs. Press the mixture evenly into the bottom of your prepared pan. It should be slightly firm to the touch but not too dry or crumbly. Bake the crust for 15-18 minutes until lightly golden around the edges. This pre-bake step ensures a crisp base that won’t get soggy under the creamy filling. Let it cool slightly while you prepare the filling.
- Prepare the filling: In a large bowl, beat the softened cream cheese and sour cream on medium speed until smooth and creamy—no lumps! Gradually add the sugar and continue beating until fully combined. Add the eggs one at a time, mixing well after each addition. Stir in the fresh lemon juice, lemon zest, and vanilla extract. The mixture should be velvety and pourable but thick enough to hold some shape.
- Add the raspberries: Gently fold in half of the raspberries. You want to keep some chunks for texture but avoid breaking them up too much to prevent the filling from turning pink everywhere.
- Assemble the bars: Pour the filling over the baked crust and smooth it out with a spatula. Drop the remaining raspberries on top and use a knife or toothpick to swirl them lightly into the filling, creating a pretty marbled effect. This step gives the bars a burst of color and an extra punch of fresh berry flavor.
- Bake: Place the pan back in the oven and bake for 25-30 minutes. The center should be mostly set but still jiggle slightly when you gently shake the pan. Overbaking can dry out the bars, so keep an eye on them starting around 25 minutes.
- Cool and chill: Remove from oven and let cool completely at room temperature, about 1 hour. Then refrigerate for at least 2 hours or overnight—this chilling step helps the filling firm up to the perfect creamy consistency.
- Serve: Use the parchment overhang to lift the bars out of the pan. Slice into 9 or 16 squares, depending on your crowd size. For clean edges, wipe your knife with a warm damp towel between cuts.
Pro tip: If you want a smoother raspberry swirl, briefly puree the raspberries before folding in half of them. Just be careful not to add too much liquid.
Cooking Tips & Techniques
From my experience, a few things make a big difference with these raspberry lemonade bars. First off, don’t rush the cream cheese step. Let it soften properly—cold cream cheese is a nightmare to mix and leads to lumps. If you forgot to take it out early, a quick 15-second zap in the microwave (on low power) helps.
When swirling the raspberries, use a gentle hand. Over-mixing turns the whole filling pink, which is still tasty but less visually striking. Also, baking time matters: underbaking leaves the center too jiggly and hard to cut, while overbaking dries out the filling. The slight jiggle test is your best friend here.
Another tip: after baking, let the bars cool completely before refrigerating. This stops condensation from making the crust soggy. I’ve found chilling overnight makes slicing much easier and the flavors meld more deeply.
Multitasking tip: While the crust bakes, zest and juice your lemons and prep the filling ingredients. It cuts down total time and keeps things flowing smoothly.
Variations & Adaptations
These bars are pretty versatile and can be customized to suit your taste or dietary needs:
- Berry Swap: Use blueberries or blackberries in place of raspberries for a different but equally delicious twist.
- Dairy-Free Version: Replace cream cheese and sour cream with coconut cream and a dairy-free cream cheese alternative. The texture will be slightly different but still creamy and yummy.
- Gluten-Free Crust: Swap all-purpose flour for almond flour or a gluten-free flour blend. The crust will be more crumbly but still tasty.
- Extra Zesty: Add a teaspoon of finely grated lime zest alongside lemon zest for a citrus party in your mouth.
- Sweet & Spicy: Sprinkle a pinch of cayenne pepper or ground ginger into the filling for a subtle warming kick that complements the tartness.
One personal favorite variation is adding a drizzle of creamy funfetti cheesecake bars style vanilla glaze on top after chilling. It adds a touch of sweetness and an extra layer of fun, especially for gatherings.
Serving & Storage Suggestions
These bars are best served chilled or at cool room temperature. The creamy filling softens slightly as it warms, but I prefer the firm yet tender texture straight from the fridge. For a pretty presentation, garnish with a few fresh raspberries and thin lemon slices or zest curls.
They pair wonderfully with a cup of iced tea, sparkling water with a splash of lemon, or even a light prosecco for an adult-friendly treat. For a heartier affair, they’d make a refreshing finish to a meal featuring dishes like honey garlic chicken with roasted veggies.
To store, keep the bars covered in an airtight container in the refrigerator for up to 4 days. You can also freeze them for up to 2 months by wrapping tightly in plastic wrap and placing in a freezer-safe container. Thaw in the fridge overnight before serving. Reheat slightly if you prefer them softer, but they’re honestly just as nice cold.
Over time, the lemon and raspberry flavors deepen, making leftovers even tastier the next day (if there are any!).
Nutritional Information & Benefits
Each bar (assuming 16 servings) contains roughly:
| Calories | 190 |
|---|---|
| Fat | 11g |
| Carbohydrates | 20g |
| Protein | 3g |
| Fiber | 1.5g |
The key ingredients bring some health perks, too. Raspberries pack antioxidants and dietary fiber, which are great for digestion and overall wellness. Lemon juice adds vitamin C and a refreshing boost without adding many calories. Using real cream cheese and sour cream means you get a dose of calcium and protein, though these bars are definitely a treat rather than an everyday snack.
For those watching carbs, swapping the crust to almond flour cuts down the carbs and adds healthy fats. Just keep in mind the bars will be richer.
Conclusion
These Tangy Creamy Raspberry Lemonade Bars have quietly become one of my go-to summer desserts—not just because they’re easy or pretty, but because they strike that rare balance of bright, creamy, and just sweet enough. They’re adaptable, friendly to many skill levels, and the kind of recipe that feels like a small celebration in every bite.
Feel free to tweak the fruit, add a glaze, or try a dairy-free twist to make the bars your own. For me, they remind me of those slow, warm weekends when the kitchen smells like lemon and berries, and everything else just fades away for a moment.
If you make these bars, I’d love to hear how you customize them or what you serve alongside. Sharing recipes that bring a little brightness to the day is what makes cooking worth it, don’t you think?
Frequently Asked Questions
Can I use frozen raspberries for these bars?
Yes, frozen raspberries work well. Just thaw and drain any excess liquid before adding them to the filling to avoid making it too watery.
How do I prevent the crust from getting soggy?
Pre-baking the crust for 15-18 minutes and letting the bars cool completely before chilling helps keep the crust crisp and prevents sogginess.
Can I make these bars ahead of time?
Absolutely! They actually taste better after chilling overnight, which allows the flavors to meld and the filling to firm up perfectly.
What’s the best way to cut these bars neatly?
Use a sharp knife wiped clean with a warm damp cloth between cuts. Also, chilling the bars fully before slicing makes cutting easier and cleaner.
Are there any good substitutions for cream cheese?
You can try dairy-free cream cheese alternatives or coconut cream for a dairy-free version. The texture and flavor will change slightly but still delicious.
Pin This Recipe!
Tangy Creamy Raspberry Lemonade Bars

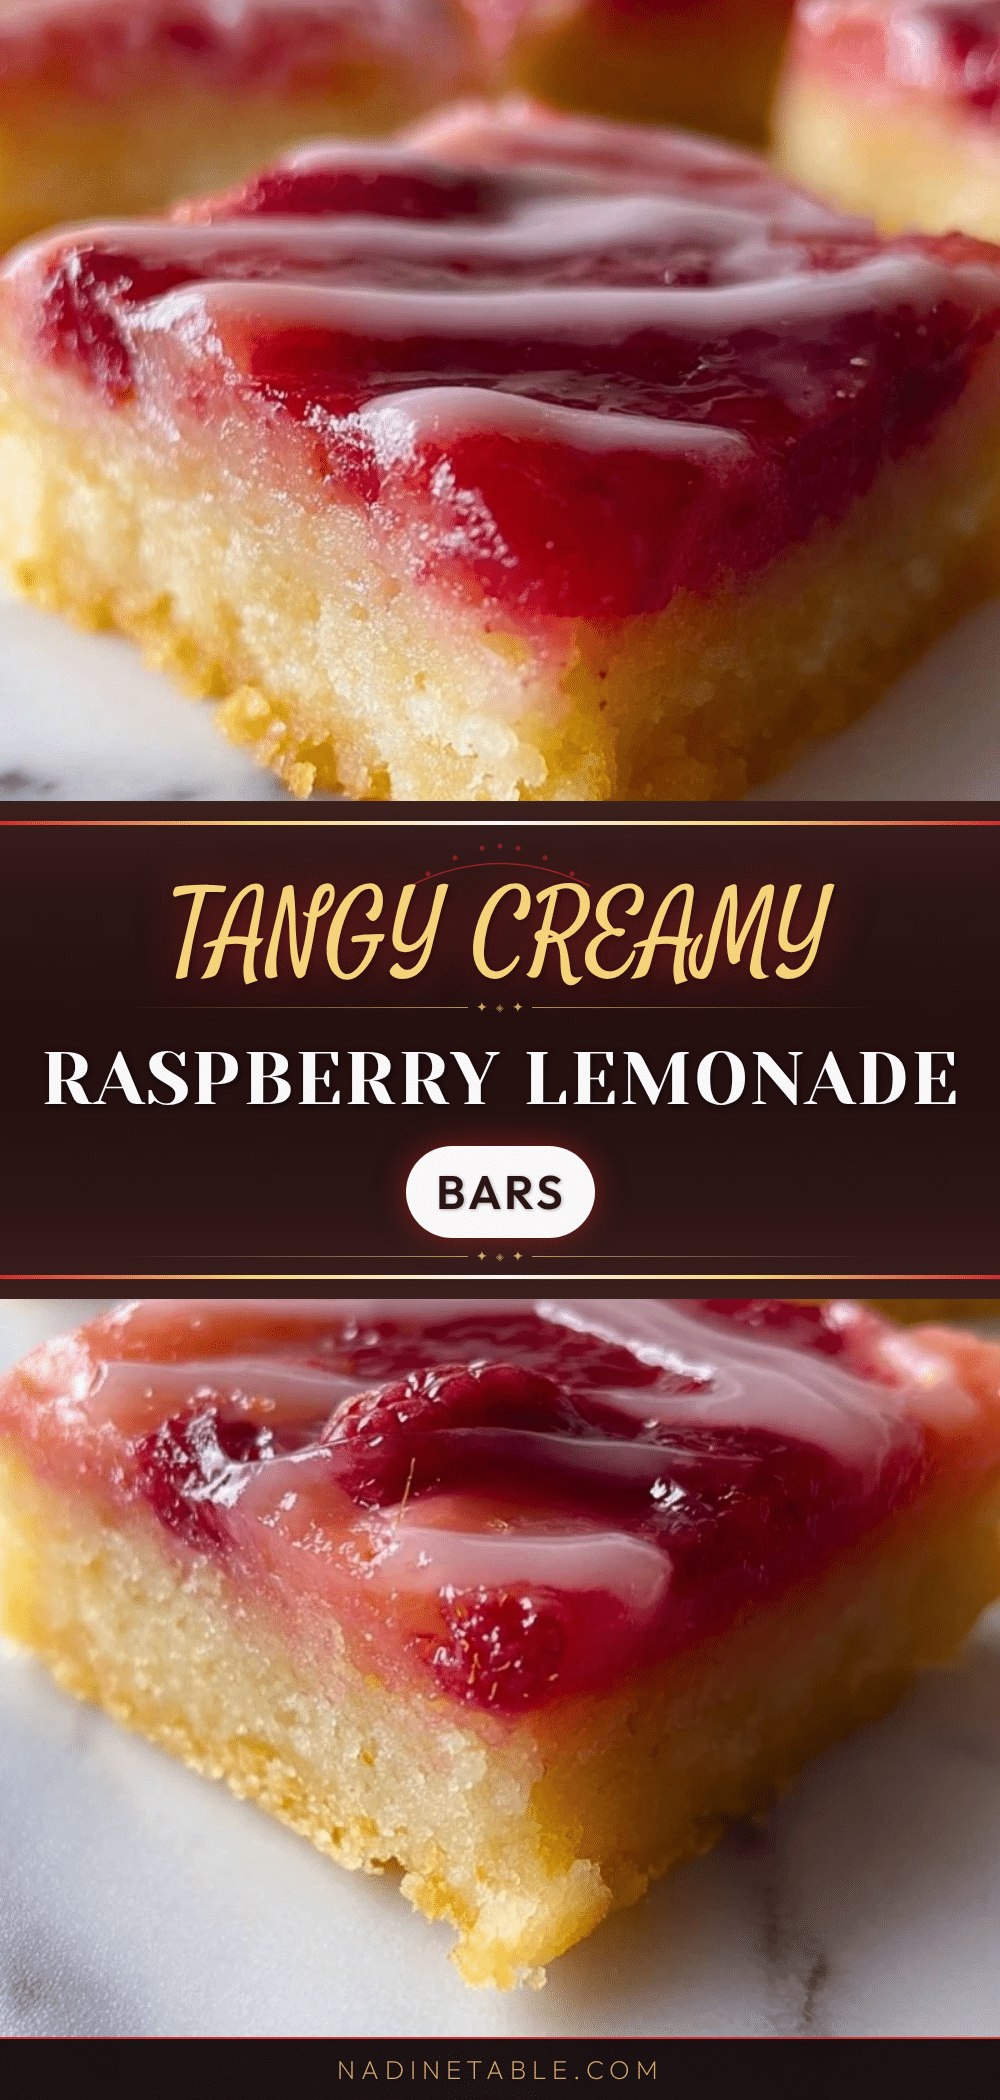
These bars combine the tart zing of lemon with bursts of raspberry in a smooth, creamy filling atop a buttery crust, making a perfect refreshing summer dessert.
- Prep Time: 15 minutes
- Cook Time: 40 minutes
- Total Time: 3 hours 15 minutes
- Yield: 16 servings 1x
- Category: Dessert
- Cuisine: American
Ingredients
- 1 ½ cups (190g) all-purpose flour
- ½ cup (115g) unsalted butter, softened
- ¼ cup (50g) granulated sugar (for crust)
- ¼ teaspoon salt
- 8 oz (225g) cream cheese, softened
- ½ cup (120ml) sour cream
- ¾ cup (150g) granulated sugar (for filling)
- 2 large eggs, room temperature
- ¼ cup (60ml) fresh lemon juice
- 1 tablespoon lemon zest
- 1 teaspoon vanilla extract
- 1 cup (150g) fresh or frozen raspberries
Instructions
- Preheat your oven to 350°F (175°C). Lightly grease an 8×8 inch (20×20 cm) baking pan or line it with parchment paper, leaving some overhang for easy removal.
- Make the crust: In a medium bowl, combine the flour, sugar, and salt. Add the softened butter and mix with a fork or pastry blender until the mixture resembles coarse crumbs. Press the mixture evenly into the bottom of the prepared pan. Bake the crust for 15-18 minutes until lightly golden around the edges. Let it cool slightly.
- Prepare the filling: In a large bowl, beat the softened cream cheese and sour cream on medium speed until smooth and creamy. Gradually add the sugar and continue beating until fully combined. Add the eggs one at a time, mixing well after each addition. Stir in the fresh lemon juice, lemon zest, and vanilla extract.
- Gently fold in half of the raspberries, keeping some chunks for texture.
- Pour the filling over the baked crust and smooth it out with a spatula. Drop the remaining raspberries on top and use a knife or toothpick to swirl them lightly into the filling to create a marbled effect.
- Bake for 25-30 minutes until the center is mostly set but still jiggles slightly when shaken gently.
- Remove from oven and let cool completely at room temperature for about 1 hour. Then refrigerate for at least 2 hours or overnight to firm up the filling.
- Use the parchment overhang to lift the bars out of the pan. Slice into 9 or 16 squares. For clean edges, wipe your knife with a warm damp towel between cuts.
Notes
Use room temperature cream cheese and eggs for easier mixing. Pre-bake the crust to prevent sogginess. Gently fold raspberries to avoid turning the filling pink all over. Chill bars overnight for best texture and flavor. Frozen raspberries should be thawed and drained before use. For gluten-free crust, substitute almond flour; for dairy-free, use coconut-based cream cheese and sour cream alternatives.
Nutrition
- Serving Size: 1 bar (if sliced int
- Calories: 190
- Fat: 11
- Carbohydrates: 20
- Fiber: 1.5
- Protein: 3
Keywords: raspberry lemonade bars, summer dessert, creamy lemon bars, raspberry dessert, easy dessert, refreshing dessert