Love this? Save it for later!
Share the inspiration with your friends
The first time I made these crispy popcorn chicken bites, it wasn’t for a party. It was a Tuesday. I had a bag of chicken thighs defrosting and zero energy for anything complicated. I’d been scrolling through my phone, half-watching some show, when I remembered those little popcorn chicken nuggets from the food court. You know the ones—tiny, crunchy, dangerously easy to eat by the handful. I figured, how hard could it be to make them at home?
Honestly, I wasn’t expecting much. I tossed some buttermilk and flour together, fried up a few test pieces, and stood there at the counter eating them straight from the paper towel. They were… good. Like, really good. The kind of good where you text your neighbor a picture and she texts back “bring me some.” That Tuesday night turned into a full-on snack session, and I’ve been tweaking the recipe ever since. The coating stayed crunchy even after they cooled down, which is honestly the biggest win in my book.
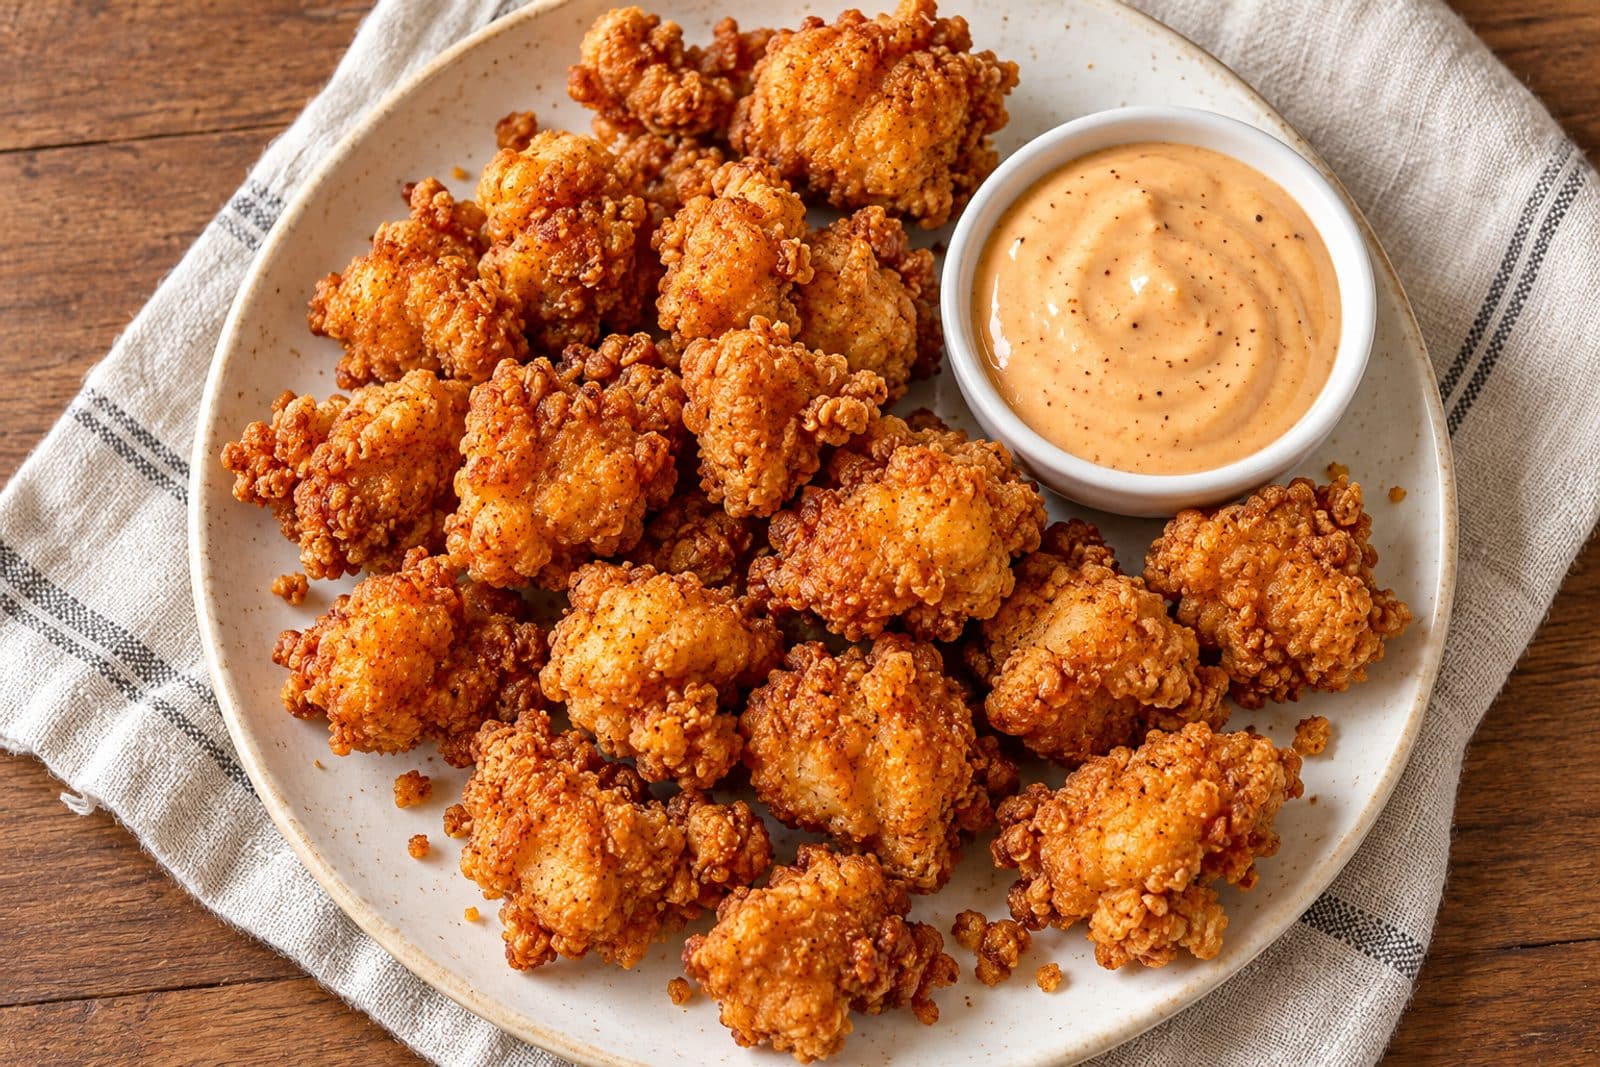
These crispy popcorn chicken bites have become my go-to for game days, casual get-togethers, and those afternoons when you just need a crunchy, satisfying bite. They’re tiny, they’re addictive, and they come together faster than you’d think. No complicated techniques, no weird ingredients—just good, honest food that makes people happy. And isn’t that what snacking is all about?
Why You’ll Love This Recipe
Let me tell you why these little bites have earned a permanent spot in my rotation. I’ve tested this recipe more times than I care to admit, tweaking the seasoning, adjusting the cooking time, and even trying different coatings. This version? It’s the one that finally stuck.
- Quick & Easy : From start to finish, you’re looking at about 30 minutes. That’s faster than delivery, and way more satisfying.
- Simple Ingredients : You probably have most of this stuff in your pantry right now. No fancy grocery runs required.
- Perfect for Parties : These are the ultimate finger food. They disappear fast at game nights, birthday parties, or casual hangouts.
- Crowd-Pleaser : Kids devour them. Adults sneak them when they think no one’s looking. Trust me on this one.
- Unbelievably Delicious : The texture is what gets you—crispy on the outside, tender and juicy on the inside. It’s comfort food at its finest.
What makes these different from every other popcorn chicken recipe out there? It’s the double-dip method. I know, it sounds fancy, but it’s simple. A quick buttermilk soak, a seasoned flour coating, then back into the buttermilk and into the flour again. That extra step creates those craggy, crunchy bits that hold onto the seasoning perfectly. No sad, bald spots on these nuggets.
These crispy popcorn chicken bites aren’t just good—they’re the kind of snack that makes you close your eyes after the first bite. The kind where you look around to make sure no one saw you grab that third handful. It’s comfort food reimagined—faster, crunchier, but with the same soul-soothing satisfaction that makes you feel like everything’s going to be okay.
What Ingredients You Will Need
This recipe uses simple, everyday ingredients to create something genuinely special. The magic is in how they work together, not in fancy or hard-to-find items.
For the Chicken
- 1.5 lbs boneless, skinless chicken thighs or breasts – cut into bite-sized pieces (about 1-inch cubes). I prefer thighs for extra juiciness, but breasts work great too if you trim them well.
- 1 cup buttermilk – this tenderizes the chicken and helps the coating stick. No buttermilk? Add 1 tablespoon of lemon juice or vinegar to regular milk and let it sit for 5 minutes.
- 1 teaspoon salt – for seasoning the chicken before coating.
- 1/2 teaspoon black pepper – freshly ground if you have it.
For the Coating
- 1.5 cups all-purpose flour – all-purpose gives the best texture. I’ve tried rice flour and it’s good, but all-purpose is king here.
- 1/2 cup cornstarch – this is the secret to extra crunch. Don’t skip it.
- 1 teaspoon garlic powder – not garlic salt, just powder.
- 1 teaspoon onion powder – adds that savory depth.
- 1 teaspoon paprika – for color and a mild smoky flavor. Smoked paprika works beautifully here.
- 1/2 teaspoon cayenne pepper – optional, but I love the little kick. Adjust to your heat tolerance.
- 1 teaspoon dried oregano – trust me on this one. It adds an herby note that’s unexpected but perfect.
- 1 teaspoon salt – for the flour mixture.
- 1/2 teaspoon black pepper – for the flour mixture.
For Frying
- Vegetable oil or canola oil – enough for shallow frying, about 2-3 cups depending on your pan size. Peanut oil works great too.
For Serving (Optional but Recommended)
- Ranch dressing, honey mustard, or barbecue sauce – for dipping. A good dipping sauce takes these from great to unforgettable.
- Fresh parsley – chopped, for garnish if you’re feeling fancy.
I personally recommend using chicken thighs from a brand like Bell & Evans or Springer Mountain Farms. They’re consistently juicy and have great flavor. For the buttermilk, I use the store brand—it all works the same. The key ingredient you shouldn’t skimp on is the cornstarch. That’s what gives you the serious crunch factor. If you’re looking for a gluten-free option, swap the all-purpose flour with a 1:1 gluten-free baking blend and use gluten-free cornstarch.
Equipment Needed
You don’t need much for this recipe, which is part of why I love it. Here’s what you’ll need:
- Large mixing bowls – two of them. One for the buttermilk soak, one for the flour mixture.
- Whisk – for mixing the dry ingredients together.
- Deep skillet or Dutch oven – a cast-iron skillet works beautifully, but any heavy-bottomed pot will do. I use my trusty 12-inch cast iron.
- Paper towels – for draining the fried chicken. A wire rack set over a baking sheet works even better.
- Slotted spoon or spider strainer – for lifting the chicken out of the hot oil.
- Candy or deep-fry thermometer – this is non-negotiable for consistent results. I’ve ruined batches by guessing the oil temperature.
- Cutting board and sharp knife – for cutting the chicken into even pieces.
- Tongs – for handling the chicken during the coating process.
If you don’t have a thermometer, you can test the oil by dropping a small piece of bread into it. If it sizzles and turns golden in about 60 seconds, you’re in the right range. A budget-friendly option for the skillet is a standard stainless steel pan—just make sure it’s heavy enough to maintain even heat.
Preparation Method
Let’s get cooking. I’ll walk you through this step by step.
Step 1: Prep the Chicken
Cut your chicken into bite-sized pieces, about 1 inch each. Try to keep them uniform so they cook evenly. Place the pieces in a bowl, season with 1 teaspoon salt and 1/2 teaspoon pepper, then pour the buttermilk over them. Stir to coat, cover, and let it sit in the fridge for at least 15 minutes. If you have time, 30 minutes is even better. The buttermilk tenderizes the meat and helps the coating stick like glue.
Step 2: Make the Coating
In a separate bowl, whisk together the flour, cornstarch, garlic powder, onion powder, paprika, cayenne (if using), oregano, 1 teaspoon salt, and 1/2 teaspoon pepper. Give it a good mix—you want everything evenly distributed.
Step 3: Set Up Your Dipping Station
Line up your bowls: one with the marinating chicken, one with the flour mixture, and an empty plate or baking sheet for the coated pieces. Keep a fork or tongs handy for the wet-to-dry transfer.
Step 4: Double Coat the Chicken
Here’s where the magic happens. Take a piece of chicken from the buttermilk, let the excess drip off, and drop it into the flour mixture. Toss it around to coat completely, then press the flour into the chicken gently. Lift it out, shake off the excess, and dip it back into the buttermilk for a quick second. Then back into the flour for a final coating. Place it on the plate. Repeat with all the pieces. I know it sounds fussy, but this double-dip creates those incredible crunchy nooks and crannies.
Step 5: Heat the Oil
Pour about 2 inches of oil into your skillet or Dutch oven. Heat it over medium-high heat until it reaches 350°F (175°C). Use your thermometer—don’t guess. If the oil is too hot, the outside burns before the chicken cooks through. Too cold, and you get greasy, soggy nuggets.
Step 6: Fry in Batches
Carefully drop the coated chicken pieces into the hot oil, one by one, without overcrowding the pan. You want them to have room to float and sizzle. Cook for 3-4 minutes per batch, turning occasionally, until they’re golden brown and cooked through. The internal temperature should reach 165°F (74°C). Use your slotted spoon to transfer them to a paper towel-lined plate or wire rack.
Step 7: Season Immediately
While the chicken is still hot, sprinkle with a little extra salt. This is a pro move—the salt sticks better to the hot, oily surface.
Step 8: Let Them Rest
Let the chicken rest for 2-3 minutes before serving. This allows the coating to set and stay crunchy. If you eat them straight away, they’re still good, but that short rest makes a difference.
Sensory Cues: The chicken should sizzle loudly when it hits the oil. You’ll see small bubbles around each piece. The color should deepen from pale gold to deep golden brown. The smell? Pure comfort—warm, savory, with just a hint of spice.
Cooking Tips & Techniques
I’ve made plenty of mistakes with this recipe so you don’t have to. Here’s what I’ve learned the hard way.
Don’t skip the buttermilk soak. I tried skipping it once because I was in a hurry, and the coating fell off in the oil. It was a sad, sad batch. The buttermilk isn’t just for flavor—it’s the glue that holds everything together.
Keep the oil temperature steady. This is the number one mistake I see people make. The oil temperature drops when you add the chicken, so don’t crowd the pan. I fry in batches of about 8-10 pieces. Let the oil come back to 350°F between batches. Patience pays off.
Use a wire rack instead of paper towels. Paper towels trap steam and make the bottom of the chicken soggy. A wire rack set over a baking sheet lets air circulate all around, keeping every side crunchy. I switched to this method and never looked back.
Double-coat for maximum crunch. I know I already mentioned this, but it bears repeating. That second dip and coat is what gives you those restaurant-quality results. The coating gets thicker, craggier, and way more satisfying.
Season the flour, not just the chicken. I used to only season the chicken itself, but the flour mixture is where the flavor really lives. Make sure your flour mixture is well-seasoned—taste it if you need to (just a tiny pinch, raw flour is fine in small amounts).
Let the coated chicken rest for 5 minutes before frying. This helps the coating adhere even better. I learned this trick from a fried chicken masterclass I watched online. It makes a real difference.
Variations & Adaptations
This recipe is incredibly flexible. Here are some of my favorite twists.
Spicy Buffalo Version: Toss the cooked chicken in your favorite buffalo sauce mixed with a little melted butter. Serve with blue cheese or ranch dressing. It’s a whole different snack experience.
Lemon Pepper Popcorn Chicken: Add 2 teaspoons of lemon zest and 1 tablespoon of cracked black pepper to the flour mixture. Skip the cayenne and paprika. It’s bright, fresh, and perfect for summer gatherings.
Air Fryer Adaptation: Preheat your air fryer to 400°F (200°C). Spray the coated chicken pieces with cooking spray and arrange them in a single layer in the basket. Cook for 10-12 minutes, flipping halfway through, until golden and cooked through. They won’t be quite as crunchy as the fried version, but they’re still delicious and way less messy.
Gluten-Free Option: Use a 1:1 gluten-free all-purpose flour blend and certified gluten-free cornstarch. The texture will be slightly different, but still very good. I’ve tested this with Bob’s Red Mill 1:1 and it worked well.
Honey Garlic Glaze: After frying, toss the chicken in a mixture of 1/4 cup honey, 2 tablespoons soy sauce, and 2 minced garlic cloves. It’s sticky, sweet, and savory—completely addictive.
I once made a batch with a Korean-inspired gochujang glaze for a party, and people were asking for the recipe for weeks. That’s the beauty of this base recipe—it’s a blank canvas for whatever flavors you’re craving.
Serving & Storage Suggestions
These crispy popcorn chicken bites are best served warm, right after frying. I like to pile them on a big platter with a few dipping sauces in small bowls. Ranch, honey mustard, and a spicy sriracha mayo are my go-tos. Sprinkle some fresh parsley on top for color, and maybe a few lemon wedges on the side for brightness.
They pair beautifully with other party snacks. I often serve them alongside my crispy mozzarella bites or some crispy cheesy potato croquettes for a full appetizer spread. For drinks, a cold beer or a crisp lemonade works perfectly.
Storage: If you have leftovers (unlikely, but possible), let them cool completely, then store in an airtight container in the refrigerator for up to 3 days. The coating will soften, but they’re still tasty.
Reheating: The best way to reheat these is in an air fryer at 375°F (190°C) for 3-4 minutes. A regular oven at 400°F (200°C) for 5-7 minutes works too. Avoid the microwave—it turns them into sad, soggy nuggets.
Freezer-Friendly: You can freeze the uncooked coated chicken pieces on a baking sheet until solid, then transfer to a freezer bag. Fry directly from frozen, adding about 2 minutes to the cooking time. This is a great make-ahead option for parties.
The flavors actually develop nicely overnight. I’ve eaten these cold straight from the fridge the next day, and honestly, they’re still pretty great. The seasoning melds together, and the texture, while softer, is still satisfying.
Nutritional Information & Benefits
Here’s a rough estimate per serving (about 6-8 pieces, assuming 4 servings total):
- Calories: 380-420
- Protein: 28g
- Fat: 22g
- Carbohydrates: 18g
- Fiber: 1g
- Sugar: 2g
These numbers will vary based on the type of oil you use and how much the chicken absorbs during frying. Using an air fryer can cut the fat content significantly.
Chicken is an excellent source of lean protein, which supports muscle health and keeps you feeling full. The buttermilk adds calcium and probiotics (if you use traditional cultured buttermilk). The spices—garlic, onion, paprika, oregano—are rich in antioxidants and anti-inflammatory compounds.
This recipe is naturally nut-free and can be made gluten-free with a simple flour swap. It contains dairy from the buttermilk, but you can use a dairy-free milk with lemon juice as a substitute. If you’re watching your sodium, you can reduce the salt in the coating and season more lightly after frying.
I’m not one to pretend fried food is a health food, but I believe in balance. These are a treat, and they’re worth every bite. If you’re looking for a lighter option, the air fryer version is a fantastic compromise.
Conclusion
These crispy popcorn chicken bites are everything you want in a party snack—crunchy, flavorful, and impossible to stop eating. They come together in under 30 minutes with ingredients you probably already have, and they’re endlessly customizable. Whether you’re hosting a game day gathering, a casual dinner party, or just treating yourself on a Tuesday night, these little nuggets deliver.
I love this recipe because it’s so forgiving. You can tweak the spices, change up the dipping sauces, or adapt it for different cooking methods, and it always turns out great. It’s the kind of recipe that makes you look like a rockstar in the kitchen without a ton of effort.
I’d love to hear how yours turn out! Drop a comment below and let me know what dipping sauce you went with, or share your own twist on the recipe. Don’t forget to pin this for later and share it with your friends—because good snacks are meant to be shared. Happy cooking, friend!
Frequently Asked Questions
Can I use chicken breast instead of thighs?
Absolutely. Chicken breasts work great—just make sure to cut them into even pieces and don’t overcook them, as they can dry out faster than thighs. If you’re using breasts, consider brining them in the buttermilk for at least 30 minutes for extra moisture.
How do I keep the coating from falling off?
The double-dip method is your best friend. Make sure the chicken is well-coated in buttermilk before the first flour dip, and press the flour firmly into the chicken. Let the coated pieces rest for 5 minutes before frying to help the coating set.
Can I bake these instead of frying?
Yes! Arrange the coated chicken on a parchment-lined baking sheet, spray generously with cooking spray, and bake at 425°F (220°C) for 15-18 minutes, flipping halfway through. They won’t be as crunchy as fried, but they’re still delicious and much lighter.
What’s the best oil for frying?
Vegetable oil, canola oil, or peanut oil are all excellent choices. They have high smoke points and neutral flavors that won’t compete with the seasoning. Avoid olive oil—it has a lower smoke point and can burn.
How far in advance can I make these for a party?
You can coat the chicken up to 4 hours ahead and keep it refrigerated. Fry them just before serving for the best texture. If you need to make them completely ahead, reheat in an air fryer or oven to restore some crunch.
If you’re looking for more crowd-pleasing appetizers, you might also enjoy my crispy cheesy buldak sausage rolls or these crispy double bacon cheeseburger pickle taco cups. Both are perfect for parties and disappear just as fast as these popcorn chicken bites!
Pin This Recipe!
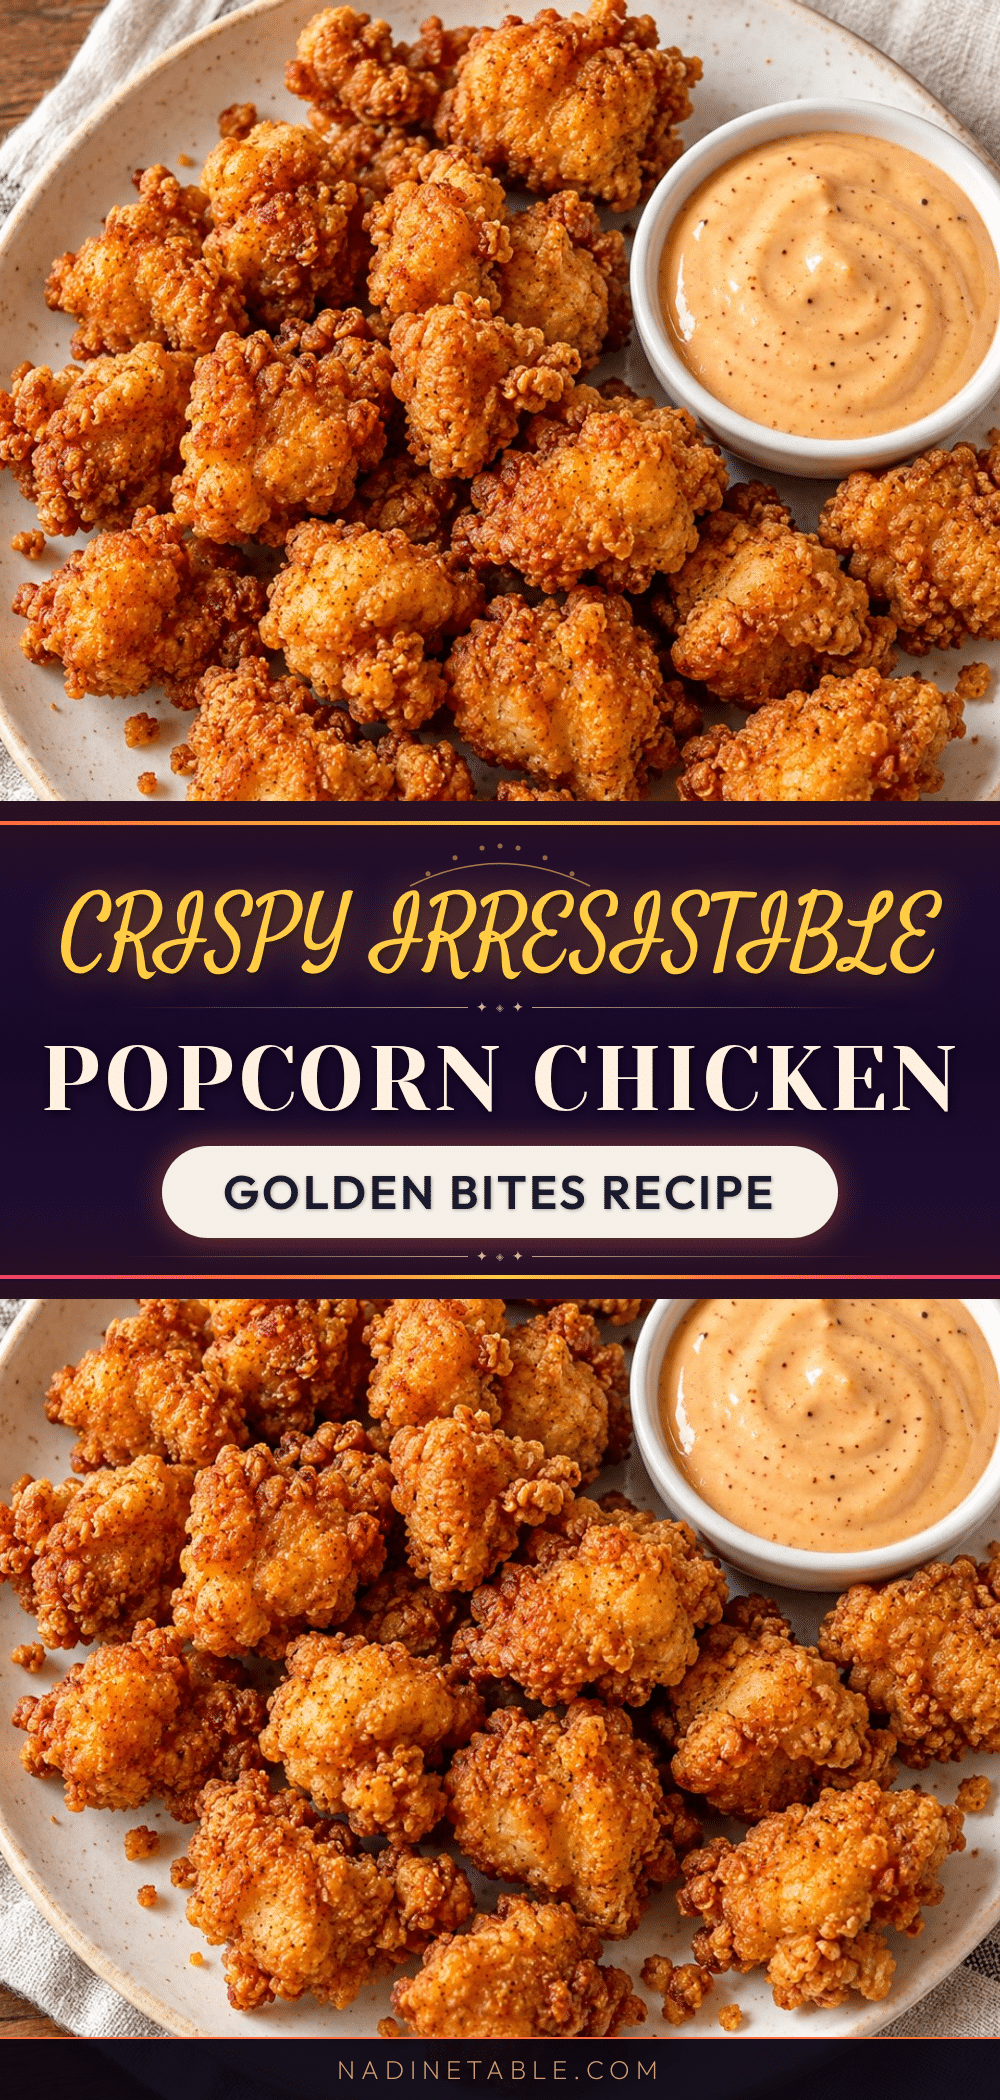
Crispy Popcorn Chicken Bites: Easy Party Snack Recipe
These crispy popcorn chicken bites are the ultimate party snack—crunchy on the outside, tender and juicy on the inside, and ready in under 30 minutes. Perfect for game days, casual get-togethers, or a quick weeknight treat.
- Prep Time: 15 minutes
- Cook Time: 15 minutes
- Total Time: 30 minutes
- Yield: 4 servings 1x
- Category: Appetizer
- Cuisine: American
Ingredients
- 1.5 lbs boneless, skinless chicken thighs or breasts, cut into bite-sized pieces
- 1 cup buttermilk
- 1 teaspoon salt
- 1/2 teaspoon black pepper
- 1.5 cups all-purpose flour
- 1/2 cup cornstarch
- 1 teaspoon garlic powder
- 1 teaspoon onion powder
- 1 teaspoon paprika
- 1/2 teaspoon cayenne pepper (optional)
- 1 teaspoon dried oregano
- 1 teaspoon salt (for flour mixture)
- 1/2 teaspoon black pepper (for flour mixture)
- Vegetable oil or canola oil, for frying (about 2-3 cups)
- Ranch dressing, honey mustard, or barbecue sauce (for serving, optional)
- Fresh parsley, chopped (for garnish, optional)
Instructions
- Cut the chicken into bite-sized pieces, about 1 inch each. Place in a bowl, season with 1 teaspoon salt and 1/2 teaspoon pepper, then pour the buttermilk over them. Stir to coat, cover, and refrigerate for at least 15 minutes (30 minutes is better).
- In a separate bowl, whisk together the flour, cornstarch, garlic powder, onion powder, paprika, cayenne (if using), oregano, 1 teaspoon salt, and 1/2 teaspoon pepper.
- Set up a dipping station: one bowl with the marinating chicken, one with the flour mixture, and an empty plate or baking sheet for the coated pieces.
- Double coat the chicken: Take a piece from the buttermilk, let excess drip off, and coat in the flour mixture. Press gently, then dip back into the buttermilk for a quick second, then back into the flour for a final coating. Place on the plate. Repeat with all pieces.
- Pour about 2 inches of oil into a deep skillet or Dutch oven. Heat over medium-high heat to 350°F (175°C).
- Fry the chicken in batches without overcrowding. Cook for 3-4 minutes per batch, turning occasionally, until golden brown and cooked through (internal temperature of 165°F/74°C). Transfer to a paper towel-lined plate or wire rack.
- While still hot, sprinkle with a little extra salt.
- Let the chicken rest for 2-3 minutes before serving.
Notes
For extra crunch, use the double-dip method. Keep oil temperature steady at 350°F. Let coated chicken rest for 5 minutes before frying. For a lighter version, use an air fryer at 400°F for 10-12 minutes.
Nutrition
- Serving Size: 6-8 pieces
- Calories: 400
- Sugar: 2
- Sodium: 800
- Fat: 22
- Saturated Fat: 4
- Carbohydrates: 18
- Fiber: 1
- Protein: 28
Keywords: popcorn chicken, crispy chicken bites, party snack, fried chicken, appetizer, game day snack