Love this? Save it for later!
Share the inspiration with your friends
I was standing in my kitchen at 9 p.m. on a Tuesday, staring at a bag of frozen chicken breasts and a half-empty bottle of pickle juice. My husband had texted me an hour earlier saying, “Craving nuggets. The ones from the drive-thru.” I knew exactly which ones he meant. And honestly, I was craving them too. But I was not about to get in the car, wait in line, and spend fifteen bucks on a bag of nuggets that would be cold by the time I got home. So I did what any reasonable person would do—I grabbed a cutting board and decided to figure it out myself.
The first batch was okay. Edible, but not great. The breading was too thick, and the chicken was a little dry. The second batch was better. By the third batch, my husband walked into the kitchen and said, “Wait, did you go get takeout?” That is when I knew I had cracked the code. These Crispy Better Than Takeout Chick-fil-A Nuggets are the result of a few late-night experiments, a lot of pickle brine, and a serious obsession with getting that signature crunch just right.
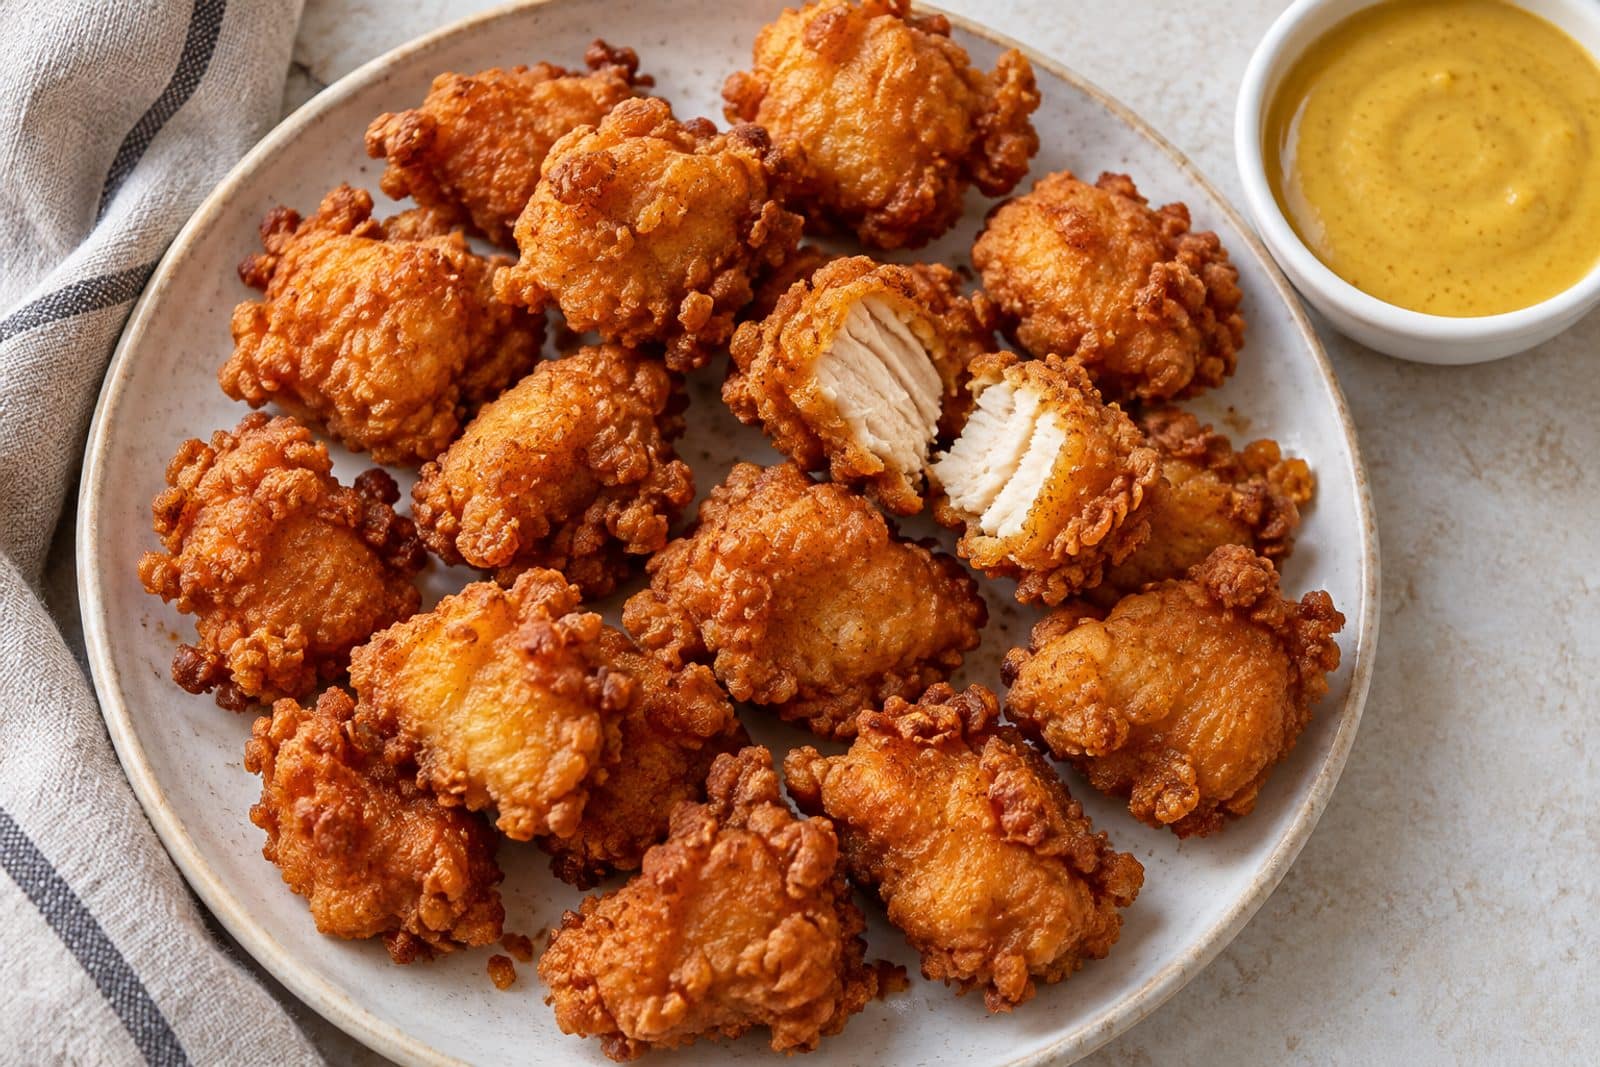
These nuggets are not just a copycat recipe—they are better. The chicken stays juicy on the inside, the breading is thin and shatteringly crispy, and the flavor is spot-on. No deep fryer required. No special equipment. Just a skillet, some oil, and a little bit of patience. If you have ever wanted to make fast-food-quality nuggets at home without the grease or the guilt, this is the recipe you have been waiting for.
Why You Will Love This Recipe
Let me be honest with you—I have tested a lot of chicken nugget recipes over the years. Some were too bready. Some were too soggy. Some just tasted like sad, seasoned flour. But these nuggets? They hit different. Here is why this recipe works and why it will become your new go-to:
- Quick & Easy: From start to finish, these nuggets come together in about 30 minutes. No marinating overnight, no complicated steps. Just simple, straightforward cooking.
- Simple Ingredients: You probably already have most of what you need in your pantry. Pickle juice, flour, paprika, garlic powder, and chicken. That is it. No weird additives or hard-to-find spices.
- Perfect for Game Day or Weeknight Dinner: These nuggets are versatile enough for a casual dinner, a Super Bowl party, or even a lunchbox surprise. They disappear fast, so make extra.
- Crowd-Pleaser: I have served these to kids, adults, picky eaters, and serious foodies. Every single person has asked for the recipe. They are that good.
- Unbelievably Crispy: The secret is in the double dredge and the peanut oil. The crust stays crunchy even after sitting out for a while—if they last that long.
What makes this recipe different from all the other copycat versions out there? It is the balance. The brine gives the chicken that tangy, tender quality. The breading uses a mix of flour and powdered sugar (yes, really) to mimic that signature sweetness. And the frying technique ensures every single nugget comes out golden and crispy, not greasy. This is not just another nugget recipe—it is the one you will text your friends about.
What Ingredients You Will Need
This recipe uses simple, everyday ingredients to create something truly special. No fancy shopping trips required. Here is everything you need and why each ingredient matters:
For the Chicken & Brine
- 1.5 lbs boneless, skinless chicken breasts – Cut into bite-sized pieces (about 1-inch cubes). Look for organic or free-range if you can; the flavor is noticeably better.
- 1 cup dill pickle juice – This is the magic ingredient. The acidity and saltiness tenderize the chicken and give it that unmistakable tang. I use Claussen or Vlasic, but any brand works.
- 1/2 cup buttermilk – Adds richness and helps the flour stick. If you don not have buttermilk, mix 1/2 cup milk with 1/2 tablespoon lemon juice and let it sit for 5 minutes.
- 1 large egg – Helps bind the breading to the chicken.
For the Breading
- 1 cup all-purpose flour – The base of the coating. Do not use self-rising flour; it changes the texture.
- 2 tablespoons powdered sugar – This is the secret to that slightly sweet, golden crust. It also helps the breading brown evenly.
- 1 teaspoon paprika – For color and a mild smoky flavor.
- 1 teaspoon garlic powder – Essential for that savory depth.
- 1/2 teaspoon onion powder – Rounds out the flavor profile.
- 1/2 teaspoon salt – Enhances everything. Adjust based on how salty your pickle juice is.
- 1/4 teaspoon black pepper – A little bit of heat.
- 1/4 teaspoon cayenne pepper (optional) – Adds a subtle kick. Leave it out if you prefer mild nuggets.
For Frying
- Peanut oil or vegetable oil – Peanut oil gives the best flavor and highest smoke point. Vegetable or canola oil also works well.
- Salt for finishing – A light sprinkle right out of the oil makes a huge difference.
Substitution tip: If you are dairy-free, swap the buttermilk for 1/2 cup unsweetened almond milk mixed with 1/2 tablespoon vinegar. For a gluten-free version, use gluten-free all-purpose flour blend—just note the texture will be slightly different.
Equipment Needed
You do not need a deep fryer or any fancy gadgets for this recipe. Here is what you will need:
- Large cast-iron skillet or heavy-bottomed pot – Cast iron holds heat beautifully and gives you an even fry. A Dutch oven works great too.
- Deep-fry thermometer – This is non-negotiable for me. Maintaining the right oil temperature is the difference between crispy nuggets and greasy ones.
- Two shallow bowls – One for the wet mixture, one for the dry breading.
- Tongs or a slotted spoon – For safely lowering and removing the nuggets from the hot oil.
- Wire rack set over a baking sheet – This keeps the nuggets crispy instead of soggy. Paper towels work in a pinch, but a rack is better.
- Sharp knife and cutting board – For cutting the chicken into uniform pieces.
If you do not have a cast-iron skillet, a stainless steel pan will work. Just keep a close eye on the temperature. And if you are new to frying, a thermometer is your best friend—trust me, I have ruined plenty of batches by guessing.
Preparation Method
Follow these steps carefully, and you will have the crispiest, juiciest nuggets of your life.
- Brine the chicken: Place the chicken pieces in a bowl and pour the pickle juice over them. Make sure all the pieces are submerged. Cover and refrigerate for at least 30 minutes, or up to 4 hours. The longer you brine, the more flavor you get. (I usually do 1 hour—it is the sweet spot.)
- Make the wet mixture: In a shallow bowl, whisk together the buttermilk and egg until smooth. Set aside.
- Prepare the breading: In another shallow bowl, combine the flour, powdered sugar, paprika, garlic powder, onion powder, salt, black pepper, and cayenne (if using). Whisk until evenly mixed.
- Heat the oil: Pour about 2 inches of oil into your skillet or pot. Heat over medium-high heat until it reaches 350°F (175°C). Use your thermometer to monitor the temperature. While the oil heats, set up your dredging station.
- Dredge the chicken: Remove the chicken from the pickle brine and pat it dry with paper towels. This step is crucial—excess moisture will make the breading fall off. Working in batches, dip each piece first into the buttermilk mixture, letting the excess drip off. Then coat it in the flour mixture, pressing gently so the breading adheres. Shake off any excess flour. For extra crunch, dip back into the buttermilk and then the flour a second time (double dredge).
- Fry the nuggets: Carefully lower 5-6 nuggets into the hot oil using tongs. Do not overcrowd the pan—this drops the oil temperature and makes the nuggets greasy. Fry for 3-4 minutes, turning once halfway through, until golden brown and cooked through (internal temperature should reach 165°F/74°C).
- Drain and season: Transfer the cooked nuggets to the wire rack. Sprinkle immediately with a pinch of salt while they are still hot. Repeat with the remaining chicken, letting the oil come back to 350°F between batches.
- Serve right away: These nuggets are best within 10 minutes of frying. Serve with your favorite dipping sauces—honey mustard, ranch, or Chick-fil-A sauce.
Sensory cue: When the nuggets hit the oil, you should hear a steady, satisfying sizzle. If the oil is too quiet, it is not hot enough. If it splatters aggressively, it is too hot. The nuggets should float to the surface when they are done.
Cooking Tips & Techniques
I have made this recipe more times than I care to count, and I have learned a few things the hard way. Here are my best tips for nugget success:
- Do not skip the brine. I know it adds an extra step, but the pickle juice is what makes these nuggets taste like the real deal. Without it, the chicken is just bland and dry.
- Pat the chicken dry. This is probably the most common mistake I see. If the chicken is wet, the breading slides right off in the oil. Take the extra 30 seconds to blot each piece.
- Keep the oil temperature steady. Between batches, let the oil come back up to 350°F. If you rush this step, your nuggets will absorb too much oil and turn greasy. I learned this the hard way during a Super Bowl party—never again.
- Use a wire rack, not paper towels. Paper towels trap steam and make the breading soggy. A wire rack lets air circulate, keeping the crust perfectly crispy. If you do not have a rack, place the nuggets on a clean kitchen towel instead.
- Double dredge for extra crunch. If you want that shatteringly crispy texture, do the double dip. It takes an extra minute but makes a huge difference. I do it every time now.
- Work in small batches. Overcrowding the pan is the fastest way to ruin a batch. Give the nuggets room to swim.
Variations & Adaptations
Once you master the basic recipe, feel free to play around. Here are some of my favorite twists:
- Spicy version: Add 1 teaspoon of cayenne pepper to the breading and a splash of hot sauce to the buttermilk mixture. These are amazing if you love heat.
- Gluten-free option: Use a 1:1 gluten-free flour blend (I like Bob’s Red Mill). The texture will be slightly less crispy, but still delicious. You can also try almond flour for a low-carb version.
- Air fryer adaptation: After breading, spray the nuggets generously with cooking oil and air fry at 400°F for 10-12 minutes, flipping halfway. They won’t be as crispy as deep-fried, but they are a great lighter option.
- Honey mustard glaze: Toss the cooked nuggets in a mixture of 1/4 cup honey and 2 tablespoons Dijon mustard for a sticky, sweet twist. I did this once for a party and they vanished in minutes.
- Nashville hot style: After frying, brush the nuggets with melted butter mixed with cayenne, brown sugar, and garlic powder. Serve with pickles and white bread. For a full experience, try my Crispy Nashville Hot Chicken Burgers with Creamy Coleslaw.
Serving & Storage Suggestions
These nuggets are best served hot and fresh, but here is how to handle leftovers and make the most of them:
- Serving: Serve immediately with your favorite dips. I love fresh guacamole for a creamy contrast, or classic honey mustard. For a full meal, pair with waffle fries, coleslaw, or a simple side salad.
- Storage: Let leftover nuggets cool completely, then store them in an airtight container in the refrigerator for up to 3 days. Do not stack them too high, or the breading will get crushed.
- Reheating: The best way to reheat is in an air fryer at 375°F for 3-4 minutes. You can also use a 400°F oven for 5-7 minutes on a wire rack. Avoid the microwave—it turns the breading into a sad, soggy mess.
- Freezing: Freeze the cooked nuggets in a single layer on a baking sheet, then transfer to a freezer bag. They keep for up to 3 months. Reheat directly from frozen in the air fryer or oven—no need to thaw.
Nutritional Information & Benefits
Here is an approximate nutritional breakdown per serving (about 6 nuggets, assuming 4 servings total):
- Calories: 380
- Protein: 35g
- Fat: 18g
- Carbohydrates: 18g
- Fiber: 1g
- Sugar: 4g
These nuggets are a solid source of lean protein, especially if you use organic chicken breast. The pickle brine adds electrolytes and probiotics (from the fermentation process), which is a nice bonus. If you are watching your sodium, use a low-sodium pickle juice or reduce the salt in the breading. For a lower-fat option, the air fryer version cuts the oil significantly while still delivering great flavor.
Compared to fast-food nuggets, these have no preservatives, no artificial flavors, and no mystery ingredients. That alone makes them worth the extra 10 minutes of prep time.
Frequently Asked Questions
Can I use chicken thighs instead of breasts?
Absolutely. Chicken thighs are more forgiving and stay juicier. Just adjust the frying time slightly—thigh pieces may need an extra minute or two to reach 165°F internally.
Do I have to use pickle juice?
Yes, for the authentic Chick-fil-A flavor. The pickle juice is what gives the nuggets that signature tangy taste and tender texture. If you absolutely cannot use it, substitute with a mixture of 1/2 cup water, 2 tablespoons vinegar, and 1 teaspoon salt.
Can I make these nuggets in advance for a party?
You can, but they are best fresh. If you need to prep ahead, bread the nuggets and refrigerate them on a baking sheet for up to 4 hours before frying. Alternatively, fry them, let them cool, and reheat in the oven or air fryer just before serving.
Why did my breading fall off in the oil?
This usually happens for one of three reasons: the chicken was too wet when you breaded it, the oil was not hot enough, or you overcrowded the pan. Make sure to pat the chicken dry and let the oil come back to 350°F between batches.
What dipping sauces go best with these nuggets?
Classic honey mustard, ranch, and Chick-fil-A sauce (a mix of honey mustard and BBQ) are the top picks. For something different, try hot honey for a sweet-spicy kick or a creamy garlic aioli.
Conclusion
These Crispy Better Than Takeout Chick-fil-A Nuggets are proof that the best versions of your favorite foods are often the ones you make yourself. They are crunchy, juicy, perfectly seasoned, and honestly—they taste even better than the drive-thru original. No waiting in line, no cold fries, no mystery ingredients. Just pure, homemade goodness that takes about 30 minutes from start to finish.
I love this recipe because it is forgiving enough for a beginner but rewarding enough for a seasoned cook. Whether you are making them for a weeknight dinner, a party platter, or just because you are craving something crispy and satisfying, these nuggets deliver every single time. And once you taste that first bite—golden, salty, perfectly crunchy—you will never look at a fast-food bag the same way again.
So grab some chicken, open a jar of pickles, and get frying. I promise you will not regret it. And when you make them (because I know you will), come back and let me know how they turned out. Did you add extra spice? Double the batch? Dip them in something wild? I want to hear all about it. Drop a comment below or tag me in your photos—I am always here for nugget content.
Pin This Recipe!
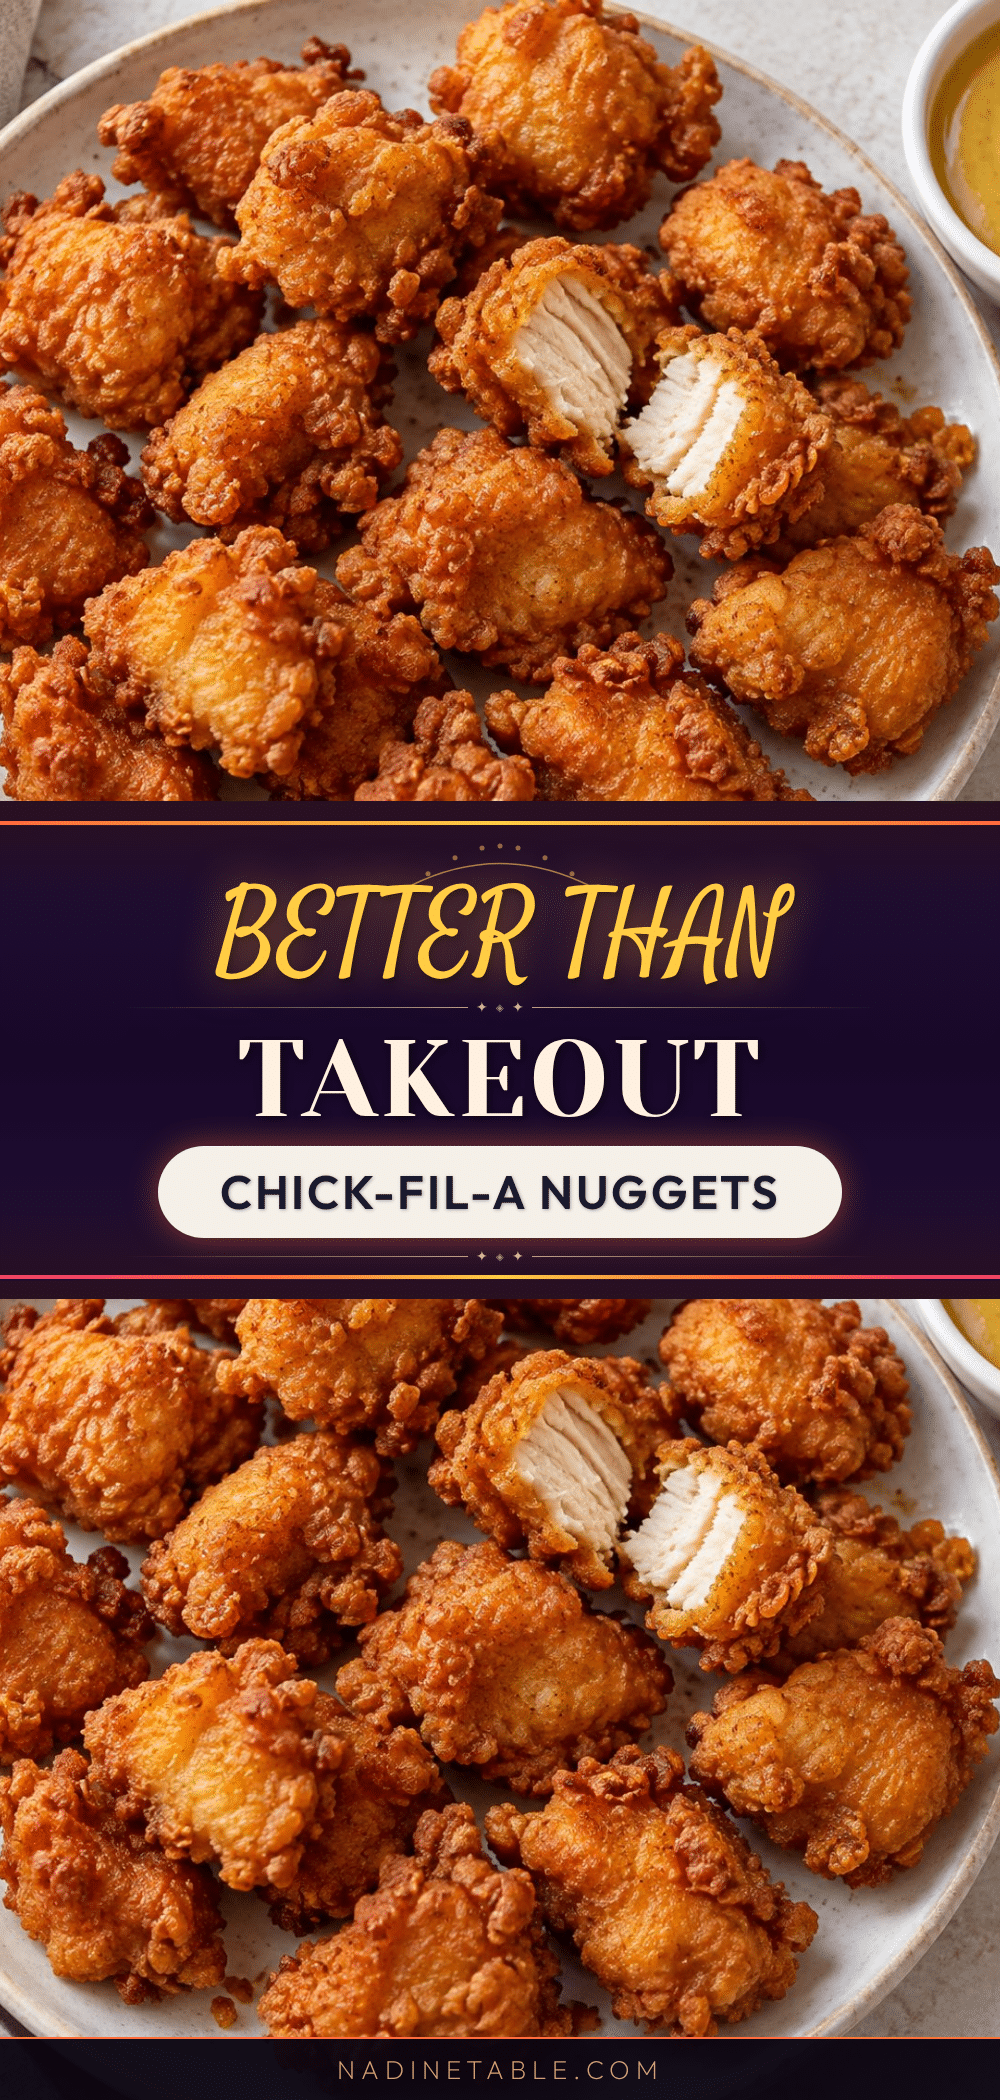
Crispy Better Than Takeout Chick-fil-A Nuggets Recipe
These Crispy Better Than Takeout Chick-fil-A Nuggets are juicy on the inside, shatteringly crispy on the outside, and packed with that signature tangy flavor. Made with simple ingredients and no deep fryer required, they are perfect for weeknight dinners or game day.
- Prep Time: 15 minutes
- Cook Time: 15 minutes
- Total Time: 30 minutes
- Yield: 4 servings 1x
- Category: Main Course
- Cuisine: American
Ingredients
- 1.5 lbs boneless, skinless chicken breasts, cut into bite-sized pieces
- 1 cup dill pickle juice
- 1/2 cup buttermilk
- 1 large egg
- 1 cup all-purpose flour
- 2 tablespoons powdered sugar
- 1 teaspoon paprika
- 1 teaspoon garlic powder
- 1/2 teaspoon onion powder
- 1/2 teaspoon salt
- 1/4 teaspoon black pepper
- 1/4 teaspoon cayenne pepper (optional)
- Peanut oil or vegetable oil, for frying
- Salt for finishing
Instructions
- Brine the chicken: Place the chicken pieces in a bowl and pour the pickle juice over them. Make sure all the pieces are submerged. Cover and refrigerate for at least 30 minutes, or up to 4 hours.
- Make the wet mixture: In a shallow bowl, whisk together the buttermilk and egg until smooth. Set aside.
- Prepare the breading: In another shallow bowl, combine the flour, powdered sugar, paprika, garlic powder, onion powder, salt, black pepper, and cayenne (if using). Whisk until evenly mixed.
- Heat the oil: Pour about 2 inches of oil into your skillet or pot. Heat over medium-high heat until it reaches 350°F (175°C). Use your thermometer to monitor the temperature.
- Dredge the chicken: Remove the chicken from the pickle brine and pat it dry with paper towels. Working in batches, dip each piece first into the buttermilk mixture, letting the excess drip off. Then coat it in the flour mixture, pressing gently so the breading adheres. Shake off any excess flour. For extra crunch, dip back into the buttermilk and then the flour a second time (double dredge).
- Fry the nuggets: Carefully lower 5-6 nuggets into the hot oil using tongs. Do not overcrowd the pan. Fry for 3-4 minutes, turning once halfway through, until golden brown and cooked through (internal temperature should reach 165°F/74°C).
- Drain and season: Transfer the cooked nuggets to a wire rack set over a baking sheet. Sprinkle immediately with a pinch of salt while they are still hot. Repeat with the remaining chicken, letting the oil come back to 350°F between batches.
- Serve right away: These nuggets are best within 10 minutes of frying. Serve with your favorite dipping sauces.
Notes
Do not skip the brine; it gives the nuggets their signature tangy flavor and tender texture. Pat the chicken dry before breading to ensure the coating sticks. Keep the oil temperature steady at 350°F between batches to avoid greasy nuggets. For extra crunch, use the double dredge method.
Nutrition
- Serving Size: 6 nuggets
- Calories: 380
- Sugar: 4
- Sodium: 800
- Fat: 18
- Saturated Fat: 3
- Carbohydrates: 18
- Fiber: 1
- Protein: 35
Keywords: chicken nuggets, chick-fil-a copycat, crispy chicken, homemade nuggets, pickle brine, easy dinner, game day food