Love this? Save it for later!
Share the inspiration with your friends
I was standing in my kitchen at 8:47 PM on a Tuesday, staring at a bag of frozen chicken tenders I’d picked up in a moment of desperation. The oven was preheating, and I was already sighing—because I knew exactly how this was going to end. Soggy coating. Bland meat. That weird, slightly rubbery texture that makes you wonder if you’re actually eating chicken or some kind of edible science experiment.
So I didn’t open the bag.
Instead, I pulled out a cutting board, three chicken breasts, and a box of panko breadcrumbs I’d bought on a whim last weekend. My husband poked his head in and asked what I was doing. “Fixing dinner,” I said, not entirely sure I could pull it off.
Forty minutes later, we were sitting on the couch with a plate of the crispiest, juiciest chicken nuggets I’d ever made—dunking them into honey mustard and laughing at how something so simple could feel like such a win. The coating actually crunched. The chicken was tender. And there was zero grease pooling on the paper towel. It felt like I’d cracked some kind of code.
These crispy chicken nuggets have been in regular rotation ever since. They show up on busy weeknights, lazy Sundays, and whenever I need a guaranteed crowd-pleaser that doesn’t require a drive-thru window. And the best part? They beat takeout every single time—without the soggy disappointment.
Why You’ll Love This Recipe
I’ve tested a lot of chicken nugget recipes over the years. Some were too dry. Some had coating that fell off the second you looked at them. And some just didn’t taste like anything worth repeating. This one is different—and here’s why it actually works.
- Incredibly Crispy Without Deep Frying : The combination of panko and a simple buttermilk soak creates a coating that stays crunchy for hours. No soggy bottoms here.
- Simple Pantry Ingredients : You probably have most of these in your kitchen right now. No weird specialty flours or hard-to-find seasonings.
- Ready in Under 30 Minutes : From start to finish, these come together faster than ordering delivery. And they taste way better.
- Kid-Approved and Adult-Friendly : My nephew calls them “the good nuggets” and my husband packs leftovers for lunch. That’s a win-win.
- Baked or Fried, Your Choice : I’ll give you both methods so you can pick what works for your kitchen and your mood.
What makes this recipe stand out from the hundreds of others out there is the buttermilk marinade. It’s not just for flavor—it tenderizes the chicken so every bite stays juicy, even if you accidentally leave them in the oven a minute too long. And the double-coating technique? That’s the secret to the crunch that actually lasts.
Honestly, this is the kind of recipe that makes you feel like you’ve got a secret weapon in your back pocket. Perfect for game day, lunchboxes, or those nights when you just need something comforting and delicious without the fuss.
What Ingredients You Will Need
This recipe uses simple, everyday ingredients to create nuggets that taste anything but ordinary. Each component plays a specific role in building flavor, texture, and that golden-brown crunch we’re after.
- Boneless, skinless chicken breasts (1.5 lbs or about 2 large breasts) – Cut into bite-sized pieces, about 1.5 inches each. Uniform size helps them cook evenly.
- Buttermilk (1 cup) – This is the magic ingredient. The acidity tenderizes the chicken and helps the coating stick. No buttermilk? Mix 1 cup milk with 1 tablespoon lemon juice and let it sit for 5 minutes.
- All-purpose flour (1 cup) – Creates the base layer for the coating to adhere to. I’ve tried gluten-free blends here and they work, but all-purpose gives the best texture.
- Panko breadcrumbs (2 cups) – These are larger and flakier than regular breadcrumbs, which means more crunch. I prefer the Japanese-style panko from Kikkoman or the store brand—both work great.
- Cornstarch (2 tablespoons) – The secret to extra crispiness. It lightens the coating and helps it stay crunchy even after cooling.
- Paprika (1 teaspoon) – Adds color and a mild, sweet smokiness. Smoked paprika works beautifully here too.
- Garlic powder (1 teaspoon) – Don’t skip this. It adds savory depth without being overpowering.
- Onion powder (1/2 teaspoon) – Rounds out the savory flavor profile.
- Salt (1 teaspoon) – Essential for seasoning both the chicken and the coating.
- Black pepper (1/2 teaspoon) – Freshly ground is best for that little kick.
- Cayenne pepper (1/4 teaspoon, optional) – Adds a subtle warmth without making them spicy. Leave it out if you’re cooking for kids.
- Eggs (2 large) – Helps the panko stick to the flour-coated chicken. Use room temperature eggs for better consistency.
- Cooking spray or oil – For baking, I use avocado oil spray. For frying, vegetable or canola oil works best.
Ingredient tip: Look for chicken breasts that are roughly the same size so they cook evenly. If one end is much thinner than the other, pound it gently to even it out. And for the best panko crunch, I always toast my breadcrumbs in a dry pan for 2-3 minutes before coating—it’s an extra step that makes a real difference.
Equipment Needed
You don’t need a professional kitchen to make these nuggets, but having the right tools makes the process smoother and the results more consistent.
- Baking sheet – A rimmed half-sheet pan works perfectly. Line it with parchment paper or aluminum foil for easy cleanup.
- Wire rack – This is optional but highly recommended for baking. It lifts the nuggets off the pan so air circulates underneath, making them crispy all over. I use a simple cooling rack that fits inside my baking sheet.
- Three shallow bowls – For the buttermilk, flour mixture, and egg-panko mixture. I use pie plates—they’re wide enough to work in without making a mess.
- Meat thermometer – Not strictly necessary, but it takes the guesswork out. Chicken is done at 165°F internal temperature.
- Tongs or a slotted spoon – For transferring nuggets between bowls and onto the baking sheet or into the oil.
- Large skillet or deep pot – If you’re frying, use something with high sides to prevent oil splatter. Cast iron works beautifully.
- Paper towels – For draining fried nuggets. I use a double layer on a plate.
Budget-friendly tip: If you don’t have a wire rack, you can bake the nuggets directly on the parchment-lined sheet and flip them halfway through. They won’t be quite as crispy on the bottom, but they’ll still be delicious.
Preparation Method
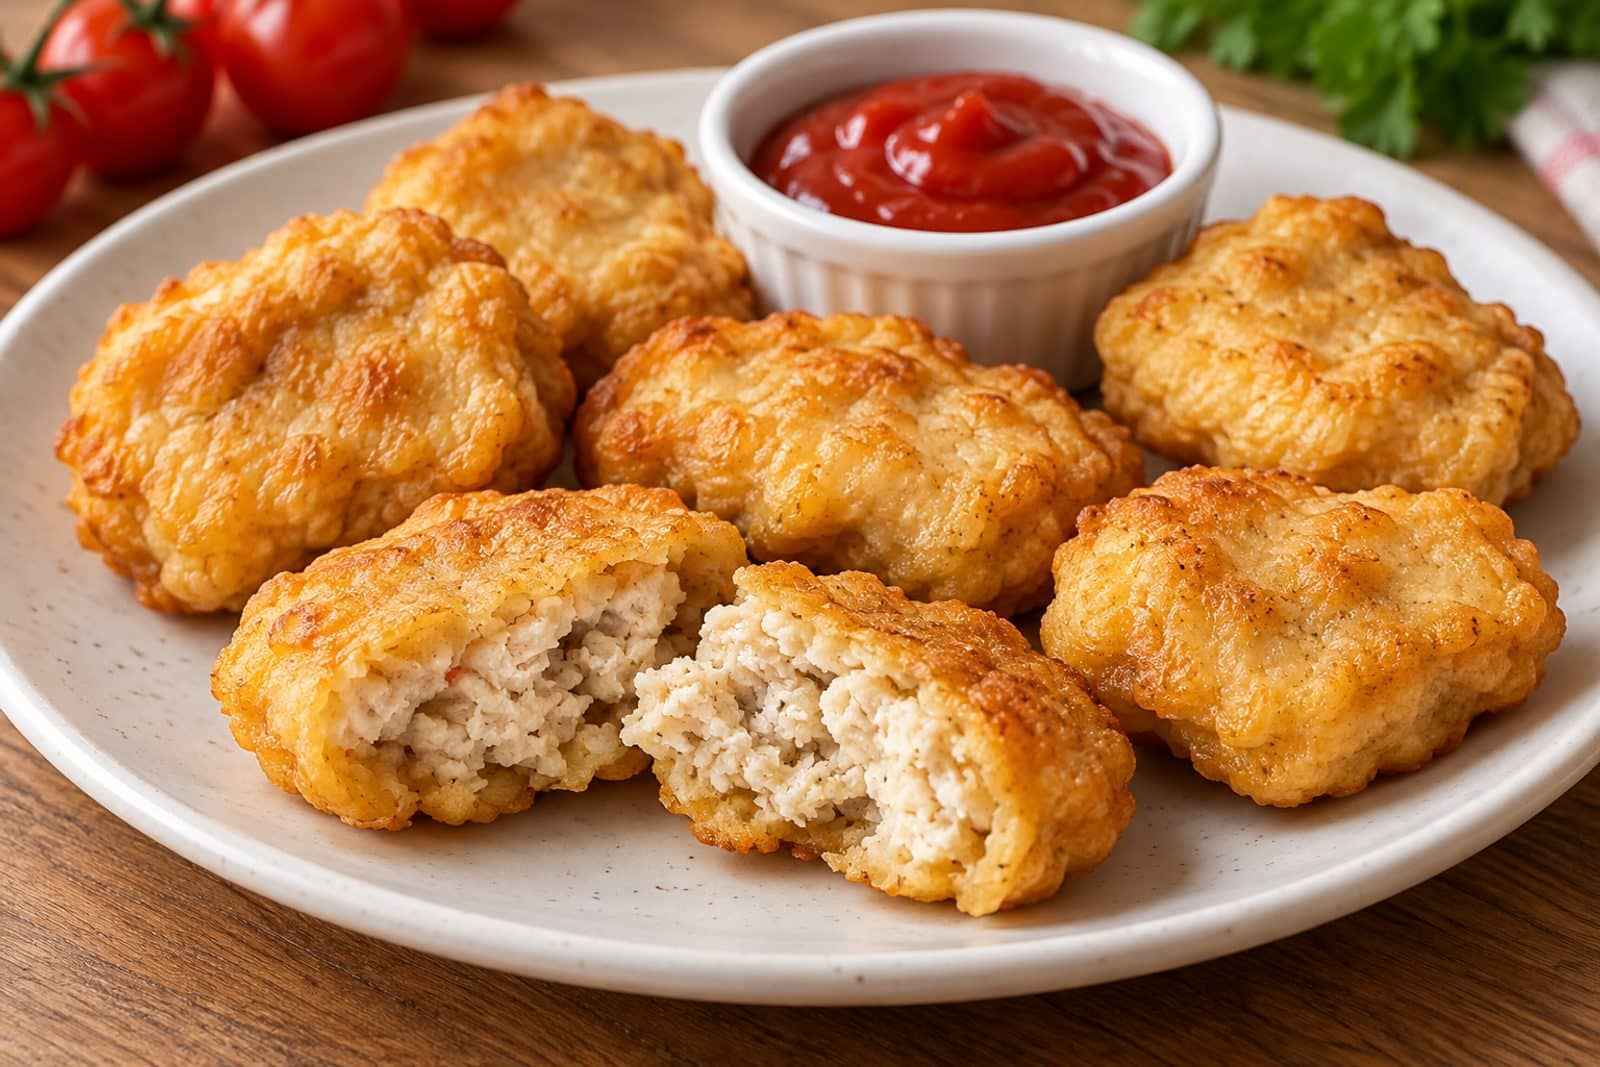
Let’s get cooking. This method is straightforward, but each step matters for that perfect crunch.
- Prepare the chicken. Cut your chicken breasts into 1.5-inch pieces. Try to keep them uniform so they cook at the same rate. Pat them dry with paper towels—this helps the buttermilk soak in better.
- Marinate in buttermilk. Place the chicken pieces in a bowl and pour the buttermilk over them. Stir to coat, cover, and refrigerate for at least 30 minutes. If you’re short on time, even 15 minutes makes a difference. For the best results, let them soak for 2-4 hours. The buttermilk tenderizes the meat and helps the coating stick.
- Set up your breading station. In the first shallow bowl, combine the flour, cornstarch, paprika, garlic powder, onion powder, salt, black pepper, and cayenne. In the second bowl, beat the eggs with 1 tablespoon of water. In the third bowl, add the panko breadcrumbs.
- Heat your oven or oil. If baking, preheat your oven to 425°F (220°C) and place the wire rack on the baking sheet. If frying, heat about 1 inch of oil in a large skillet over medium-high heat until it reaches 350°F (175°C).
- Coat the chicken. Working with a few pieces at a time, remove chicken from the buttermilk (let excess drip off). First, dredge in the flour mixture, pressing gently so it adheres. Shake off any excess. Then dip into the beaten eggs, letting the excess drip off. Finally, coat in the panko breadcrumbs, pressing firmly so they stick. Place on a plate while you finish the rest.
- Bake or fry. For baking: Arrange the coated nuggets in a single layer on the wire rack, leaving a little space between each. Spray generously with cooking spray. Bake for 12-15 minutes, flipping halfway through, until golden brown and the internal temperature reaches 165°F (74°C). For frying: Carefully place nuggets in the hot oil, working in batches so you don’t crowd the pan. Fry for 3-4 minutes per side, until deep golden brown and cooked through. Transfer to a paper towel-lined plate to drain.
- Rest and serve. Let the nuggets rest for 2-3 minutes before serving. This helps the coating set and prevents it from falling off when you bite into it.
Sensory cue: When they’re done, the coating should be a deep golden brown and sound crunchy when you tap it with a fork. The chicken should feel firm but give slightly when pressed. If you’re baking, you’ll smell that toasty panko aroma filling your kitchen—that’s how you know they’re close.
Cooking Tips & Techniques
After making these nuggets more times than I can count, I’ve picked up a few tricks that make a real difference. Here’s what I’ve learned the hard way so you don’t have to.
Don’t skip the buttermilk soak. I tried skipping this once because I was in a hurry, and the coating slid right off during baking. The buttermilk acts like glue for the flour and panko. If you’re really pressed for time, at least let it sit for 15 minutes—it’s better than nothing.
Use one hand for wet, one hand for dry. This sounds simple, but it saves so much mess. Use your left hand to move chicken from buttermilk to flour, and your right hand for the egg and panko. Your fingers won’t turn into a gluey mess.
Press the panko in firmly. Don’t just roll the chicken in the breadcrumbs. Press them in with your fingers so they really stick. Loose panko will fall off in the oven or oil, leaving you with sad, bare spots.
Don’t overcrowd the pan. Whether baking or frying, space matters. Crowded nuggets steam instead of crisping. If baking, leave at least half an inch between each piece. If frying, cook in batches—it takes longer but the results are worth it.
My biggest failure: The first time I made these, I used regular breadcrumbs instead of panko. The coating was dense and heavy, and the nuggets came out more like chicken-flavored hockey pucks. Panko is non-negotiable for that light, airy crunch.
Timing tip: While the chicken is marinating, prep your breading station and preheat your oven or oil. That way, once you start coating, everything is ready to go. The whole process moves fast once you start.
Variations & Adaptations
One of the best things about this recipe is how easily it adapts to different tastes, diets, and cravings. Here are some of my favorite variations.
Spicy Buffalo Nuggets: Add 2 tablespoons of buffalo sauce to the buttermilk marinade and increase the cayenne to 1/2 teaspoon. Serve with ranch or blue cheese dressing. These are dangerously good.
Parmesan Herb Nuggets: Mix 1/2 cup grated Parmesan cheese and 1 tablespoon dried Italian seasoning into the panko breadcrumbs. The cheese gets extra crispy in the oven and adds a savory umami punch.
Gluten-Free Version: Use gluten-free all-purpose flour and gluten-free panko. I’ve tested this with Cup4Cup flour and Ian’s gluten-free panko, and the texture is remarkably close to the original.
Air Fryer Method: Preheat your air fryer to 400°F (200°C). Arrange the nuggets in a single layer in the basket (don’t overcrowd). Spray with oil and cook for 8-10 minutes, flipping halfway through. They come out even crispier than baked ones.
Honey Mustard Glazed: After baking or frying, toss the hot nuggets in a mixture of 1/4 cup honey and 2 tablespoons Dijon mustard. The sweet and tangy glaze clings to the crunchy coating beautifully.
I personally love the Parmesan herb version for Sunday dinners—it feels a little fancier without any extra effort. And the air fryer method has become my go-to for weekday lunches when I want something quick and satisfying.
Serving & Storage Suggestions
These nuggets are versatile enough to fit into any meal, but a few serving ideas can take them from good to unforgettable.
Serving temperature: Serve them hot and fresh for the crispiest experience. They’re excellent straight off the baking sheet or out of the fryer. If you’re serving them at a party, keep them warm in a 200°F oven on the wire rack for up to 30 minutes.
Dipping sauces: Classic honey mustard, ranch, barbecue sauce, or a simple garlic aioli all pair beautifully. For something different, try my crispy hot honey shrimp bites dipping sauce—it’s a sweet and spicy combo that works just as well with chicken.
Side dishes: These nuggets go great with easy crispy garlic parmesan potato balls, a simple green salad, or roasted vegetables. For a complete meal, serve them alongside creamy one pan chicken fajita pasta for a fun twist on a chicken dinner.
Storage: Store leftover nuggets in an airtight container in the refrigerator for up to 4 days. To reheat, place them on a baking sheet in a 375°F oven for 5-7 minutes, or pop them in the air fryer for 3-4 minutes. The microwave will make them soggy—avoid it if you can.
Freezing: You can freeze the cooked nuggets in a single layer on a baking sheet, then transfer them to a freezer bag. They’ll keep for up to 3 months. Reheat directly from frozen in a 400°F oven for 10-12 minutes.
Flavor note: These nuggets actually taste even better the next day if you reheat them properly. The flavors meld together, and the coating crisps back up beautifully in the oven.
Nutritional Information & Benefits
Here’s an approximate breakdown per serving (about 6-8 nuggets, baked version):
- Calories: 380
- Protein: 35g
- Carbohydrates: 28g
- Fat: 12g
- Fiber: 2g
- Sodium: 680mg
Health benefits: Chicken breast is a lean source of high-quality protein, which supports muscle repair and keeps you feeling full longer. Buttermilk provides calcium and probiotics, which are great for gut health. And by baking instead of deep frying, you significantly reduce the fat content without sacrificing texture.
Dietary considerations: This recipe can easily be made gluten-free (as noted in the variations) and is naturally nut-free. If you’re watching your sodium, reduce the salt to 1/2 teaspoon and skip the cayenne—the flavor will still be great.
I personally love that this recipe lets me enjoy a comfort food classic without the guilt. It’s one of those meals that feels indulgent but is actually pretty balanced. Perfect for when you want something satisfying that doesn’t derail your week.
Conclusion
These crispy chicken nuggets have earned a permanent spot in my kitchen rotation. They’re quick enough for a busy weeknight, impressive enough for guests, and simple enough that even beginner cooks can nail them on the first try. The buttermilk soak, the double coating, and the panko crunch come together to create something that genuinely beats anything you’d get from a takeout box.
I’d love to hear how they turn out for you. Did you try the baked version or the fried one? Did you come up with a fun dipping sauce or a creative variation? Drop a comment below and share your experience—I read every single one and I’m always looking for new ideas to try.
And if you’re craving more crispy chicken recipes, don’t miss my crispy hot honey wings or the best crispy Korean popcorn chicken—they’re both absolute winners.
Happy cooking, and remember: the best nuggets are the ones you make yourself.
Frequently Asked Questions
Can I use chicken thighs instead of breasts?
Absolutely. Chicken thighs are more forgiving and stay juicier, especially if you tend to overcook things. Just adjust the cooking time slightly—thighs may need an extra 2-3 minutes in the oven.
Why did my coating fall off?
This usually happens for one of three reasons: the chicken wasn’t patted dry before the buttermilk soak, you didn’t press the panko firmly enough, or you skipped the buttermilk soak entirely. Make sure each layer is well-adhered before moving to the next.
Can I make these ahead of time for a party?
Yes! You can bread the nuggets up to 24 hours in advance and store them on a baking sheet in the refrigerator. Just cover them loosely with plastic wrap. Bake or fry them right before serving for the best texture.
How do I get them extra crispy without frying?
Use a wire rack on your baking sheet and spray the nuggets generously with oil. The air circulation underneath and the oil mist on top create that deep-fried texture without the mess. Also, toasting the panko beforehand adds extra crunch.
Can I freeze the uncooked breaded nuggets?
Definitely. Arrange the breaded nuggets in a single layer on a baking sheet and freeze until solid (about 2 hours). Transfer to a freezer bag. They’ll keep for up to 3 months. Bake from frozen at 425°F for 15-18 minutes—no need to thaw.
Pin This Recipe!
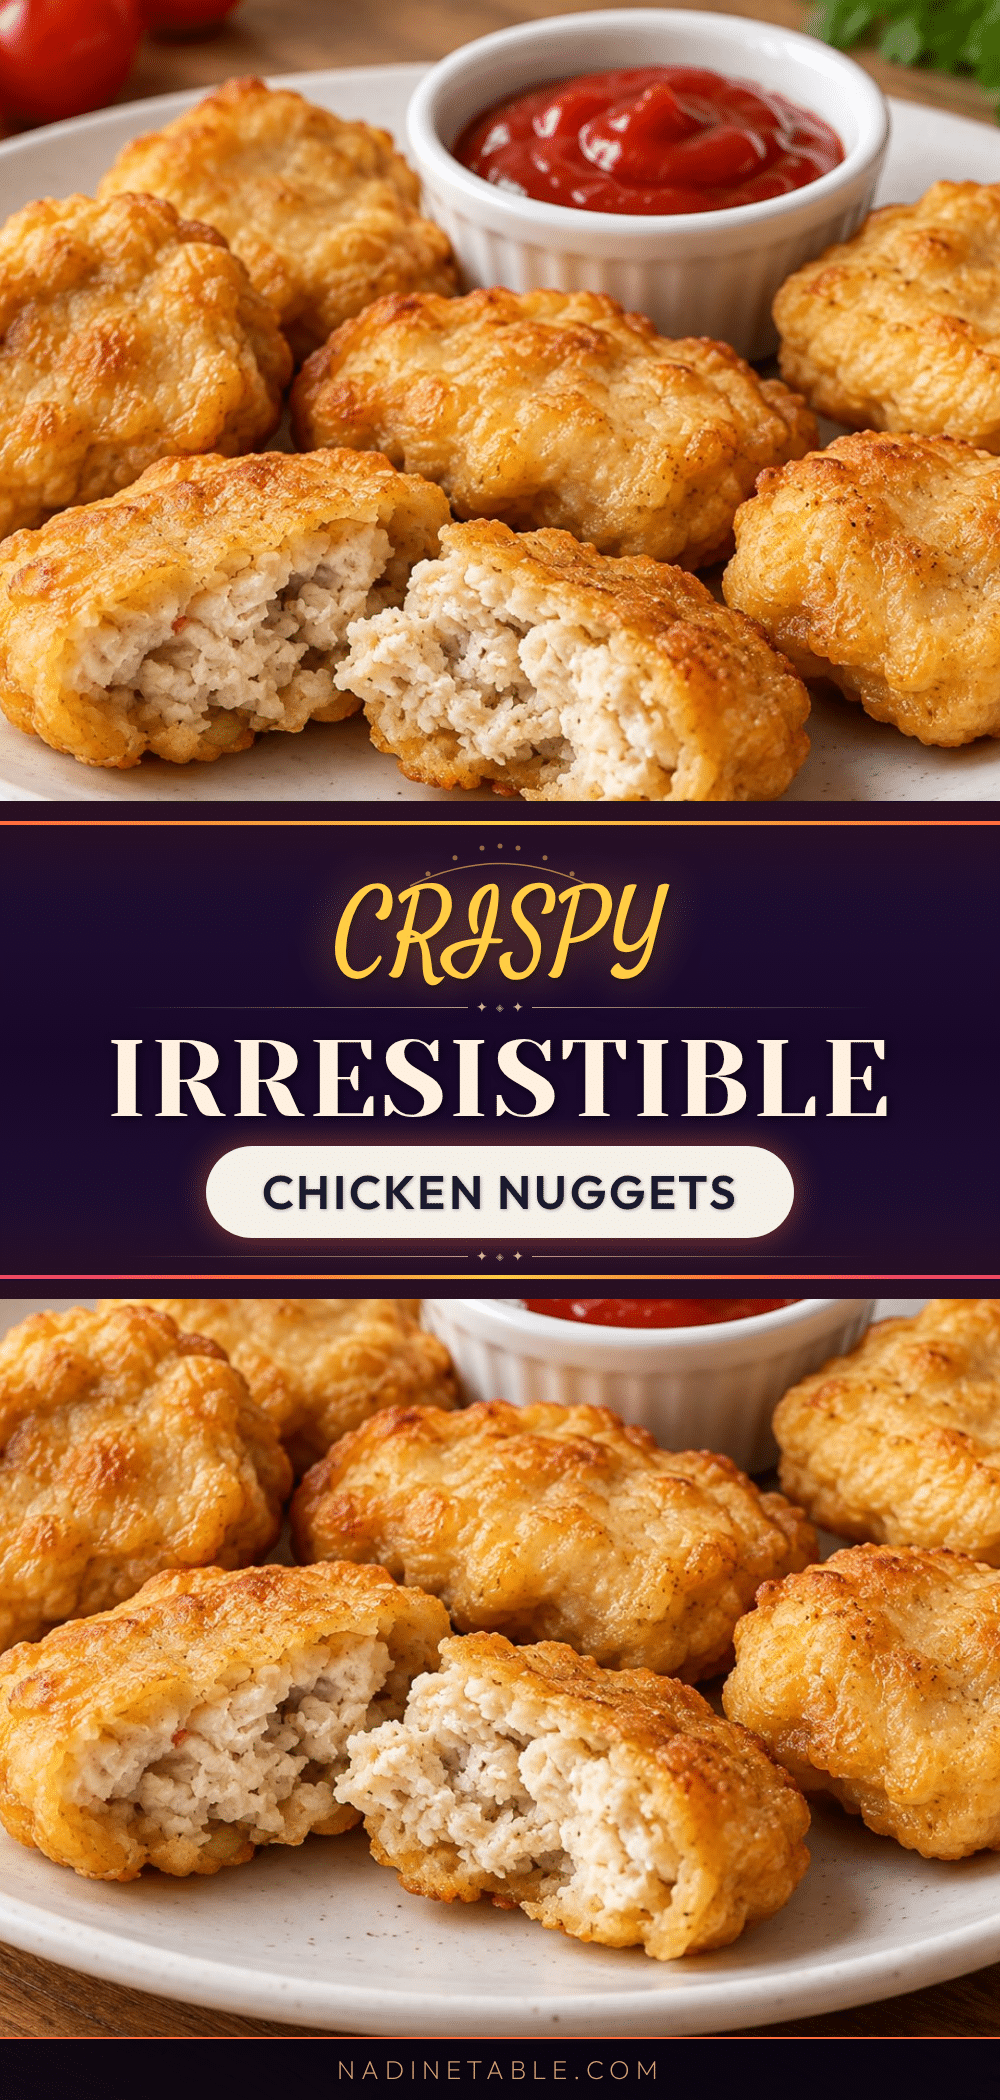
Easy Crispy Chicken Nuggets Recipe – Better Than Takeout
These crispy chicken nuggets are incredibly crunchy, juicy, and ready in under 30 minutes. Made with a buttermilk marinade and panko breadcrumbs, they beat takeout every time without the soggy disappointment.
- Prep Time: 15 minutes
- Cook Time: 15 minutes
- Total Time: 30 minutes
- Yield: 4 servings 1x
- Category: Main Course
- Cuisine: American
Ingredients
- 1.5 lbs boneless, skinless chicken breasts (about 2 large breasts), cut into 1.5-inch pieces
- 1 cup buttermilk
- 1 cup all-purpose flour
- 2 cups panko breadcrumbs
- 2 tablespoons cornstarch
- 1 teaspoon paprika
- 1 teaspoon garlic powder
- 1/2 teaspoon onion powder
- 1 teaspoon salt
- 1/2 teaspoon black pepper
- 1/4 teaspoon cayenne pepper (optional)
- 2 large eggs
- Cooking spray or oil (avocado oil for baking, vegetable or canola oil for frying)
Instructions
- Cut chicken breasts into 1.5-inch pieces and pat dry with paper towels.
- Place chicken in a bowl, pour buttermilk over, stir to coat, cover, and refrigerate for at least 30 minutes (up to 4 hours).
- In a shallow bowl, combine flour, cornstarch, paprika, garlic powder, onion powder, salt, black pepper, and cayenne. In a second bowl, beat eggs with 1 tablespoon water. In a third bowl, add panko breadcrumbs.
- If baking, preheat oven to 425°F (220°C) and place a wire rack on a baking sheet. If frying, heat about 1 inch of oil in a large skillet over medium-high heat to 350°F (175°C).
- Working in batches, remove chicken from buttermilk (let excess drip off). Dredge in flour mixture, pressing gently. Shake off excess. Dip into beaten eggs, letting excess drip off. Coat in panko, pressing firmly. Place on a plate.
- For baking: Arrange nuggets in a single layer on the wire rack, spray generously with cooking spray, and bake for 12-15 minutes, flipping halfway, until golden brown and internal temperature reaches 165°F (74°C). For frying: Carefully place nuggets in hot oil in batches, fry for 3-4 minutes per side until deep golden brown and cooked through. Transfer to paper towel-lined plate.
- Let nuggets rest for 2-3 minutes before serving.
Notes
For extra crispiness, toast panko breadcrumbs in a dry pan for 2-3 minutes before coating. Use one hand for wet ingredients and one for dry to avoid a mess. Don’t overcrowd the pan when baking or frying. Leftovers can be stored in an airtight container in the refrigerator for up to 4 days. Reheat in a 375°F oven for 5-7 minutes or in an air fryer for 3-4 minutes.
Nutrition
- Serving Size: 6-8 nuggets
- Calories: 380
- Sugar: 4
- Sodium: 680
- Fat: 12
- Saturated Fat: 3
- Carbohydrates: 28
- Fiber: 2
- Protein: 35
Keywords: crispy chicken nuggets, homemade chicken nuggets, baked chicken nuggets, panko chicken nuggets, buttermilk chicken nuggets, easy chicken nuggets, better than takeout chicken nuggets