Love this? Save it for later!
Share the inspiration with your friends
“Do you really think the kids will eat something that looks like it’s oozing blood?” my friend whispered skeptically, eyeing the glossy, crimson-coated popcorn in my bowl. I laughed, confessing I wasn’t sure either when I first tried this spooky bloody red velvet popcorn recipe. It all started one restless October night when I was digging through the pantry for a quick snack and stumbled upon a lonely bag of popcorn kernels and a box of red velvet cake mix. Honestly, I wasn’t aiming for a Halloween hit—just something sweet and simple.
But when I drizzled the crimson glaze over the popcorn and watched it glisten, a rush of inspiration hit me. The deep red color looked eerily like dripping blood, perfect for Halloween party treats. I wasn’t exactly a baker or a fancy decorator (far from it), but the excitement of making a creepy yet delicious snack was oddly comforting after a hectic day. I remember sitting back and realizing this wasn’t just a last-minute snack—it was a keeper, the kind of treat that makes people ask for the recipe again and again. You know that quiet moment when a simple idea turns into a seasonal obsession? That’s exactly what this popcorn became.
So if you’re after a Halloween treat that’s both creepy and irresistibly tasty, this spooky bloody red velvet popcorn might just be your new go-to. It’s weirdly satisfying, a little messy (in the best way), and honestly, a total crowd-pleaser. I’m betting you’ll find yourself making it more than once this spooky season—and maybe even beyond.
Why You’ll Love This Recipe
After testing this spooky bloody red velvet popcorn recipe multiple times, I can say it’s truly one of those rare treats that’s as fun to make as it is to eat. Here’s why it’s stuck around in my Halloween rotation:
- Quick & Easy: From popping kernels to that final glossy red drizzle, you’re looking at under 30 minutes total. Perfect for those last-minute party preps or when the kids demand something spooky on short notice.
- Simple Ingredients: No need for specialty stores—just popcorn, cake mix, butter, and a few pantry staples. I usually grab King Arthur’s cake flour-based mix for the best red velvet flavor.
- Perfect for Halloween Parties: Whether you’re hosting a spooky movie night or looking for a unique treat for trick-or-treaters, this popcorn’s eerie look and sweet taste hit the mark.
- Crowd-Pleaser: Kids and adults both love it, and honestly, the combination of crunchy popcorn with that rich red velvet coating is addictive.
- Unbelievably Delicious: The subtle cocoa undertone paired with that buttery, crisp popcorn texture makes it a sweet comfort snack with a Halloween twist.
This isn’t just another sweet popcorn recipe. The magic lies in how the red velvet cake mix blends with butter and a splash of vanilla to coat each kernel with a shiny, crackly glaze that feels like a Halloween treat that’s been crafted with a little mischief and a lot of love. It’s not just tasty—it’s the kind of snack that makes you pause, grin, and maybe even get a little excited for the spooky season ahead.
What Ingredients You Will Need
This spooky bloody red velvet popcorn recipe relies on straightforward, easy-to-find ingredients that come together to create a strikingly delicious Halloween snack. Each component plays a key role: crisp popcorn as the base, rich red velvet coating for flavor and color, and just enough butter and sugar to bring everything together with that glossy finish.
- Popcorn Kernels: 1/2 cup (about 100 g) of unpopped kernels, preferably organic or non-GMO for the best flavor and crunch.
- Unsalted Butter: 1/4 cup (56 g), melted — adds richness and helps the coating stick.
- Red Velvet Cake Mix: 1 cup (125 g) of boxed red velvet cake mix. I suggest Betty Crocker or King Arthur for consistent results.
- Powdered Sugar: 1/4 cup (30 g), to sweeten and help thicken the coating.
- Vanilla Extract: 1 tsp (5 ml), for depth and warmth.
- Milk or Cream: 2 tbsp (30 ml), to loosen the batter slightly for easier drizzling.
- Red Food Coloring (optional): A few drops to intensify that spooky red hue if your cake mix is a bit pale.
- Salt: A pinch to balance the sweetness.
Substitution Tips: For a dairy-free version, swap butter with coconut oil and milk with almond or oat milk. If you want to keep it gluten-free, use a gluten-free red velvet mix or substitute with cocoa powder and a pinch of vinegar for that signature tang.
Equipment Needed
- Large Pot or Air Popper: For popping popcorn. I usually use a heavy-bottomed pot with a lid, but an air popper works great too for less oil.
- Large Mixing Bowl: To toss popcorn with the red velvet coating evenly.
- Small Saucepan: To melt butter and prepare the red velvet glaze.
- Wooden Spoon or Silicone Spatula: For mixing and folding the popcorn without breaking kernels.
- Baking Sheet with Parchment Paper: To spread the coated popcorn for cooling and setting.
- Measuring Cups and Spoons: For precise ingredient portions.
If you don’t have parchment paper, a silicone baking mat works just as well. I’ve also used a large roasting pan for spreading popcorn when baking sheets were scarce. Keeping your tools simple and reliable makes this recipe a breeze, especially when you’re juggling last-minute Halloween prep.
Preparation Method
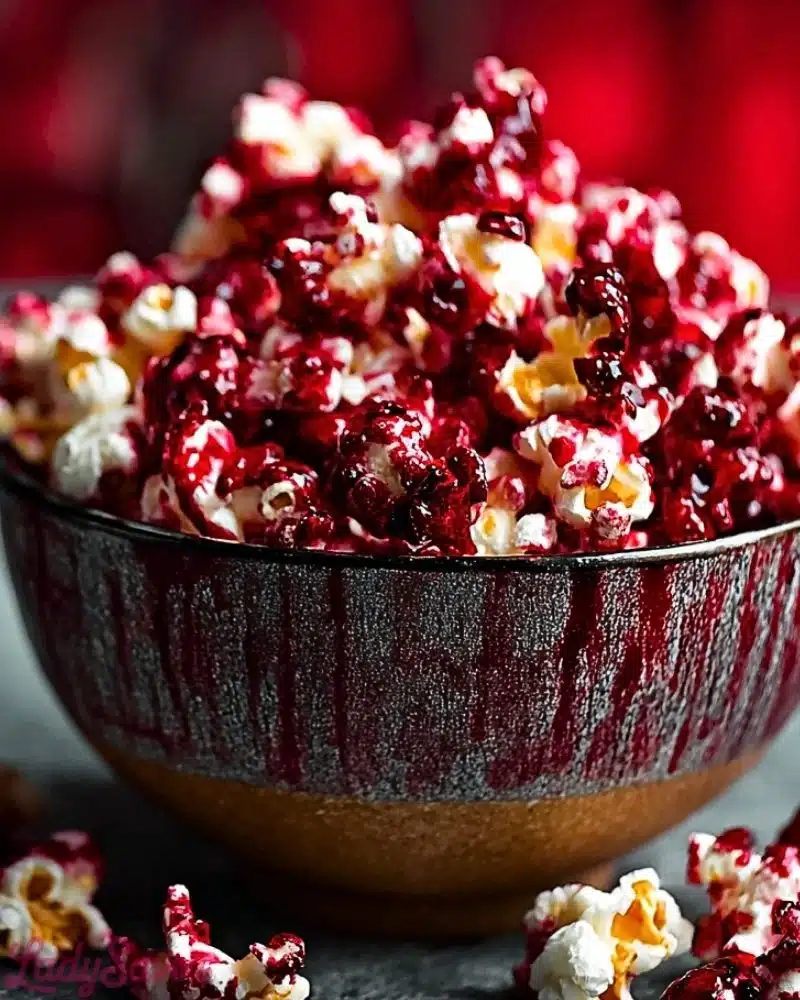
- Pop the popcorn: Heat 2 tbsp (30 ml) of oil in a large pot over medium-high heat. Add 1/2 cup (100 g) popcorn kernels, cover, and shake the pot occasionally. Once popping slows (about 2-3 seconds between pops), remove from heat. Pour popcorn into a large bowl, discarding any unpopped kernels. This should take roughly 5-7 minutes.
- Prepare the red velvet glaze: In a small saucepan, melt 1/4 cup (56 g) unsalted butter over low heat. Stir in 1 cup (125 g) red velvet cake mix, 1/4 cup (30 g) powdered sugar, and a pinch of salt. Keep stirring until the mixture is smooth and slightly thickened, about 3-4 minutes.
- Add liquid flavors: Remove the pan from heat. Stir in 1 tsp (5 ml) vanilla extract and 2 tbsp (30 ml) milk or cream. If desired, add a few drops of red food coloring to amplify the eerie red color.
- Coat the popcorn: Immediately pour the red velvet glaze over the warm popcorn. Use a wooden spoon or silicone spatula to gently fold and toss, making sure every kernel is coated without crushing the popcorn. This step takes about 2-3 minutes.
- Set the popcorn: Spread the coated popcorn evenly onto a baking sheet lined with parchment paper. Let it cool at room temperature for 30 minutes or until the coating hardens and becomes glossy and crackly.
- Serve or store: Once set, break apart any large clusters and serve immediately or store in an airtight container for up to 3 days. If you want to keep it fresh longer, you can freeze it in a sealed bag for up to a month.
Pro tip: If the glaze starts to harden before you finish coating, warm it gently again on low heat. Also, tossing gently is key—too much force and you’ll end up with a lot of crumbs instead of those satisfying popcorn clusters.
Cooking Tips & Techniques
Getting that perfect balance of crunchy popcorn and shiny, smooth red velvet coating takes a little practice, but here are a few tricks I learned the hard way:
- Popcorn freshness matters: Use freshly popped popcorn for the best texture. Stale popcorn won’t absorb the glaze well and tends to get chewy.
- Don’t overheat the glaze: Keep the red velvet coating on low heat to avoid burning the cake mix or butter. A scorched glaze tastes bitter and ruins the whole batch.
- Mix quickly but gently: The glaze can harden fast, so toss the popcorn while it’s still warm. However, be delicate to keep popcorn from turning into crumbs.
- Use parchment paper: Spreading the popcorn out helps it cool evenly and prevents it from sticking together in one huge clump.
- Customize the thickness: If you like a thinner coating, add a splash more milk; for thicker clusters, reduce the liquid slightly.
Honestly, the first time I made this, I ended up with a sticky mess because I rushed the cooling. Patience makes all the difference. Also, multitasking during Halloween prep? This is a great recipe to whip up while your cozy creamy soups and casseroles are simmering or if you’re waiting on dinner to bake.
Variations & Adaptations
This spooky popcorn is flexible enough to suit different tastes and dietary needs. Here are some ideas I’ve tried or adapted based on what was on hand:
- Spicy Bloody Velvet: Add a pinch of cayenne pepper or cinnamon to the glaze for a subtle heat that wakes up the palate.
- Chocolate Drizzle Twist: After the red velvet coating sets, drizzle melted dark chocolate over the popcorn for an extra layer of decadence.
- Gluten-Free Option: Use a gluten-free red velvet cake mix or swap the mix with cocoa powder and a touch of vinegar to mimic that flavor.
- Vegan Version: Replace butter with coconut oil and use a dairy-free milk alternative. Make sure your cake mix is vegan-friendly or use a homemade cocoa and beet powder blend.
- Seasonal Fruit Boost: Toss in freeze-dried raspberries or dried cherries to add tartness and texture contrast.
One personal favorite tweak was layering this popcorn alongside my fluffy fat-free Greek yogurt cinnamon rolls for a Halloween brunch that combined sweet, spicy, and spooky all in one memorable spread.
Serving & Storage Suggestions
Serve this spooky bloody red velvet popcorn at room temperature to keep the crackly coating crisp and shiny. It’s a perfect finger food for Halloween parties, movie nights, or even as a quirky addition to a dessert table.
Pair it with classic fall drinks like hot apple cider or a rich pumpkin spice latte for a complete cozy experience. If you’re hosting a spooky movie marathon, it’s a fun switch from the usual salty popcorn.
Store leftover popcorn in an airtight container at room temperature for up to 3 days. Avoid refrigeration as moisture can soften the coating. For longer storage, freeze in a sealed plastic bag and thaw at room temperature before serving.
Flavors tend to deepen and meld after a day, so if you can wait, it tastes even better the next day. Just watch out—sometimes it disappears faster than you expect!
Nutritional Information & Benefits
This spooky bloody red velvet popcorn recipe is a treat, so it’s best enjoyed in moderation. Here’s a rough estimate per serving (about 1 cup or 30 g):
| Calories | 140 |
|---|---|
| Fat | 7 g |
| Carbohydrates | 19 g |
| Sugar | 12 g |
| Protein | 1 g |
Popcorn itself is a whole grain and a good source of fiber, which helps with digestion. The red velvet cake mix adds sugar and some fat, so it’s definitely a treat rather than an everyday snack. If you swap in dairy-free or gluten-free ingredients, you can tailor it to your dietary needs.
Personally, I find this recipe a fun way to indulge without going overboard on heavy sweets. Plus, it makes Halloween feel special and festive in a lighthearted way.
Conclusion
Spooky bloody red velvet popcorn is proof that sometimes the simplest ingredients can come together to create something unexpectedly delightful and perfectly seasonal. Whether you’re feeding a crowd or just sneaking a treat after the kids go to bed, this popcorn is an easy way to add charm and a little mischief to your Halloween.
Feel free to play around with the coating thickness, spice it up, or add mix-ins to make it your own. I love how this recipe adds a burst of color and fun to the usual snack lineup—plus, it’s a sweet reminder that the best recipes are often the ones you stumble upon in quiet, curious moments.
If you’re looking for more cozy, comforting recipes to pair with your spooky treats, take a peek at my cozy Amish oatmeal rhubarb bars or my healthy Mediterranean diet dinners for everyday inspiration.
Happy Halloween snacking!
FAQs about Spooky Bloody Red Velvet Popcorn
Can I use pre-popped popcorn for this recipe?
You can, but freshly popped popcorn works best for coating and crispness. Pre-popped popcorn may get soggy faster.
How do I make the popcorn less sweet?
Reduce the powdered sugar in the glaze or skip the extra sugar and rely on the cake mix alone for sweetness.
Will the red velvet coating stick if the popcorn cools first?
It’s best to coat the popcorn while it’s still warm for the glaze to stick evenly. Cold popcorn can cause clumping or patchy coating.
Can I add nuts or candy pieces to this popcorn?
Yes! Toss in chopped pecans, almonds, or Halloween candy pieces after coating for extra texture and flavor.
How do I store leftover red velvet popcorn?
Keep it in an airtight container at room temperature for up to 3 days. Avoid the fridge to prevent moisture softening the coating.
Pin This Recipe!
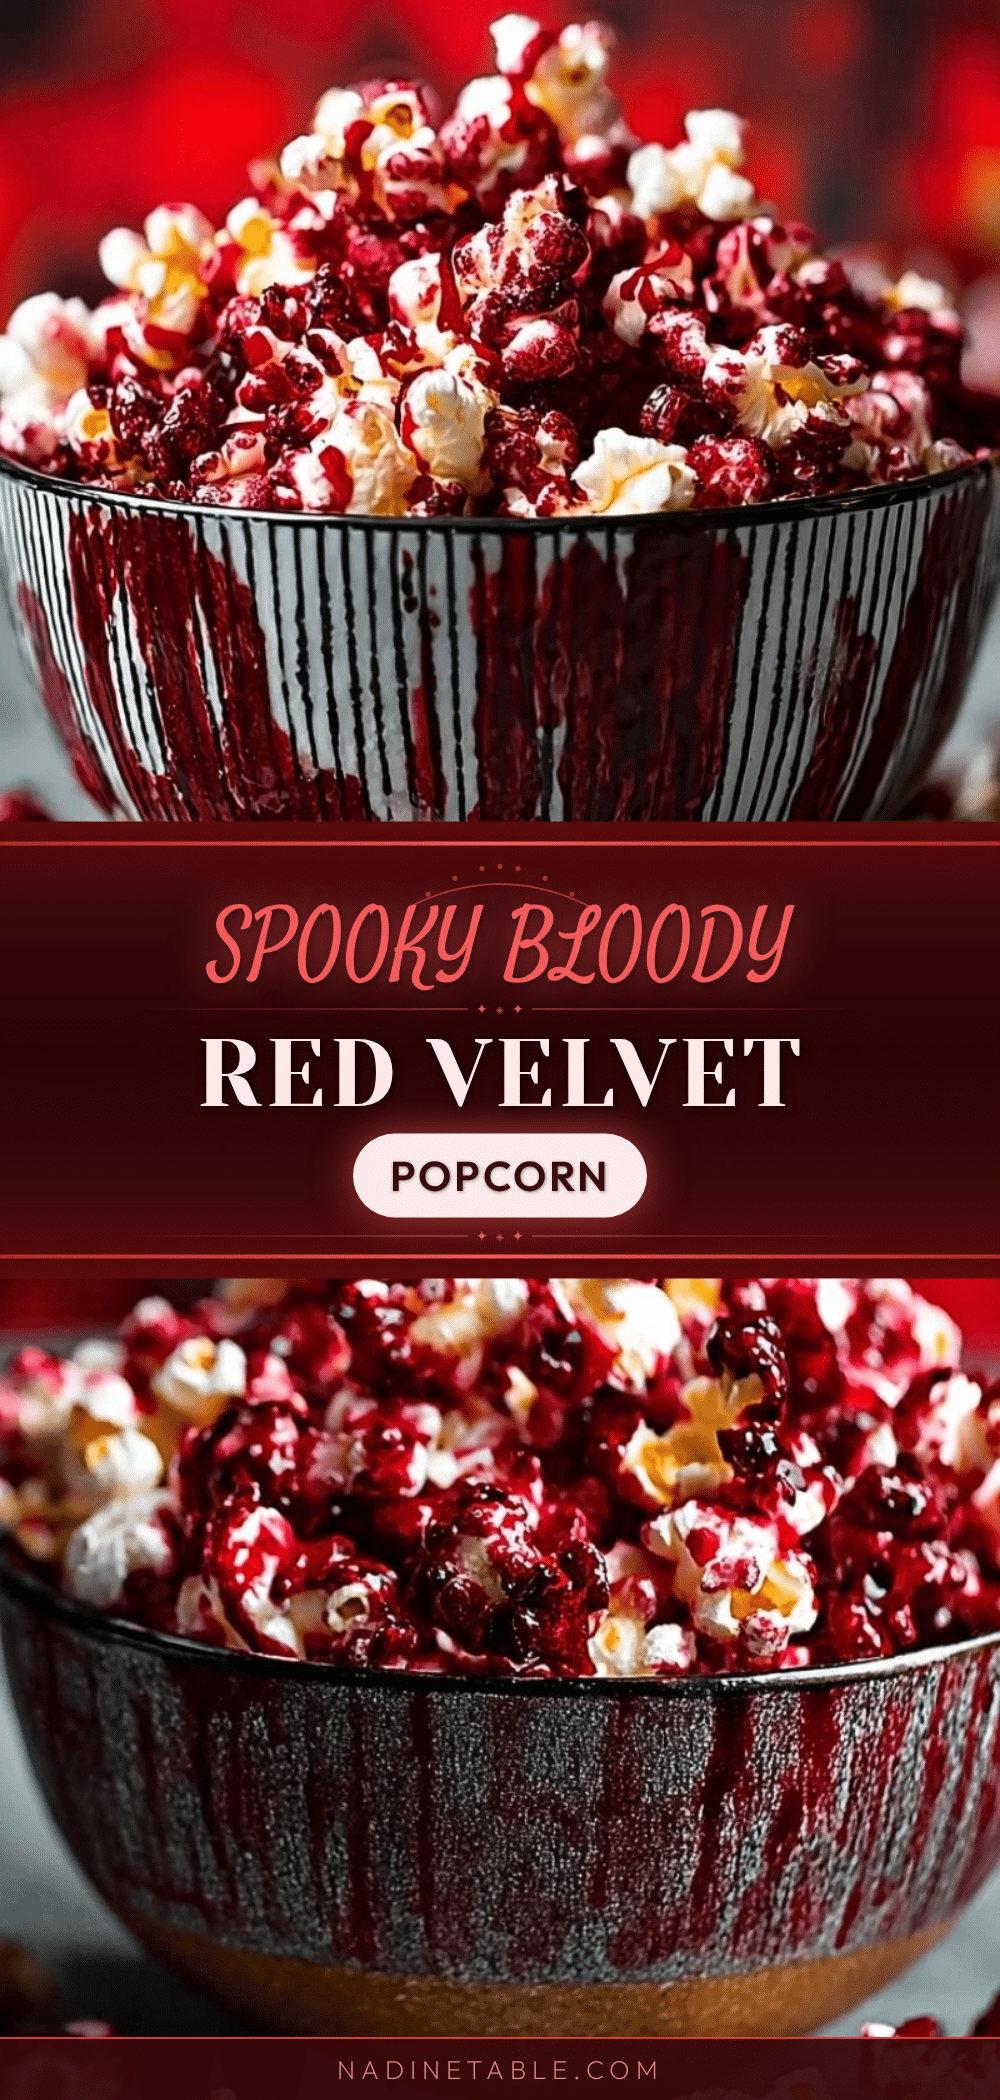
Spooky Bloody Red Velvet Popcorn

A creepy yet delicious Halloween treat featuring popcorn coated in a glossy red velvet glaze that looks like dripping blood. Quick and easy to make, perfect for parties and spooky movie nights.
- Prep Time: 10 minutes
- Cook Time: 15 minutes
- Total Time: 25 minutes
- Yield: 6 servings 1x
- Category: Snack
- Cuisine: American
Ingredients
- 1/2 cup (100 g) popcorn kernels
- 1/4 cup (56 g) unsalted butter, melted
- 1 cup (125 g) red velvet cake mix
- 1/4 cup (30 g) powdered sugar
- 1 tsp (5 ml) vanilla extract
- 2 tbsp (30 ml) milk or cream
- A few drops red food coloring (optional)
- A pinch of salt
- 2 tbsp (30 ml) oil for popping popcorn
Instructions
- Heat 2 tbsp (30 ml) of oil in a large pot over medium-high heat. Add 1/2 cup (100 g) popcorn kernels, cover, and shake the pot occasionally. Once popping slows (about 2-3 seconds between pops), remove from heat. Pour popcorn into a large bowl, discarding any unpopped kernels. This should take roughly 5-7 minutes.
- In a small saucepan, melt 1/4 cup (56 g) unsalted butter over low heat. Stir in 1 cup (125 g) red velvet cake mix, 1/4 cup (30 g) powdered sugar, and a pinch of salt. Keep stirring until the mixture is smooth and slightly thickened, about 3-4 minutes.
- Remove the pan from heat. Stir in 1 tsp (5 ml) vanilla extract and 2 tbsp (30 ml) milk or cream. If desired, add a few drops of red food coloring to amplify the eerie red color.
- Immediately pour the red velvet glaze over the warm popcorn. Use a wooden spoon or silicone spatula to gently fold and toss, making sure every kernel is coated without crushing the popcorn. This step takes about 2-3 minutes.
- Spread the coated popcorn evenly onto a baking sheet lined with parchment paper. Let it cool at room temperature for 30 minutes or until the coating hardens and becomes glossy and crackly.
- Once set, break apart any large clusters and serve immediately or store in an airtight container for up to 3 days. For longer storage, freeze in a sealed bag for up to a month.
Notes
Use freshly popped popcorn for best texture. Toss gently to avoid crushing kernels. Warm glaze gently if it hardens before coating all popcorn. Use parchment paper to prevent sticking. For dairy-free, substitute butter with coconut oil and milk with almond or oat milk. For gluten-free, use gluten-free red velvet mix or cocoa powder with vinegar.
Nutrition
- Serving Size: About 1 cup (30 g)
- Calories: 140
- Sugar: 12
- Fat: 7
- Carbohydrates: 19
- Protein: 1
Keywords: Halloween, popcorn, red velvet, spooky treat, party snack, easy recipe, sweet popcorn