Love this? Save it for later!
Share the inspiration with your friends
My husband walked through the door holding a greasy paper bag, and I just sighed. Third time that month he’d stopped for wings on the way home from work. Don’t get me wrong—I love him, and I love wings. But my wallet and my patience were both running thin. “I could make these better at home,” I muttered, more to myself than to him. He just laughed. That laugh, you know, the one that says “yeah, sure, honey.”
So I took it as a challenge. I spent the next week obsessing over chicken wings. I tried every method I could find—baking powder, cornstarch, double frying, you name it. My kitchen looked like a flour bomb went off, and my trash can was full of sad, soggy failures. Honestly, I almost gave up. But then, on a random Thursday night, it happened. I pulled a tray out of the oven, and the sound of the skin cracking under my fork was pure music. My husband took one bite, looked at me with wide eyes, and said, “Okay, you win.”
This isn’t just another wing recipe. This is the one that made us cancel our Wingstop order permanently. It’s the one I bring to every game day gathering, the one people ask me to make for birthdays, the one that disappears in about ten minutes flat. The secret? A little patience, a specific technique, and an ingredient combination that creates a crust so shatteringly crispy, it honestly doesn’t need a deep fryer. If you’ve been hunting for that perfect homemade wing that actually delivers on its crunchy promise, stop looking. This Crispy Better Than Wingstop Wings Recipe is the only one you’ll ever need.
Why You’ll Love This Recipe
I’ve tested this recipe more times than I care to count, tweaking temperatures and ratios until it was absolutely foolproof. Here’s why I think you’re going to love it as much as we do:
- Seriously Crispy Without a Deep Fryer : We’re using a clever combination of a dry brine and a cornstarch coating that bakes up golden and crunchy in the oven. No greasy stovetop mess, no giant pot of oil to deal with.
- Simple, Pantry-Friendly Ingredients : You probably have everything you need right now. Chicken wings, cornstarch, salt, baking powder, and your favorite wing sauce. That’s it. No weird specialty items.
- Perfect for Game Day or a Weeknight Dinner : These wings are the ultimate crowd-pleaser. I’ve served them at Super Bowl parties and on random Tuesday nights when we needed something fun. They always steal the show.
- Way Better Than Takeout : Let’s be real—delivery wings are often hit or miss. They can be soggy, under-sauced, or just meh. These are consistently perfect, with a crunch that lasts even after you toss them in sauce.
- Totally Customizable : You can go classic Buffalo, sticky garlic Parmesan, spicy Korean, or anything in between. The base wing is so good, it works with any flavor profile you throw at it.
What makes this recipe different from every other “baked wing” recipe out there? It’s the technique. Most recipes skip the crucial overnight drying step or use too much baking powder, leaving a metallic aftertaste. I learned the hard way that less is more, and patience is the real secret ingredient. This isn’t just another version—it’s the version I perfected after a week of failures, and it’s the one that finally made my husband admit homemade is better.
What Ingredients You Will Need
This recipe uses simple, wholesome ingredients to deliver that signature shatteringly crispy texture and bold flavor without any fuss. Most of these are pantry staples you probably already have on hand.
- Chicken Wings : 2 pounds (about 900g) of fresh or fully thawed frozen chicken wings. I recommend buying whole wings and separating them yourself at the joint—it saves money and gives you the wing tips for stock. Look for wings that are plump and not bruised.
- Cornstarch : 2 tablespoons. This is the magic ingredient for crunch. It absorbs moisture on the skin’s surface and creates a delicate, crispy crust when baked. Don’t substitute with flour; the texture just won’t be the same.
- Baking Powder : 1 teaspoon. NOT baking soda! Baking powder helps dry out the skin and creates tiny bubbles that get crispy in the oven. Use an aluminum-free brand like Rumford to avoid any weird aftertaste. I learned this one the hard way.
- Kosher Salt : 1 teaspoon. I use Diamond Crystal. It’s less salty by volume than table salt, so if you’re using table salt, cut it back to ¾ teaspoon. Salt is crucial for drawing out moisture and seasoning the meat all the way through.
- Garlic Powder : ½ teaspoon. Adds a subtle savory depth without being overpowering. Fresh garlic would burn at the high oven temperature, so stick with the powder here.
- Black Pepper : ½ teaspoon. Freshly ground is always best for that little kick.
- For the Sauce (Classic Buffalo) : ⅓ cup (80ml) of your favorite hot sauce (I’m partial to Frank’s RedHot), 2 tablespoons (30g) of melted unsalted butter, and 1 teaspoon of honey or brown sugar to balance the heat.
- Optional Garnishes : Blue cheese or ranch dressing for dipping, and celery and carrot sticks for that classic wing experience.
Ingredient Selection Tip : If you can find them, look for “party wings” which are already separated into drumettes and flats. They save you a little prep time. For the best texture, avoid wings that have been previously frozen and thawed more than once, as the skin can get tough.
Substitution Guidance : For a gluten-free version, this recipe is naturally gluten-free as long as you use a gluten-free hot sauce (most are). For a dairy-free sauce, swap the butter for a high-quality vegan butter or a neutral oil like avocado oil mixed with a little more hot sauce.
Equipment Needed
You don’t need a lot of fancy gear for this recipe, which is part of why I love it so much. Here’s what you’ll need:
- Baking Sheet : A sturdy, rimmed baking sheet is essential. I use a half-sheet pan (18×13 inches). The rim catches any drips and prevents a mess in your oven.
- Wire Rack : This is non-negotiable for the crispiest results. A wire rack that fits inside your baking sheet allows hot air to circulate all around the wings, so the bottom gets just as crispy as the top. I use a simple cooling rack.
- Paper Towels : For patting the wings incredibly dry. This step is more important than you think.
- Large Bowl : For tossing the wings with the cornstarch mixture. A glass or stainless steel bowl works best.
- Tongs : For flipping the wings halfway through baking without tearing the skin.
- Small Saucepan or Microwave-Safe Bowl : For making your sauce.
Budget-Friendly Options : If you don’t have a wire rack, you can use a broiler pan that has a slotted top. Alternatively, you can place the wings directly on a parchment-lined baking sheet, but you’ll need to flip them more carefully and they won’t be quite as crispy on the bottom. I’ve done it in a pinch, and they were still good—just not *perfect*.
Preparation Method
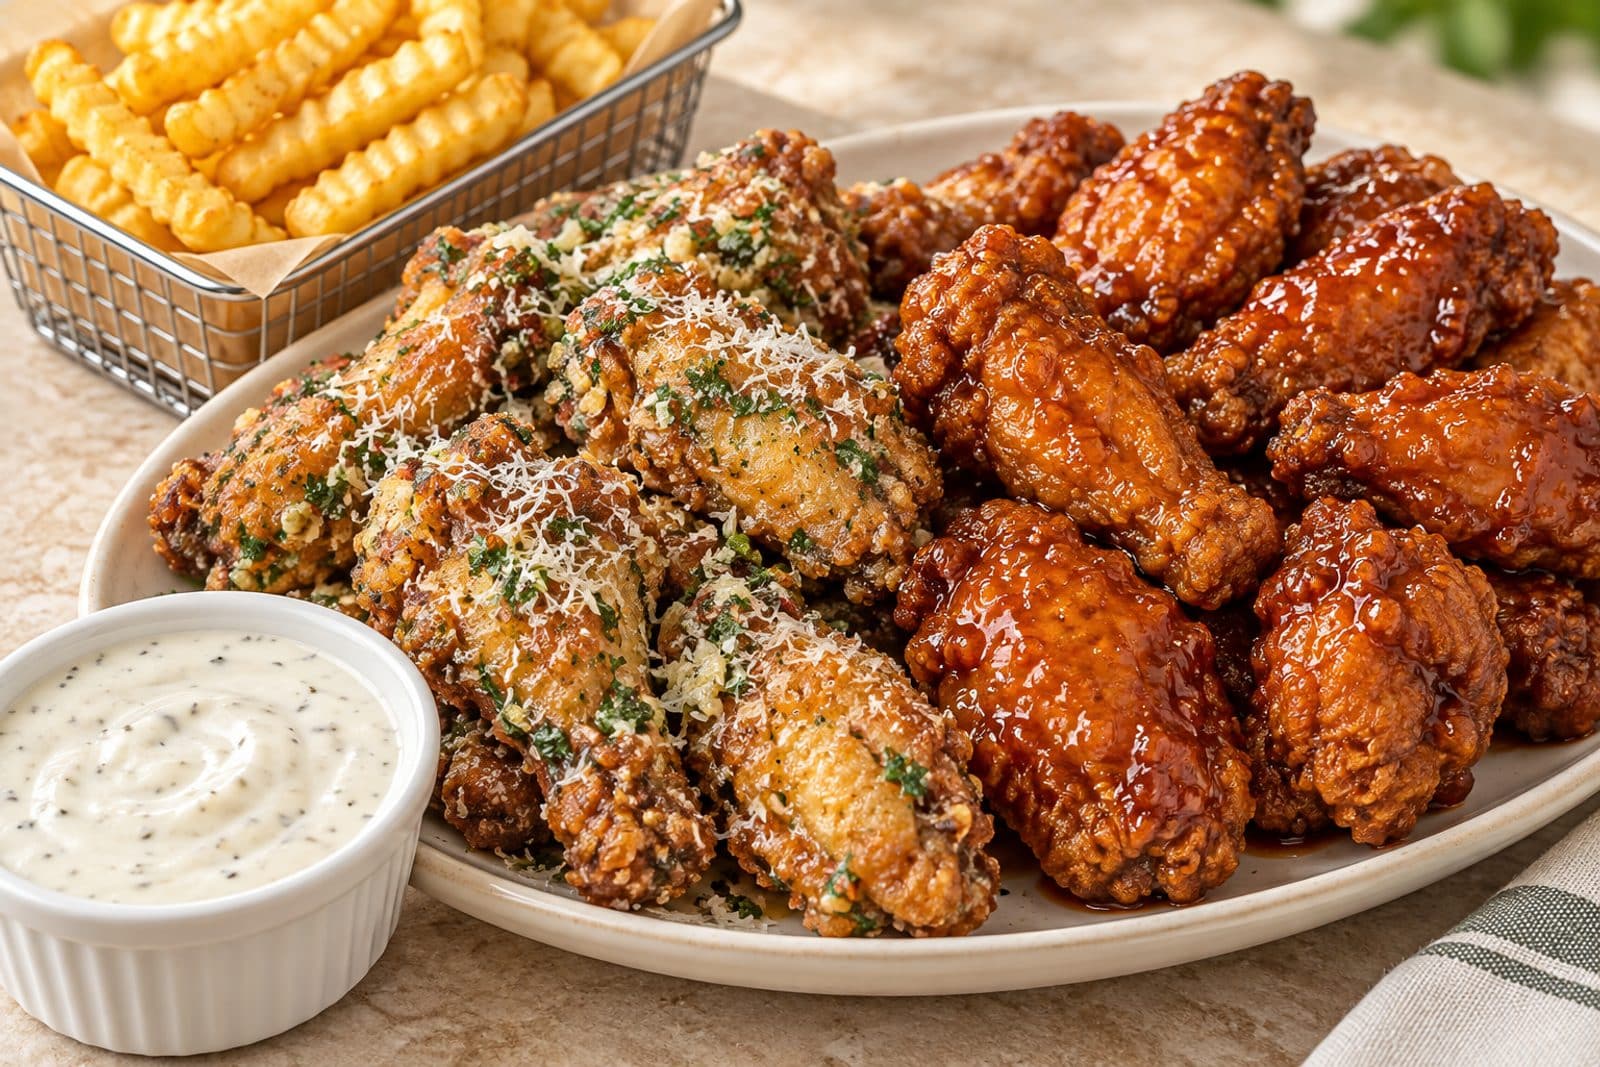
This is where the magic happens. Follow these steps closely, and you’ll have wings that rival—no, beat—any takeout joint.
- Prep the Wings : Start by patting your chicken wings completely dry with paper towels. This is the most important step. Any moisture on the skin will steam the wings instead of crisping them. If you bought whole wings, use a sharp knife to cut through the joint between the drumette and the flat. Discard the wing tips or save them for stock. You should have about 20-24 individual pieces.
- The Dry Brine (Do This the Night Before!) : In a large bowl, whisk together the cornstarch, baking powder, kosher salt, garlic powder, and black pepper. Add the dried wings and toss until every piece is evenly coated. Don’t be shy—use your hands to really rub the mixture into the skin. Place the wings in a single layer on the wire rack set over your baking sheet. Put the whole thing in the refrigerator, uncovered, for at least 8 hours, or up to 24 hours. I know it’s tempting to skip this, but trust me, this overnight rest is what gives you that incredible, shatteringly crispy skin. The air in the fridge dries out the surface even more, while the salt seasons the meat all the way to the bone.
- Preheat and Prepare : When you’re ready to cook, take the wings out of the fridge and let them sit at room temperature for about 20 minutes. Meanwhile, preheat your oven to 425°F (220°C). Position a rack in the upper third of the oven.
- Bake the Wings : Place the baking sheet with the wings on the upper rack. Bake for 25 minutes. Then, using your tongs, carefully flip each wing over. Don’t skip this! Bake for another 20-25 minutes, until the wings are deep golden brown and the skin looks bubbly and crisp. The internal temperature should reach 165°F (74°C) when checked with an instant-read thermometer, but honestly, the visual cue of the crispy skin is your best bet.
- Make the Sauce : While the wings are in their final bake, make your sauce. In a small saucepan over low heat, combine the hot sauce, melted butter, and honey. Whisk until the butter is melted and everything is smooth. Keep it warm on the lowest setting. If you’re using a microwave, heat in 30-second bursts, stirring in between.
- Toss and Serve : Once the wings are out of the oven, let them rest on the rack for about 2 minutes. This lets the excess fat drip off. Then, transfer the wings to a large clean bowl. Pour the warm sauce over the top and toss vigorously until every wing is beautifully coated. Serve immediately with your favorite dipping sauce and veggie sticks.
Sensory Cue : When you flip the wings at the 25-minute mark, they should look dry and the coating should feel firm. The skin will have started to pull away from the meat slightly. When they’re done, you’ll hear a distinct crackling sound when you tap a wing with your tongs. That’s the sound of success.
Cooking Tips & Techniques
I’ve made every mistake in the book so you don’t have to. Here are my best tips for absolute wing perfection:
- Don’t Skip the Overnight Rest : I know it’s a pain, but this is the single biggest factor in getting crispy skin. The fridge air acts like a dehydrator. If you’re in a rush, even 4 hours will help, but 24 hours is ideal. I once tried to rush it with just a 1-hour rest, and the skin was edible but chewy. Never again.
- Use a Wire Rack : I cannot stress this enough. If you bake the wings directly on the pan, they’ll sit in their own rendered fat and steam. The wire rack lifts them up so the hot air can circulate underneath. It’s a game-changer.
- Don’t Overcrowd the Pan : Give each wing a little breathing room. If they’re touching, they’ll steam each other. Use two baking sheets if you need to. I’ve crammed them before, and the difference in crispiness is night and day.
- High Heat is Your Friend : 425°F is the sweet spot. It’s hot enough to render the fat and crisp the skin without burning the coating. If your oven runs hot, check them a few minutes early.
- Sauce at the Last Minute : Only toss the wings in sauce right before you serve them. If you toss them too early, the sauce will soften the crispy skin. I’ve made this mistake at parties, and the wings went from amazing to just okay in about 15 minutes.
Variations & Adaptations
This base wing recipe is incredibly versatile. Once you have the perfect crispy wing, the flavor possibilities are endless.
- Garlic Parmesan Wings : Skip the Buffalo sauce. Toss the hot wings with ¼ cup of melted butter, 4 finely minced garlic cloves (sautéed for 30 seconds in the butter first), ½ cup of freshly grated Parmesan cheese, and a pinch of dried parsley. This is my personal favorite, and it’s dangerously addictive.
- Spicy Korean Gochujang Wings : For a sweet and spicy twist, mix 3 tablespoons of gochujang (Korean chili paste), 2 tablespoons of honey, 1 tablespoon of soy sauce, 1 tablespoon of rice vinegar, and 1 teaspoon of sesame oil. Toss with the hot wings and garnish with sesame seeds and sliced green onions. It’s a whole different vibe, and it’s incredible. For another take on Korean-style chicken, check out this Extra Crispy Korean Fried Chicken with Gochujang Glaze.
- Lemon Pepper Wings : A classic for a reason. Toss the baked wings with ¼ cup of melted butter, 2 teaspoons of freshly cracked black pepper, and the zest of one lemon. Sprinkle with a little extra salt to taste. It’s bright, peppery, and perfect for those who don’t want heat.
- Honey BBQ Wings : Mix ½ cup of your favorite BBQ sauce with 2 tablespoons of honey and a splash of apple cider vinegar. Toss the wings and bake for an additional 5 minutes to caramelize the sauce. Sticky, sweet, and smoky.
- Air Fryer Adaptation : If you have an air fryer, you can use the same dry brine method. Cook the wings at 400°F (200°C) for 20-25 minutes, shaking the basket halfway through. They come out just as crispy, if not crispier, and in less time.
Serving & Storage Suggestions
Serving : Serve these wings immediately after tossing them in sauce for the best texture. I love to arrange them on a large platter with a bowl of homemade blue cheese or ranch dressing in the center for dipping. Celery and carrot sticks are a must—they add a fresh, crunchy contrast to the rich wings. For a fun twist, serve them alongside some Crispy Mozzarella Fries with Marinara and Garlic Aioli for the ultimate appetizer spread.
Storage : Leftover wings are a rare occurrence in my house, but if you have any, let them cool completely. Store them in an airtight container in the refrigerator for up to 3 days. Keep the sauce separate if possible, as it will soften the skin over time.
Reheating : The secret to reviving leftover wings is to avoid the microwave at all costs. It will make them soggy and sad. Instead, reheat them in a 400°F (200°C) oven on a wire rack for about 8-10 minutes, or until heated through and crispy again. An air fryer at 375°F (190°C) for 4-5 minutes works even better. They won’t be quite as good as fresh, but they’ll be pretty darn close.
Flavor Development : Interestingly, wings that are dry-brined and baked, then stored without sauce, actually taste better the next day. The seasoning has had more time to penetrate the meat. I sometimes make a double batch just so I can have leftover plain wings to reheat and toss in a different sauce for lunch the next day.
Nutritional Information & Benefits
Please note that these are estimates and will vary based on the exact ingredients and sauces you use. Values are per serving (about 4-5 wing pieces, without dipping sauce).
| Nutrient | Amount per Serving |
|---|---|
| Calories | ~380 kcal |
| Protein | 28g |
| Fat | 26g |
| Saturated Fat | 9g |
| Carbohydrates | 6g |
| Fiber | 0g |
| Sugar | 1g |
| Sodium | ~780mg |
Health Benefits : Chicken wings are a good source of high-quality protein, which is essential for muscle repair and satiety. They also provide B vitamins, particularly B6 and B12, which support energy metabolism. By baking instead of deep-frying, you significantly reduce the amount of unhealthy fats and calories. Using a dry brine with cornstarch means you get that crave-worthy crunch without the greasy aftermath. For a balanced meal, pair these wings with a fresh green salad or some roasted vegetables. If you’re watching your sodium, you can reduce the salt in the dry brine slightly, but don’t skip it entirely—it’s crucial for texture.
Dietary Considerations : This recipe is naturally gluten-free and nut-free. For a dairy-free option, simply use a plant-based butter in your sauce. For a lower-carb version, skip the honey in the sauce and use a sugar-free sweetener or just stick with a classic hot sauce and butter combo.
Conclusion
Look, I get it. It’s easy to just order wings when a craving hits. They’re convenient, and honestly, some places do a decent job. But after you make this Crispy Better Than Wingstop Wings Recipe once, you’ll never look back. The overnight prep takes a little planning, but the payoff is enormous. You get wings that are shatteringly crisp, perfectly seasoned, and tossed in a sauce that’s exactly how you like it. No more sad, soggy deliveries or overpriced apps.
I love this recipe because it’s proof that you don’t need a deep fryer or culinary school to make restaurant-quality food at home. It’s just a little bit of science, a little bit of patience, and a whole lot of love. And honestly, the look on people’s faces when they take that first bite? That’s the real reward.
So go ahead, give it a try this weekend. Customize the sauce to your liking, get the kids involved in tossing the wings, and enjoy a meal that’s fun, delicious, and genuinely impressive. When you do, come back and let me know how it turned out in the comments. I’d love to hear about your favorite sauce combination or any tweaks you made. And if you’re looking for another incredibly crispy dish to round out your menu, don’t miss this Crispy Panko Fried Shrimp with Bang Bang Sauce. Happy cooking!
Frequently Asked Questions
Can I use frozen chicken wings without thawing them first?
I really don’t recommend it. Frozen wings release a ton of water as they thaw, which will make the coating soggy and prevent the skin from getting crispy. Always thaw your wings completely in the refrigerator overnight before starting the dry brine process.
Why did my wings turn out chewy instead of crispy?
This usually happens for one of two reasons: either you didn’t dry the wings thoroughly enough before coating them, or you skipped the overnight rest in the fridge. The dry brine step is non-negotiable for that shatteringly crispy texture. Also, make sure your oven is fully preheated to 425°F.
Can I make these wings in an air fryer instead of the oven?
Absolutely! The air fryer is fantastic for wings. Follow the same dry brine and overnight rest process. Then cook the wings at 400°F (200°C) for 20-25 minutes, shaking the basket every 8 minutes for even cooking. They come out incredibly crispy, often even faster than the oven method.
How do I prevent the baking powder from leaving a bitter taste?
This is a great question, and I’ve been there. The metallic or bitter taste comes from aluminum in some baking powders. Make sure you use an aluminum-free baking powder, like Rumford or Bob’s Red Mill. Also, don’t use more than the recipe calls for—more is not better here.
What’s the best way to reheat leftover wings so they stay crispy?
Never use the microwave! The best way is to reheat them in a 400°F (200°C) oven on a wire rack for about 8-10 minutes. An air fryer at 375°F (190°C) for 4-5 minutes is even better. This will re-crisp the skin nicely. If you stored them with sauce, they won’t be as crispy as fresh, but they’ll still be delicious.
Pin This Recipe!
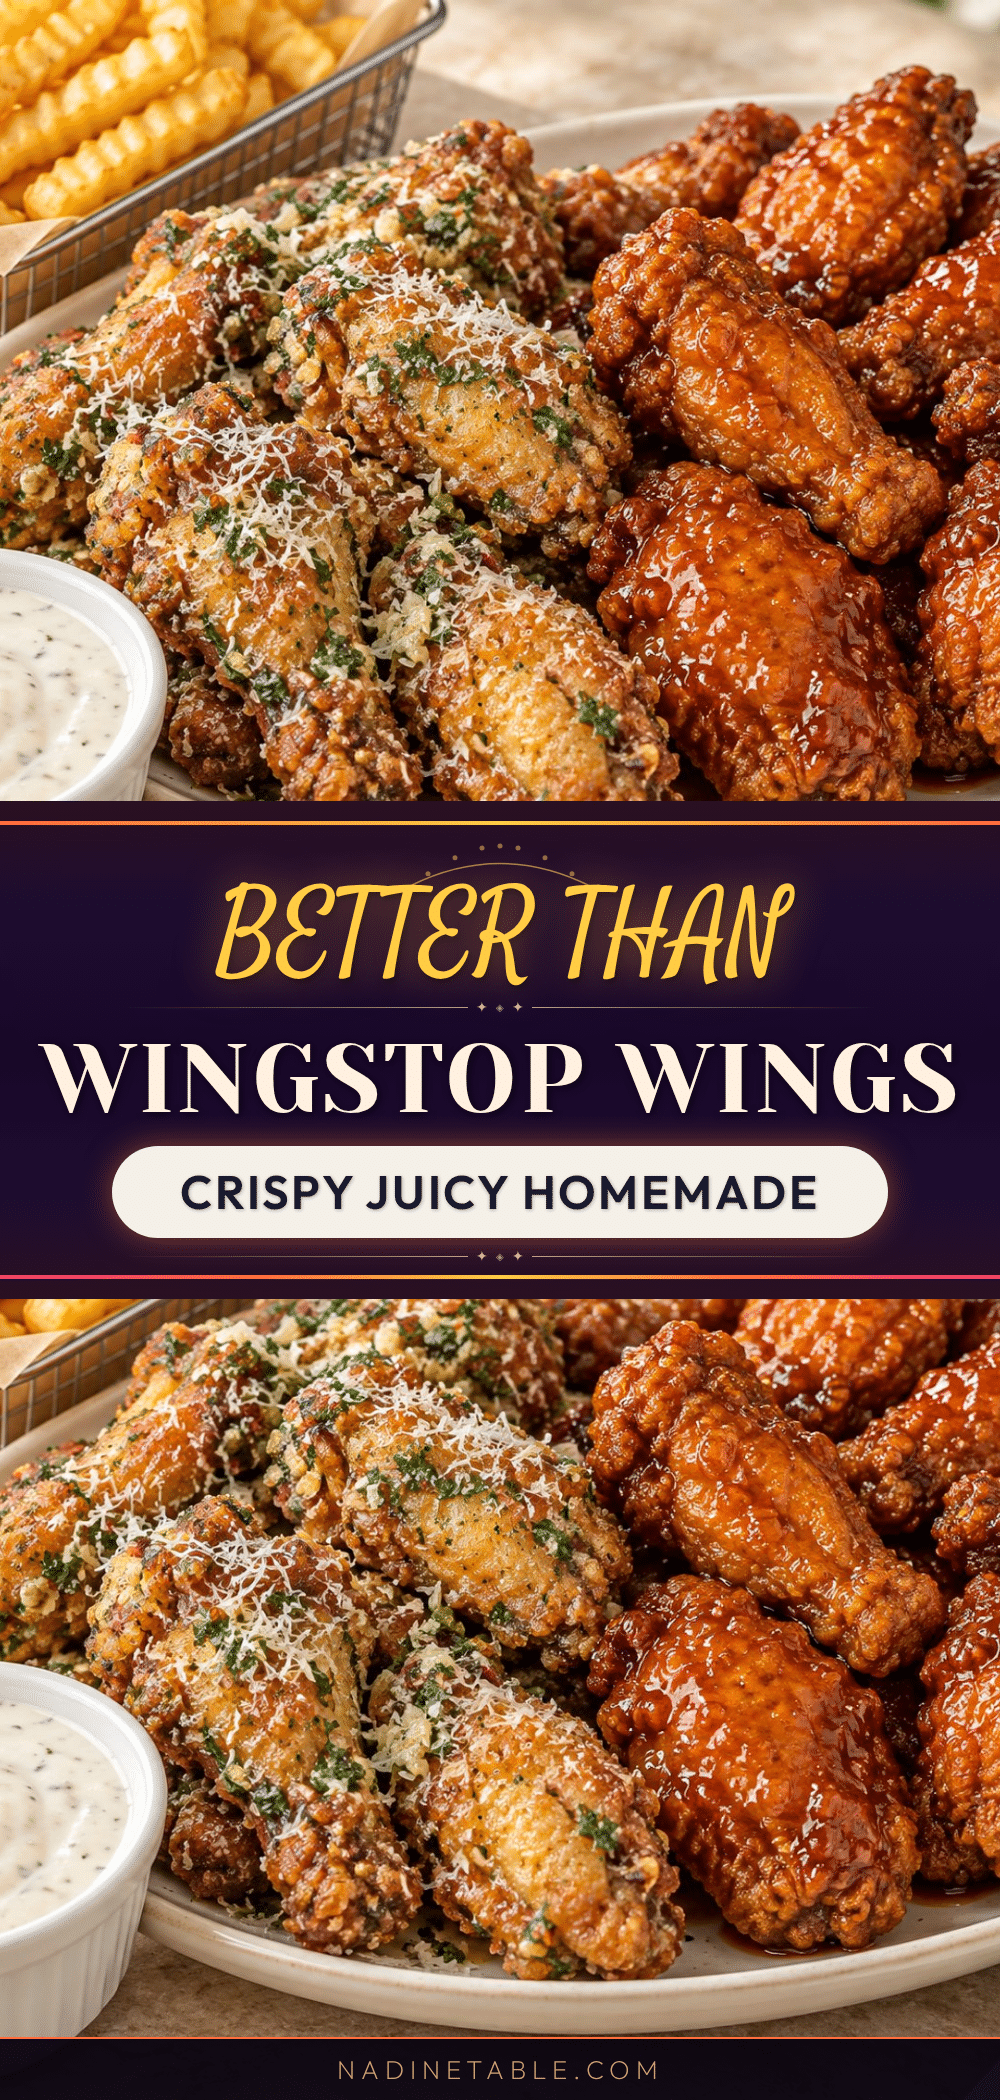
Crispy Better Than Wingstop Wings Recipe (Easy & Homemade)

This recipe delivers shatteringly crispy baked chicken wings without a deep fryer, using a dry brine and cornstarch coating. It’s a foolproof, crowd-pleasing alternative to takeout that’s customizable with your favorite sauces.
- Prep Time: 15 minutes
- Cook Time: 45 minutes
- Total Time: 8 hours 20 minutes (includes overnight rest)
- Yield: 4 servings 1x
- Category: Appetizer
- Cuisine: American
Ingredients
- 2 pounds (about 900g) fresh or fully thawed frozen chicken wings
- 2 tablespoons cornstarch
- 1 teaspoon baking powder (aluminum-free)
- 1 teaspoon kosher salt (or ¾ teaspoon table salt)
- ½ teaspoon garlic powder
- ½ teaspoon black pepper
- ⅓ cup (80ml) hot sauce (e.g., Frank’s RedHot)
- 2 tablespoons (30g) unsalted butter, melted
- 1 teaspoon honey or brown sugar
- Blue cheese or ranch dressing for dipping (optional)
- Celery and carrot sticks (optional)
Instructions
- Pat the chicken wings completely dry with paper towels. If using whole wings, cut through the joint between the drumette and flat; discard or save wing tips for stock.
- In a large bowl, whisk together cornstarch, baking powder, kosher salt, garlic powder, and black pepper. Add the dried wings and toss until evenly coated, using your hands to rub the mixture into the skin.
- Place the wings in a single layer on a wire rack set over a baking sheet. Refrigerate uncovered for at least 8 hours, up to 24 hours.
- When ready to cook, remove wings from fridge and let sit at room temperature for 20 minutes. Preheat oven to 425°F (220°C) with a rack in the upper third.
- Bake wings for 25 minutes. Flip each wing with tongs, then bake for another 20-25 minutes until deep golden brown and crispy (internal temperature should reach 165°F/74°C).
- While wings bake, make the sauce: In a small saucepan over low heat, combine hot sauce, melted butter, and honey. Whisk until smooth and keep warm.
- Let baked wings rest on the rack for 2 minutes. Transfer to a large bowl, pour warm sauce over, and toss vigorously until coated. Serve immediately with dipping sauce and veggie sticks.
Notes
For best results, do not skip the overnight dry brine. Use aluminum-free baking powder to avoid a metallic aftertaste. Toss wings in sauce just before serving to maintain crispiness. For air fryer adaptation, cook at 400°F (200°C) for 20-25 minutes, shaking basket halfway.
Nutrition
- Serving Size: 4-5 wing pieces
- Calories: 380
- Sugar: 1
- Sodium: 780
- Fat: 26
- Saturated Fat: 9
- Carbohydrates: 6
- Protein: 28
Keywords: crispy chicken wings, baked wings, homemade wings, better than wingstop, game day appetizer, buffalo wings