Love this? Save it for later!
Share the inspiration with your friends
I was standing in my kitchen, staring at a sad, plain chicken breast and a bottle of sriracha that was almost empty. It was one of those afternoons where you want something good—like, restaurant-quality good—but you don’t want to leave the house or spend an hour cooking. I had this craving for something crispy, something spicy, and something sweet, all at once. A honey sriracha chicken sandwich sounded perfect, but I needed it to be actually crispy, not that soggy mess you get from takeout that’s been sitting in its own steam.
So I started experimenting. I grabbed some buttermilk from the fridge (leftover from another recipe, honestly), tossed the chicken in, and let it sit while I figured out the rest. I wanted that shatteringly crisp coating that holds up against a sticky, spicy glaze. After a few tries—and one particularly sad, burnt attempt—I landed on this method. The key was a double-dip in seasoned flour and cornstarch, and letting the coated chicken rest before frying. It sounds fussy, but it’s the difference between “meh” and “whoa.”
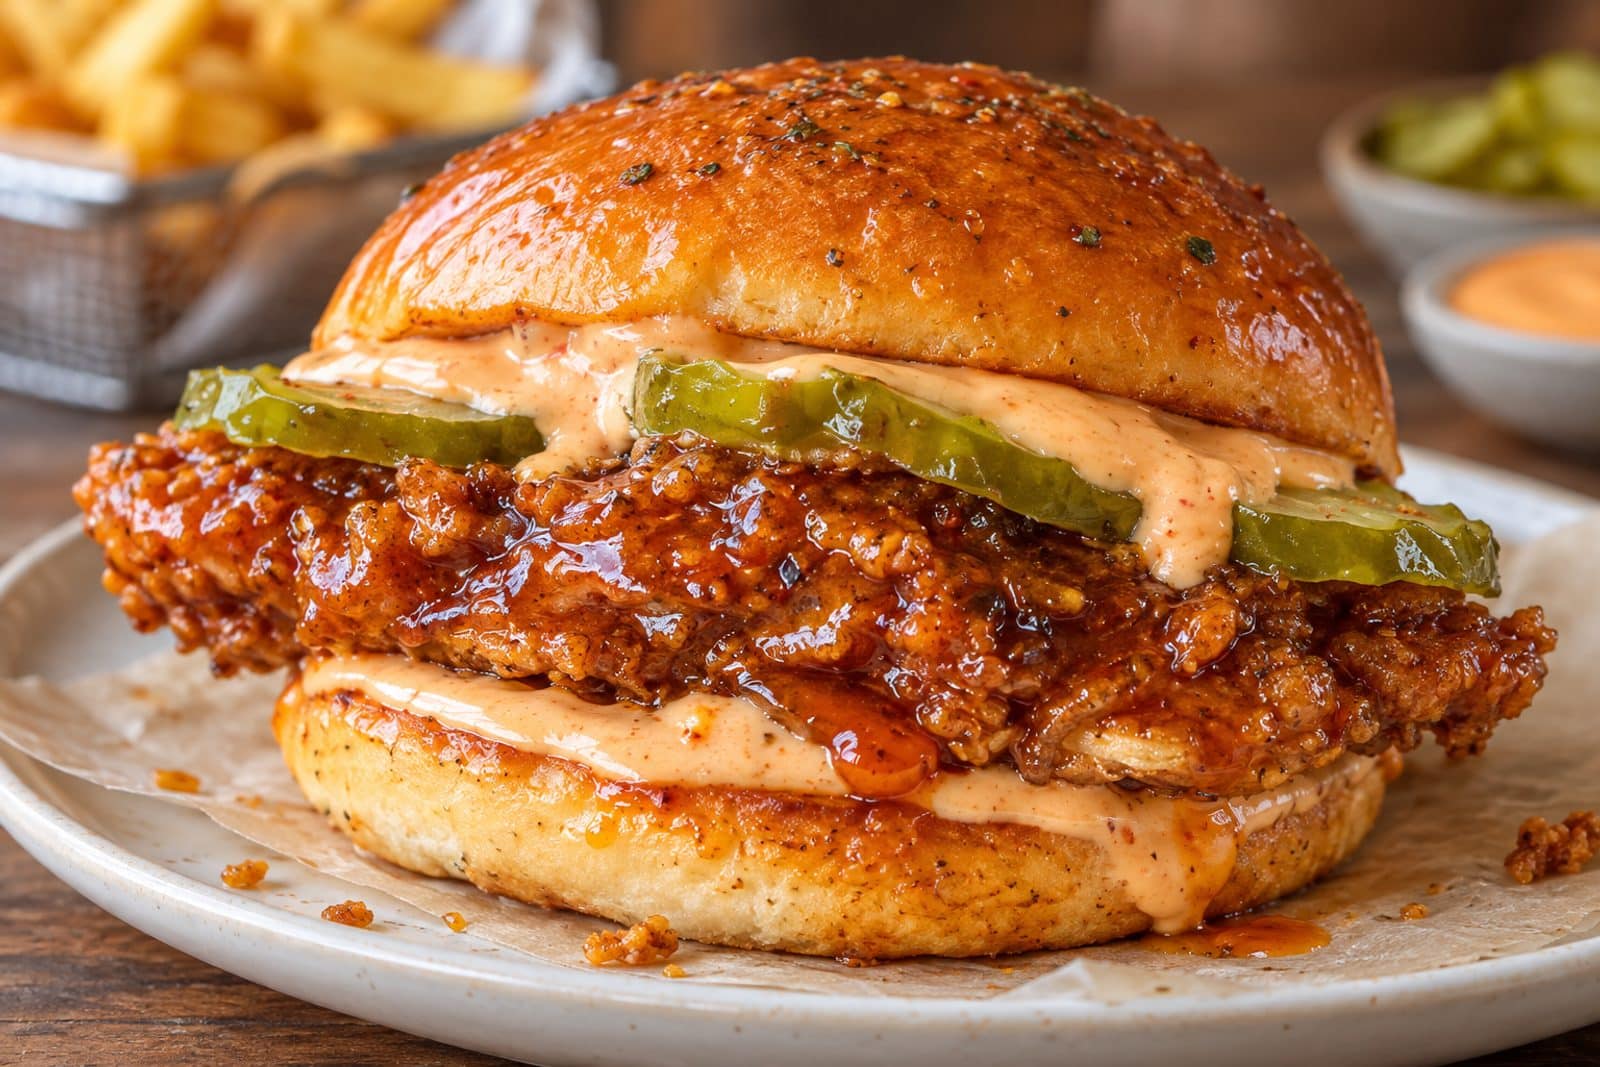
The first time I bit into this sandwich, I actually laughed. It was that good. The crunch was loud, the honey sriracha sauce was sticky and bold, and the cool, crunchy slaw cut through all that richness perfectly. I made another one immediately. And then another. My husband walked in and asked if I was feeding an army. Nope. Just myself, apparently. This crispy honey sriracha chicken sandwich has become my go-to for those days when I need a little excitement on my plate. It’s loud, messy, and absolutely worth every napkin.
Why You’ll Love This Recipe
Let me tell you why this sandwich is going to be your new favorite. I’ve tested this more times than I care to admit, and it’s foolproof if you follow a few simple steps. It hits every single craving you have.
- Seriously Crispy Crunch : The combination of buttermilk marinade and a cornstarch-heavy coating creates a crust that stays crispy even after you add the sauce. No sad, soggy breading here.
- Bold, Balanced Flavor : The honey sriracha glaze is the perfect mix of sweet heat. It’s sticky, it’s spicy, and it clings to every crunchy nook and cranny of that chicken.
- Better Than Takeout : You get that fresh, hot crunch that delivery just can’t replicate. Plus, you control the spice level and the quality of the oil.
- Perfect for a Crowd : I’ve made these for game day and casual dinners, and they disappear fast. People always ask for the recipe.
- Easy to Customize : You can adjust the heat, swap the bun, or pile on different toppings. It’s a forgiving recipe that loves a little personality.
What makes this recipe different from all the others? It’s the technique. The buttermilk marinade isn’t just for flavor—it tenderizes the chicken and helps the flour mixture stick like glue. The double-coating method gives you that extra-thick, extra-crunchy shell that doesn’t fall off when you bite into it. And the sauce? It’s not just dumped on. You toss the hot, crispy chicken in the glaze so every piece is evenly coated. This isn’t just another chicken sandwich recipe. It’s the one you’ll come back to again and again.
What Ingredients You Will Need
This recipe uses simple, everyday ingredients to create something truly special. You probably have most of these in your pantry and fridge right now. Here is what you need and why each one matters.
For the Chicken Marinade
- 2 boneless, skinless chicken breasts (about 1 lb total) – I prefer to slice them in half horizontally to create two thin cutlets per breast. This ensures even cooking and a great meat-to-crunch ratio.
- 1 cup buttermilk – The acid in buttermilk tenderizes the chicken and helps the flour coating stick. If you don’t have buttermilk, add 1 tablespoon of lemon juice or vinegar to regular milk and let it sit for 5 minutes.
- 1 teaspoon salt – For seasoning the meat from the inside out.
- 1/2 teaspoon black pepper
For the Crispy Coating
- 1 cup all-purpose flour
- 1/2 cup cornstarch – This is the secret to that extra-crispy texture. Cornstarch absorbs moisture and creates a lighter, crunchier crust than flour alone.
- 1 teaspoon garlic powder
- 1 teaspoon onion powder
- 1 teaspoon paprika – Adds color and a mild smoky flavor.
- 1/2 teaspoon cayenne pepper – Optional, for extra heat in the coating itself.
- 1/2 teaspoon salt
- 1/2 teaspoon black pepper
For the Honey Sriracha Glaze
- 1/3 cup honey – Use a good quality honey for the best flavor. It adds sweetness that balances the heat.
- 3 tablespoons sriracha sauce – Adjust this to your spice tolerance. Start with 2 tablespoons if you’re sensitive to heat.
- 2 tablespoons soy sauce – Adds a savory depth (umami) that keeps the sauce from being one-dimensional.
- 1 tablespoon rice vinegar – A little acidity brightens up the glaze.
- 1 clove garlic, minced
- 1 teaspoon sesame oil – Optional, but it adds a lovely nutty note.
For the Sandwich Assembly
- 4 brioche buns – I love brioche for its soft, buttery richness. Potato buns or classic hamburger buns work great too.
- 1 cup shredded cabbage and carrot mix – For a quick, crunchy slaw that cuts through the richness.
- 2 tablespoons mayonnaise – For the slaw dressing.
- 1 tablespoon rice vinegar
- 1 teaspoon sugar
- Butter, for toasting the buns
- Neutral oil for frying – Vegetable, canola, or peanut oil works best. You need enough for about 1 inch of depth in your pan.
Equipment Needed
You don’t need any fancy gadgets for this recipe, which is part of its charm. Here is what you will need:
- A large cast-iron skillet or heavy-bottomed pot – Cast iron holds heat beautifully, giving you that consistent frying temperature. A Dutch oven works perfectly too.
- A deep-fry thermometer – This is non-negotiable for me. Maintaining the right oil temperature (around 350°F) is the difference between crispy perfection and greasy disappointment.
- A large bowl and a whisk – For the buttermilk marinade and the flour mixture.
- A wire rack set over a baking sheet – This is crucial for letting the coated chicken rest before frying and for draining after. It keeps the coating from getting soggy on a paper towel.
- Tongs – For safely lowering the chicken into the hot oil and flipping it.
- A small saucepan – For making the honey sriracha glaze.
Preparation Method
Okay, let’s get cooking. This method is broken down into simple steps. Trust the process, and you will have an incredible sandwich.
- Marinate the Chicken : Place your chicken cutlets in a bowl or zip-top bag. Add the buttermilk, salt, and pepper. Massage it all together, then refrigerate for at least 30 minutes, or up to 4 hours. The longer it sits, the more tender and flavorful it gets. Don’t skip this step—it’s the foundation.
- Prepare the Coating : In a shallow dish or pie plate, whisk together the flour, cornstarch, garlic powder, onion powder, paprika, cayenne (if using), salt, and pepper. Make sure it’s well combined.
- Set Up Your Dredging Station : Remove the chicken from the buttermilk, letting the excess drip off. Don’t wipe it dry—you want it wet so the flour sticks. Dredge each piece in the flour mixture, pressing firmly so it adheres. Shake off any excess. Here is the trick: dip the floured chicken back into the buttermilk, then dredge it in the flour mixture a second time. This double-coating is what creates that ultra-crispy, shatteringly crunchy crust. Place the coated chicken on your wire rack.
- Let the Coating Rest : This is a step many people skip, but it’s vital. Let the coated chicken rest on the wire rack for 10-15 minutes. This allows the flour to hydrate and form a sort of glue that sticks to the chicken. It will fry up much crispier and the coating won’t fall off in the oil.
- Heat the Oil : While the chicken rests, pour about 1 inch of neutral oil into your cast-iron skillet. Heat it over medium-high heat until it reaches 350°F (175°C). Use your thermometer to monitor it. If you don’t have one, drop a pinch of flour in the oil—if it sizzles immediately and rises to the surface, it’s ready.
- Fry the Chicken : Carefully lower the chicken pieces into the hot oil using tongs. Do not overcrowd the pan; fry in batches if needed. The oil temperature will drop a bit when you add the chicken, which is normal. Fry for 4-5 minutes per side, until the coating is deep golden brown and the internal temperature of the chicken reaches 165°F (74°C). The chicken should be sizzling and bubbling the whole time. If it’s not, your oil is too cold.
- Drain the Chicken : Transfer the fried chicken to the wire rack (not paper towels—they trap steam and make the coating soggy). Let it drain for a minute while you make the glaze.
- Make the Honey Sriracha Glaze : In a small saucepan, combine the honey, sriracha, soy sauce, rice vinegar, minced garlic, and sesame oil. Whisk together and bring to a gentle simmer over medium heat. Let it cook for 2-3 minutes, stirring occasionally, until it thickens slightly and becomes glossy. Remove from heat.
- Glaze the Chicken : Place the hot, crispy chicken pieces in a large bowl. Pour the warm honey sriracha glaze over them and toss gently with tongs until every piece is evenly coated. The heat from the chicken will help the glaze stick and soak in slightly.
- Prepare the Quick Slaw : In a small bowl, mix the shredded cabbage and carrot with mayonnaise, rice vinegar, and sugar. Toss to combine. This simple slaw adds a fresh, tangy crunch that balances the rich, spicy chicken perfectly.
- Toast the Buns : Split your brioche buns and butter the cut sides. Toast them in a dry skillet or on a griddle over medium heat until golden brown. This step is non-negotiable—a toasted bun holds up to the saucy chicken and adds another layer of texture.
- Assemble the Sandwiches : Place a generous pile of slaw on the bottom half of each toasted bun. Top with a glazed chicken cutlet. Add the top bun and press down gently. Serve immediately, while the chicken is still hot and impossibly crispy.
Cooking Tips & Techniques
I’ve made this sandwich more times than I can count, and I’ve learned a few things the hard way. Here are my best tips to guarantee success.
Keep the oil at the right temperature. This is the single most important factor. If the oil is too cold, the chicken will absorb oil and become greasy. If it’s too hot, the outside will burn before the inside is cooked. Use a thermometer and adjust the heat as needed between batches. Trust me, I’ve ruined a batch by getting distracted—it’s not worth it.
Don’t skip the resting step after breading. I know it feels like wasted time, but it is not. That 10-15 minute rest allows the flour coating to bond with the chicken. If you fry it immediately, the coating is more likely to slide off in the oil. You want it to cling like armor.
Work in small batches. Dropping too many pieces of chicken into the oil at once causes the temperature to plummet. You will end up with pale, greasy chicken. Fry two pieces at a time in a standard skillet. It takes a little longer, but the results are worth it.
Taste your glaze before you toss the chicken. Everyone’s sriracha is a little different. Some are hotter, some are sweeter. Taste the glaze and adjust it—add more honey if you want it sweeter, more sriracha if you want more kick. This is your sandwich, after all.
Glaze the chicken right before serving. If you let the glazed chicken sit for too long, the sauce will start to soften the crispy coating. Toss it in the glaze just before you assemble the sandwiches for maximum crunch.
Variations & Adaptations
This recipe is a fantastic base, but don’t be afraid to make it your own. Here are some of my favorite ways to switch it up.
- Make it baked : For a lighter version, you can bake the breaded chicken on a wire rack set over a baking sheet at 425°F (220°C) for 20-25 minutes, flipping halfway through. Spray the chicken with cooking oil first. It won’t be as shatteringly crispy as the fried version, but it’s still really good. If you love crispy baked recipes, you should try my Crispy Ritz Cracker Chicken Casserole for another easy oven-baked option.
- Air Fryer Method : This works great! Preheat your air fryer to 400°F (200°C). Spray the breaded chicken with oil and cook for 10-12 minutes, flipping and spraying the other side halfway through. The air fryer gives you a surprisingly crispy result with much less oil.
- Go Gluten-Free : Substitute the all-purpose flour with a good gluten-free all-purpose blend (I like King Arthur Measure for Measure). Use tamari instead of soy sauce in the glaze. The texture will be slightly different, but the flavor will still be amazing.
- Change the Heat Level : For a milder sandwich, use only 1 tablespoon of sriracha and add a pinch of red pepper flakes. For a fiery version, add a teaspoon of gochujang paste to the glaze or a pinch of cayenne to the honey. If you’re a spice lover, you absolutely need to check out my Extra Crispy Korean Fried Chicken with Gochujang Glaze—it’s a flavor explosion.
- Add Some Cheese : A slice of melted pepper jack or provolone cheese on top of the chicken before you add the bun is a game-changer. The creamy, melty cheese pairs beautifully with the spicy-sweet glaze.
Serving & Storage Suggestions
This sandwich is best enjoyed immediately, while the chicken is still hot and the coating is at its crispiest. Serve it with a pile of extra slaw on the side, or pair it with crispy fries, sweet potato wedges, or a simple green salad. For a truly indulgent meal, serve it alongside my The Best Crispy Garlic Parmesan Hash Browns—the garlicky crunch is a perfect match.
Storage: If you have leftover chicken (unlikely, but possible), store the glazed chicken and the slaw separately in airtight containers in the refrigerator. The chicken will keep for up to 3 days, but the coating will soften significantly.
Reheating: The best way to reheat the chicken is in an air fryer or a hot oven (400°F/200°C) for 5-7 minutes. This will help crisp up the coating again. Avoid the microwave—it will turn your beautiful crispy chicken into a sad, rubbery mess. The slaw is best eaten fresh, but it will keep in the fridge for a day.
Make-Ahead Tip: You can bread the chicken up to 4 hours in advance and keep it on the wire rack in the refrigerator. Fry it just before you’re ready to serve. This is a great strategy for parties or busy weeknights.
Nutritional Information & Benefits
While this is definitely an indulgent treat, here is a rough estimate of the nutritional breakdown per sandwich (using brioche bun and fried chicken). Values will vary based on exact ingredients and portion sizes.
- Calories: Approximately 650-750 calories
- Protein: 35-40g
- Fat: 30-35g
- Carbohydrates: 55-65g
- Sugar: 25-30g (from honey and bun)
Chicken breast is an excellent source of lean protein, which is great for muscle repair and keeping you full. The cabbage slaw adds a dose of fiber and vitamins C and K. The honey provides natural sweetness and a touch of antioxidants. While this isn’t a health food, it’s a balanced meal with protein, carbs, and vegetables. I believe in enjoying food like this in moderation—it’s comfort food that makes you feel good.
Conclusion
This crispy honey sriracha chicken sandwich is everything you want from a homemade meal. It’s bold, it’s satisfying, and it’s genuinely fun to eat. The combination of that shatteringly crispy coating, the sticky-sweet-spicy glaze, and the cool, crunchy slaw is just unbeatable. I love that I can make something this good in my own kitchen, without having to wait for delivery or settle for a sad, soggy sandwich.
I really hope you give this recipe a try. It’s one of those dishes that makes you feel like a rockstar in the kitchen. Don’t be afraid to tweak the spice level or the toppings—make it your own. And when you do make it, I would love to hear about it. Leave a comment below and tell me how it turned out, or tag me in your photos if you share them online. Your version might just inspire someone else’s next meal.
Now go get that chicken crispy. You’ve got this.
Frequently Asked Questions
Can I use chicken thighs instead of breasts?
Absolutely! Boneless, skinless chicken thighs work beautifully in this recipe. They are more forgiving and stay juicier. Just adjust the frying time slightly—thighs may need an extra minute or two per side to reach 165°F (74°C).
How do I keep the coating from falling off?
The two biggest culprits are not drying the chicken properly and not letting the breaded chicken rest. Make sure your chicken is coated in buttermilk before dredging, do the double-dip, and let the breaded pieces sit on a wire rack for 10-15 minutes before frying. This gives the coating time to adhere.
Can I make the honey sriracha sauce ahead of time?
Yes! The glaze can be made up to a week in advance. Store it in an airtight jar in the refrigerator. When you’re ready to use it, gently warm it in a small saucepan or microwave until it’s fluid and easy to toss with the chicken.
What can I use instead of brioche buns?
Potato buns are a fantastic, soft substitute. Classic hamburger buns, ciabatta rolls, or even sturdy lettuce wraps for a low-carb option all work well. Just make sure whatever you choose is sturdy enough to hold the saucy chicken.
Is this sandwich very spicy?
It has a nice kick, but it’s balanced by the sweetness of the honey. If you are sensitive to spice, start with 1-2 tablespoons of sriracha in the glaze. You can also reduce or omit the cayenne pepper in the breading. For extra heat lovers, add more sriracha or a pinch of red pepper flakes to the glaze.
Pin This Recipe!
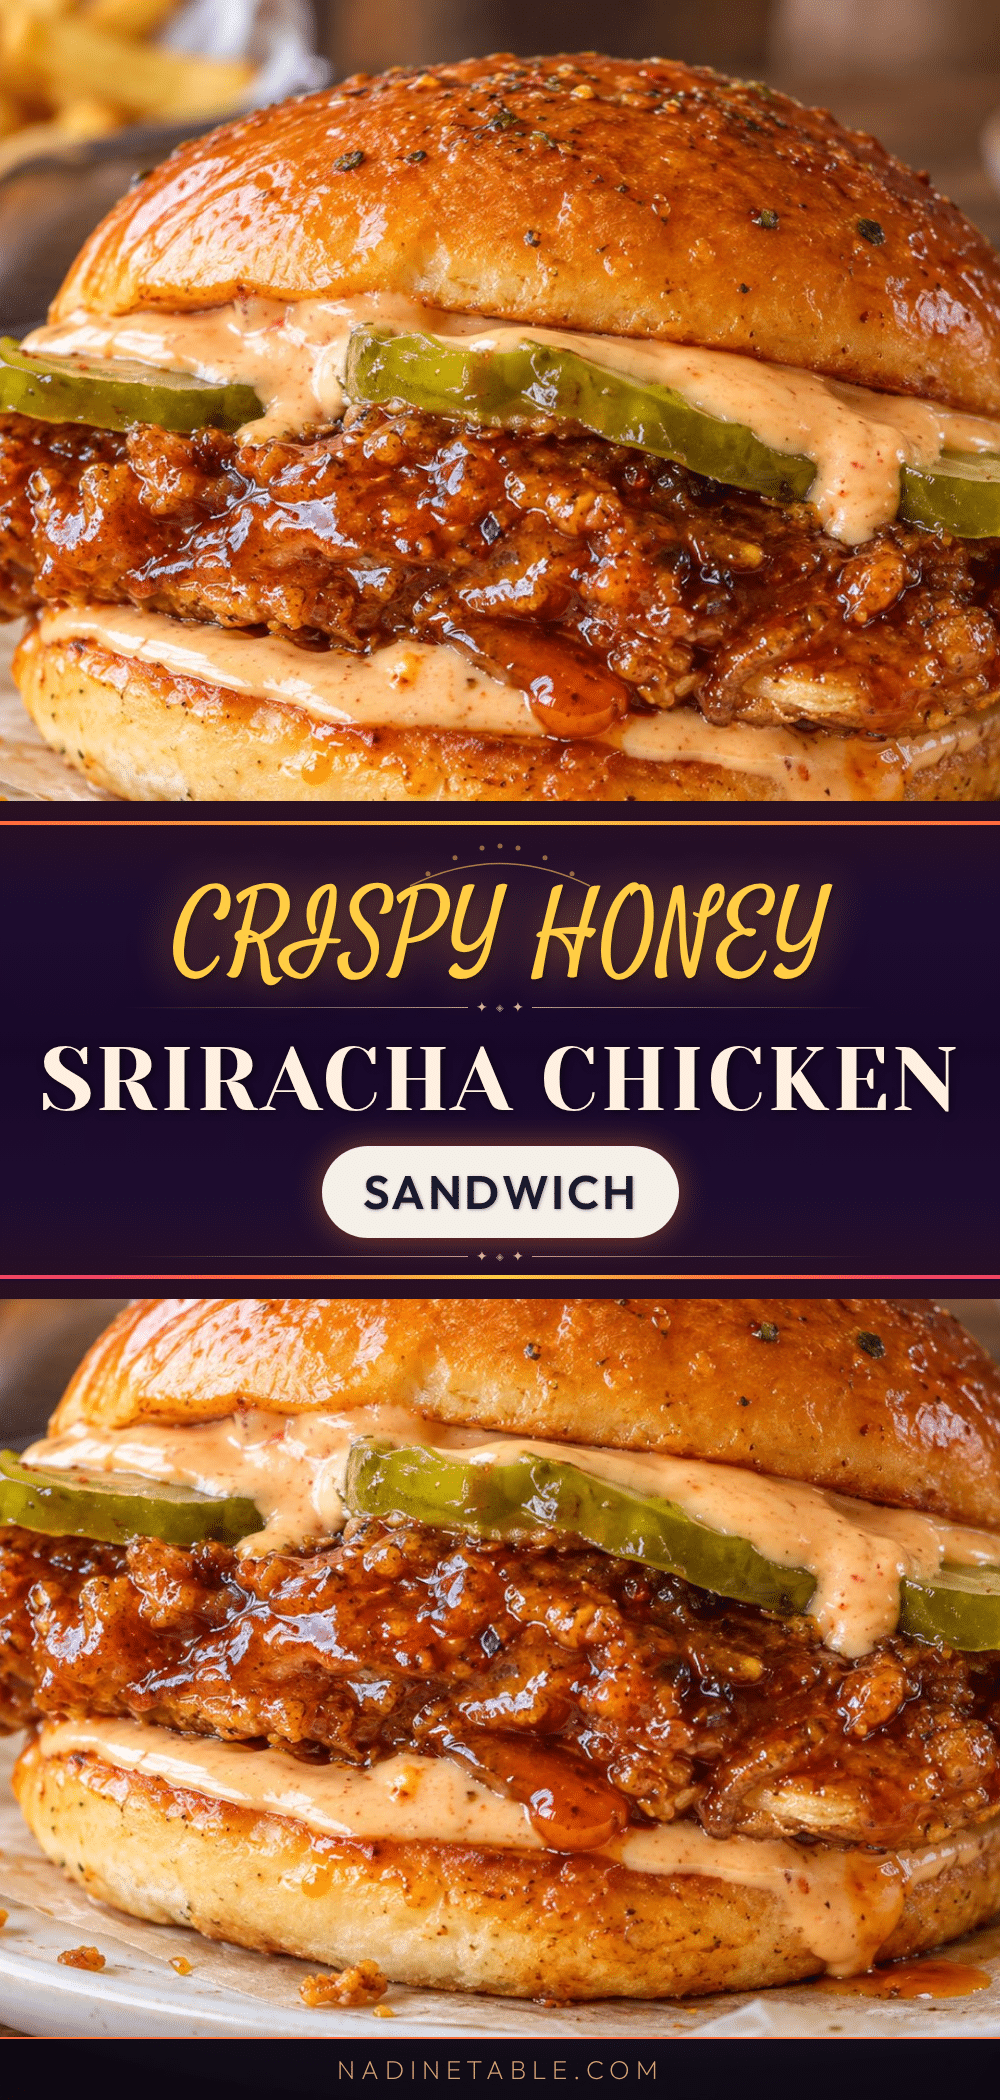
Perfect Crispy Honey Sriracha Chicken Sandwich Recipe
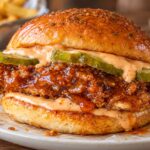
This crispy honey sriracha chicken sandwich features shatteringly crunchy chicken coated in a sticky, sweet-spicy glaze, topped with a cool, tangy slaw on a toasted brioche bun. It’s a restaurant-quality meal made at home that’s better than takeout.
- Prep Time: 30 minutes
- Cook Time: 20 minutes
- Total Time: 50 minutes
- Yield: 4 servings 1x
- Category: Main Course
- Cuisine: American
Ingredients
- 2 boneless, skinless chicken breasts (about 1 lb total), sliced in half horizontally to create 4 cutlets
- 1 cup buttermilk
- 1 teaspoon salt
- 1/2 teaspoon black pepper
- 1 cup all-purpose flour
- 1/2 cup cornstarch
- 1 teaspoon garlic powder
- 1 teaspoon onion powder
- 1 teaspoon paprika
- 1/2 teaspoon cayenne pepper (optional)
- 1/2 teaspoon salt
- 1/2 teaspoon black pepper
- 1/3 cup honey
- 3 tablespoons sriracha sauce
- 2 tablespoons soy sauce
- 1 tablespoon rice vinegar
- 1 clove garlic, minced
- 1 teaspoon sesame oil (optional)
- 4 brioche buns
- 1 cup shredded cabbage and carrot mix
- 2 tablespoons mayonnaise
- 1 tablespoon rice vinegar
- 1 teaspoon sugar
- Butter, for toasting the buns
- Neutral oil for frying (vegetable, canola, or peanut)
Instructions
- Marinate the Chicken: Place chicken cutlets in a bowl or zip-top bag. Add buttermilk, salt, and pepper. Massage together, then refrigerate for at least 30 minutes, up to 4 hours.
- Prepare the Coating: In a shallow dish, whisk together flour, cornstarch, garlic powder, onion powder, paprika, cayenne (if using), salt, and pepper.
- Set Up Dredging Station: Remove chicken from buttermilk, letting excess drip off. Dredge each piece in flour mixture, pressing firmly. Shake off excess. Dip floured chicken back into buttermilk, then dredge in flour mixture a second time. Place coated chicken on a wire rack.
- Let Coating Rest: Let coated chicken rest on wire rack for 10-15 minutes.
- Heat Oil: Pour about 1 inch of neutral oil into a large cast-iron skillet. Heat over medium-high heat to 350°F (175°C).
- Fry Chicken: Carefully lower chicken into hot oil using tongs. Do not overcrowd. Fry for 4-5 minutes per side, until deep golden brown and internal temperature reaches 165°F (74°C).
- Drain Chicken: Transfer fried chicken to wire rack to drain.
- Make Glaze: In a small saucepan, combine honey, sriracha, soy sauce, rice vinegar, minced garlic, and sesame oil. Whisk and bring to a gentle simmer over medium heat. Cook for 2-3 minutes until slightly thickened and glossy. Remove from heat.
- Glaze Chicken: Place hot chicken in a large bowl. Pour warm glaze over and toss gently with tongs until evenly coated.
- Prepare Slaw: In a small bowl, mix shredded cabbage and carrot with mayonnaise, rice vinegar, and sugar. Toss to combine.
- Toast Buns: Split brioche buns and butter cut sides. Toast in a dry skillet over medium heat until golden brown.
- Assemble Sandwiches: Place slaw on bottom half of each toasted bun. Top with a glazed chicken cutlet. Add top bun and press gently. Serve immediately.
Notes
Keep oil at a consistent 350°F for best results. Don’t skip the resting step after breading—it helps the coating adhere. Work in small batches to maintain oil temperature. Taste the glaze before tossing the chicken and adjust sweetness or heat to your preference. Glaze the chicken right before serving to maintain maximum crunch. For a lighter version, bake at 425°F for 20-25 minutes or air fry at 400°F for 10-12 minutes.
Nutrition
- Serving Size: 1 sandwich
- Calories: 650750
- Sugar: 2530
- Sodium: 12001400
- Fat: 3035
- Saturated Fat: 810
- Carbohydrates: 5565
- Fiber: 23
- Protein: 3540
Keywords: crispy chicken sandwich, honey sriracha, fried chicken, spicy chicken sandwich, homemade chicken sandwich, chicken recipe, comfort food